How I Design Bags and Purses: Part 1 | Part 2 | Part 3 | Part 4 | Part 5
Drafting the Bag Pattern
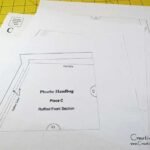
After making a rough sketch of the bag design in my sketchbook, I’m now ready to start drafting the pattern and calculating fabric requirements. As this is a very simple design with a rectangular shape, I don’t really need to draft a pattern for the bag body and lining, I can simply rotary cut the pieces to size. However the top section has an unusual shape and extends upwards at a slight angle so this piece will need to be drafted.

Pattern pieces can be drawn and drafted in many different ways. For this piece, the design is simple and uncomplicated, so I’ve drawn it using a ruler and pencil directly onto a piece of paper and cut out the shape.

However for more intricate pattern pieces, a drawing program is useful. Professional designers use Adobe Illustrator, however less expensive alternatives are available. Affinity Designer for Mac is a direct alternative to Illustrator and even has an interface that looks like Illustrator, but at a fraction of the cost. For Windows, there are several free professional drawing programs such as OpenOffice Draw and Inkscape. For very basic design drawings you could even use Microsoft Word.
Sewing the Lining
For this bag, I’ve decided to start with the bag lining. I’m going to use the sari silk ribbon that I dyed last week for the lining as well as the outside of the bag, but using different sewing techniques to attach the ribbon.
I want the bag to be soft to reflect the softness of the silk, but I also want it to keep its shape. So for the lining I’ve decided to use Thermolam fusible fleece backed with CraftFuse which is a medium-weight fusible interfacing. The Thermolam is soft against the ribbon, and the Craftfuse will help to keep the shape of the bag. It’s easy to make a custom interfacing simply by combining different types of interfacing.

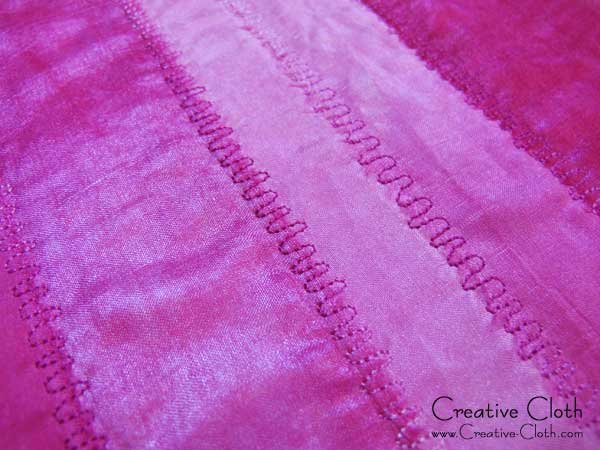
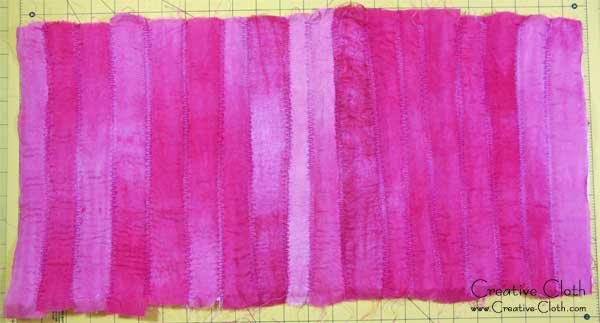
For the lining, I’m going to make ribbon fabric by overlapping rows of ribbon and sewing the edges using a decorative machine stitch. I’ve cut a piece of Thermolam and a piece of Craftfuse about 1″ larger all the way around. This will allow me to cut the lining to size once I’ve finished sewing the ribbon, then all the edges will be neat and sewing will be easier.
To make the ribbon fabric using >sari silk ribbon, strips of the ribbon are positioned on top of the fusible side of the thermolam, each strip slightly overlapping the one above.

So what I have is strips of ribbon on top of the Thermolam, with the Craftfuse on the bottom.

Working a section at a time, pin the strips in place, then with the ribbon side facing up, press lightly with an iron. This will fuse the ribbon to the Thermolam so the strips can be easily sewn. Once the ribbon is fused in place, turn it over and press the underside. This will fuse the Craftfuse to the Thermolam. Now I have a stable but soft interfacing.

After each section is fused in place, sew along the edge of the ribbon using a decorative machine stitch. I’ve used a wavy stitch and I haven’t worried too much about keeping the rows even or straight.

I’m not going to trim the lining to size until the rest of the pieces are finished in case I want to make a design change. So now I have the lining prepared I can begin work on the outside section. More next week!


