How I Design Bags and Purses: Part 1 | Part 2 | Part 3 | Part 4 | Part 5
After sewing the lining and the outside of the bag, I trimmed the excess fabric away and realized that because of the number of fabric strips used on the outside of the bag, it would be about 1/2″ wider than originally planned. Experience has taught me when sewing a new design, to leave at least 1″ extra on the seam allowances to allow for this type of error and adjustment, so I have plenty of seam allowance to play with.
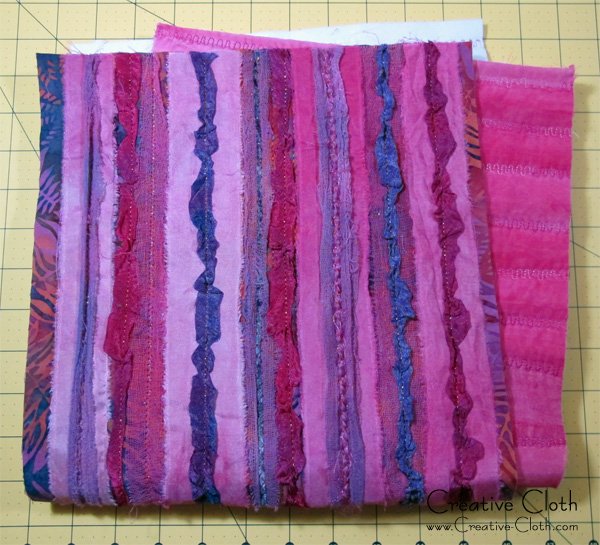
The next step was to resize the pattern piece for the top flap extensions and I adjusted it 1/2″ wider and also 1/2″ higher. I made the flap extensions using the same fabric strip technique as I did for the bag body, except in a horizontal direction and only on the outside.

With the flap extension folded over, you can begin to see how things will look once it’s sewn together.

Now it’s time to make decisions about sewing it all together. The closure: Because the flaps extend upwards and there’s a bit of bulk in the seams due to the fleece interfacing, sewing in a zipper would be a little challenging. A magnetic snap is a better idea plus simpler to install.
The straps: I already know that the straps are going to thread through some grommets in the flap extension so I don’t have to worry about them at this point.
The flap extensions: Because of the unusual shape of the flap extensions, they will need to be sewn into the top of the bag at the same time as the lining. This means that I’ll need to leave an opening in the side of the lining so I can pull the bag right side out once the top is sewn.
Let’s sew! When sewing seams with with bulk like this fleece interfacing, it’s always best to trim away the excess so that the seams lay flat.

And it’s always a good idea to make sure that the lining fits properly inside the outer bag otherwise there will be unsightly wrinkles and creases.

Once the lining and the bag are properly sized and sewn, it’s time to attach the magnetic snap. I usually install them at least 1/2″ down from the top of the bag, plus allowance for seams. This allows some clearance when sewing the top section.

Now all the pieces are sewn together, all that’s left is the straps. Next week.


