Prepare the Pattern and Cut the Fabric
Print and Assemble the PDF Sewing Pattern
If you have a digital sewing pattern, the first thing you need to do is to print and join the pattern pieces.
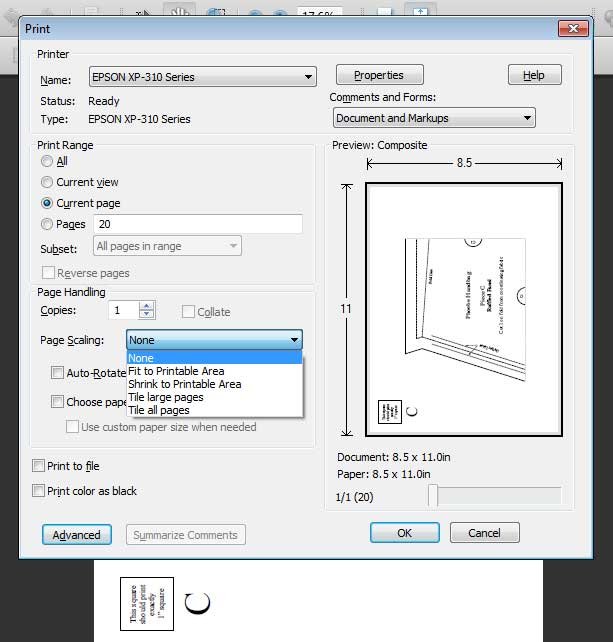
When printing pattern pieces from a pdf sewing pattern it’s important to make sure that the pages are printed to the correct size. To do this, open the pdf file and scroll to the page you want to print. From the main menu select … File > Print. This opens the print dialog screen. Select the page or the page range you want to print, and make sure that “Page Scaling” is set to “None”. This will ensure that the pattern prints to the correct size.
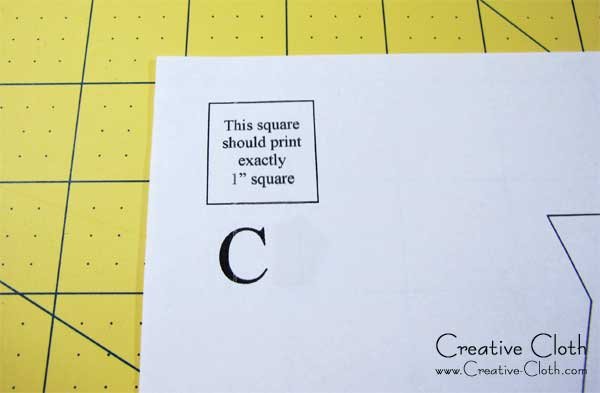
As an alternative measure to make sure the pattern is sized correctly, all the pattern pieces have a special 1″ square printed on the page. You can measure this square using a ruler to double check the size.
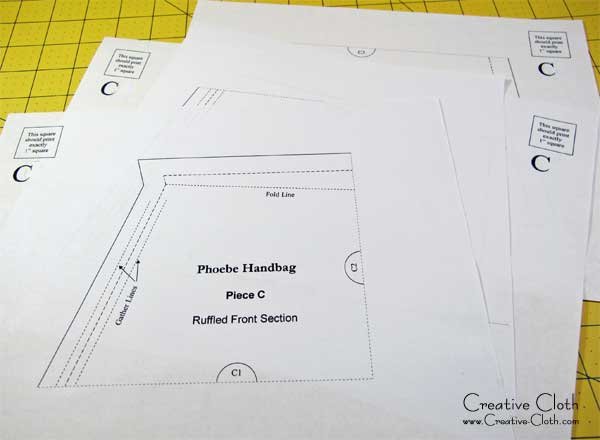
For multiple pages that need to be taped together, the pattern pieces will also have a scored line with a registration mark.
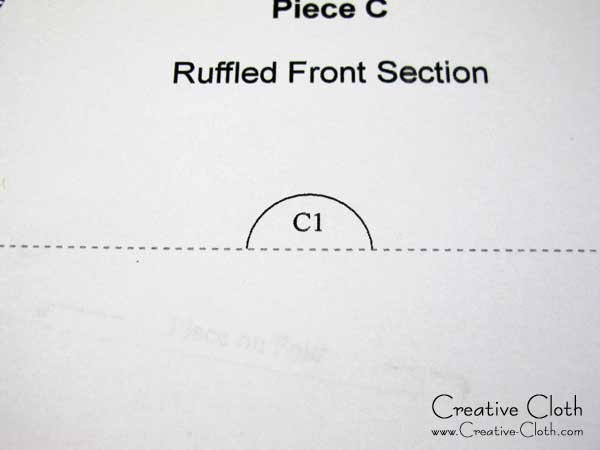
Carefully cut along the scored line on one of the matching pieces, overlap onto the corresponding piece, line up the registration mark which will form a circle, then tape in place.
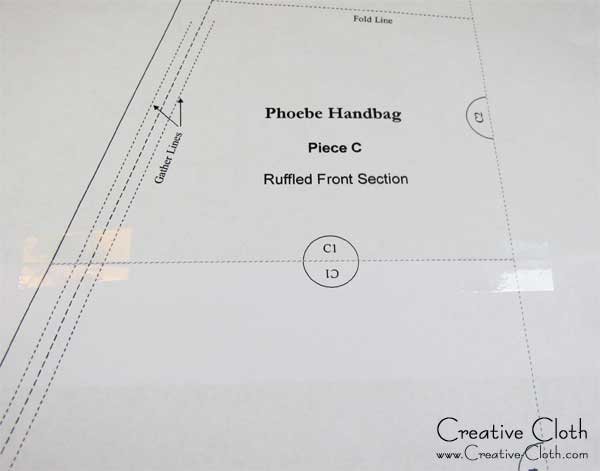
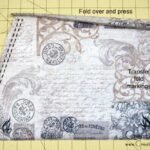
This particular pattern piece has four sections which join together to form the complete pattern piece. Each pattern piece includes 1/2″ seam allowance and shows the stitching line. Cut the pattern pieces around the outer line which is the cutting line.

Before Cutting the Fabric and Interfacing Pieces
Attaching the Interfacing
Unless the pieces are small and simple, it’s often difficult to iron interfacing to fabric after both pieces are cut to size. Somehow they just never seem to match up exactly.
For Bag Body Piece A, Bag Body Lining Piece E, Bag Top, Slip Pocket, Belt, Outside Zipper Pocket, Inside Zipper Pocket, Straps…
For both the fabric and the interfacing, rough cut around the pattern pieces by 1/2″-1″. Iron the interfacing to the fabric, then cut out the pattern pieces to size. You’ll find this a much easier and more accurate way to cut the pieces.
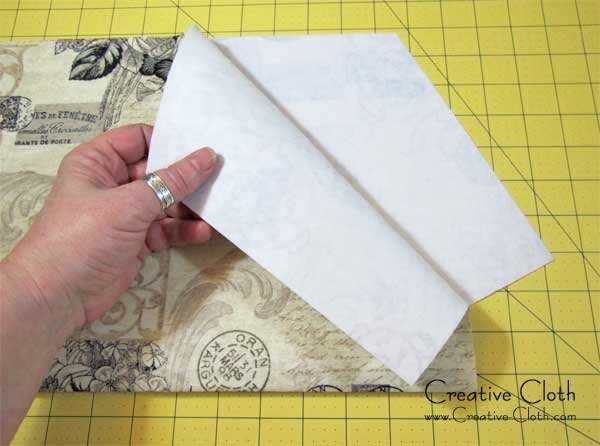
Directional Fabric Designs
The Phoebe Handbag is designed for fabric that has a multidirectional design, however you can also use fabric that has a directional design.
For Bag Body Piece A and Bag Body Lining Piece E …
With the right sides of the fabric facing, fold the fabric so that the design is running in the correct direction on both pieces. Position the pattern on top of the fabric and instead of placing the bottom edge of the pattern on the fabric fold, cut a 1/2″ seam along the bottom.
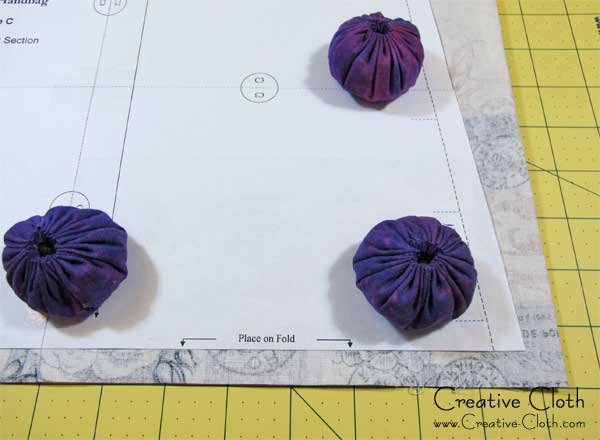
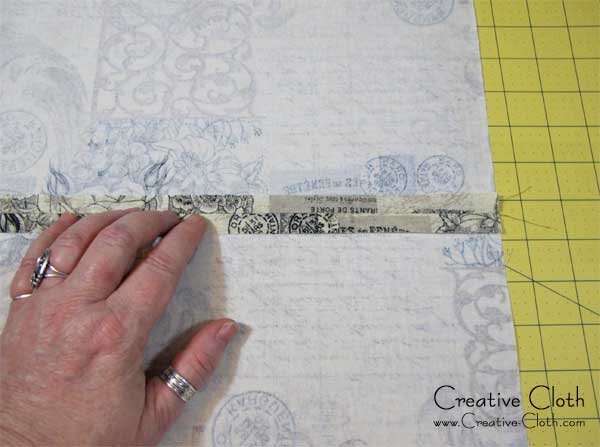
Sew the seam. When you open the fabric, the pattern on both pieces should be running in the correct direction.

Press the seam open.
Cut The Pieces
Before you cut out all the pieces, here are a few tips.
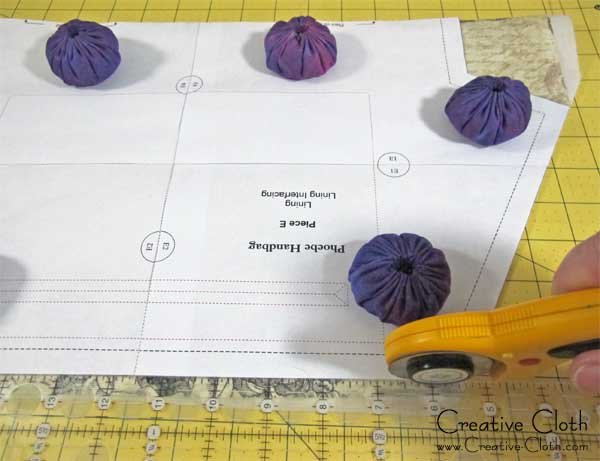
The easiest way I’ve found to cut pieces using patterns made from copy paper is to use fabric weights which allows the fabric to lay perfectly flat while you cut. Using pins tends to scrunch the fabric and this can result in inaccurate cutting. You can use any small heavy object as a pattern weight. I made mine using large fabric yo-yos filled with rice and a couple of large metal washers to add extra weight.
To make long straight cuts, line a quilter’s ruler along the outer edge of the pattern and use a rotary cutter to make the cut. For shorter cuts, use a sharp pair of fabric scissors.
Coming up Next
In the next session we’ll begin by making the Ruffled Panel for the front of the bag.
The Phoebe SewAlong
1. Welcome
2. Gather Your Supplies
3. Prepare the Pattern and Cut the Pieces
4. Make the Ruffled Panel
5. Make the Bag Body
6. Make the Lining
7. Make the Bag Top
8. Assemble the Bag

