One of the best things about creating your own PhotoArt, fabric designs and other types of digital imagery, is that the images can be reused in many different ways. With digital files, images can be resized larger or smaller and easily changed and manipulated. This means that you have limitless possibilities for repurposing them and reusing them in your art projects.
As a textile artist I tend to work primarily with fabric, so I love printing my digital images onto fabric and exploring new and different ways of reusing and repurposing them creatively in my sewing and textile art projects. A favorite design can be used over and over again.

Although digital files can be easily manipulated and changed, when designing for fabric prints there’s a few things to keep in mind that will make it easy when repurposing your images.
When designing, I always make sure to create the largest image size possible as I’m sometimes not quite sure what I’ll be using the design for. Reducing the size of a large design is quite easy, but trying to enlarge a small design it is much more difficult and can result in loss of detail when printing it out.
I also always design with the intention that I’ll be printing the design onto fabric and adding stitches to it in some way. This means that I create my designs thoughtfully. I usually make sure to leave lots of space around the focal point, or include interesting textural backgrounds that will enhance my stitching in some way.
For example, I designed this PhotoArt flower with an interesting checkered background. With this particular design, there are lots of options for adding stitched elements both around the flower itself, as well as the checkered background area.
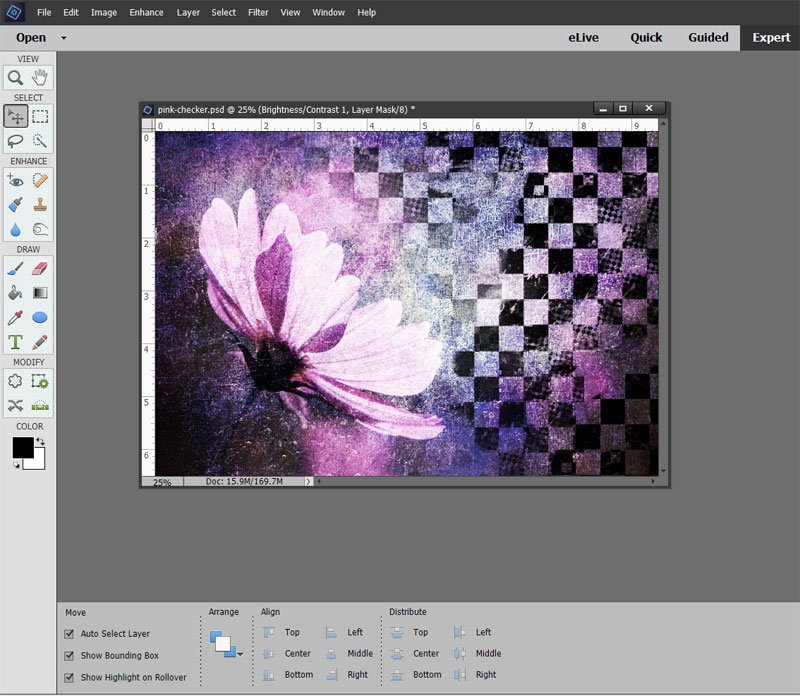
This turned out to be one of my favorite digital images. I love the color contrast as well as the overall design which offers lots of opportunities for creatively adding stitches. Here are some of the ways I’ve used this PhotoArt design printed onto fabric.
Stitched Canvas Art
This stitched canvas art is about 12″ x 8″. I printed the digital design onto fabric and made a small quilt and added machine stitching around the flower and hand stitching in the background area.

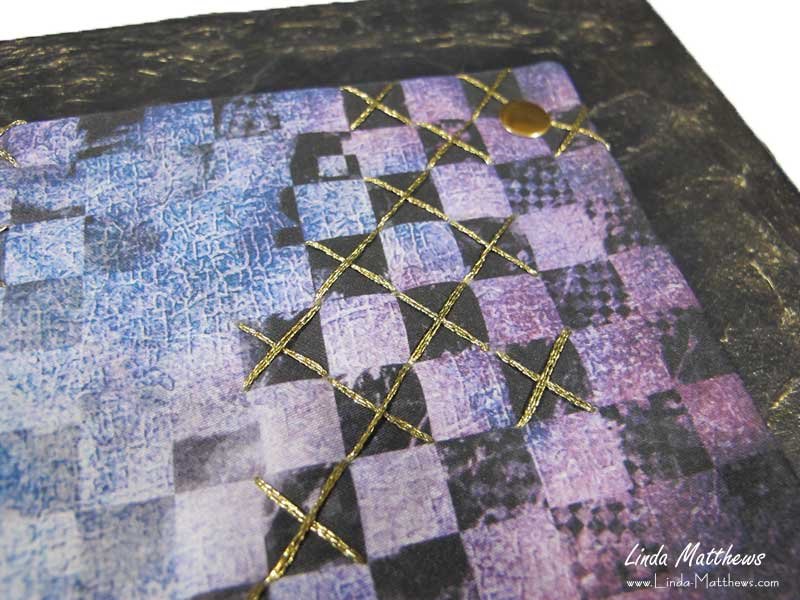
I was planning to use metal studs to attach the quilt to the canvas but I didn’t want to punch any holes in the quilt. In the end I found an old pack of iron-on studs.
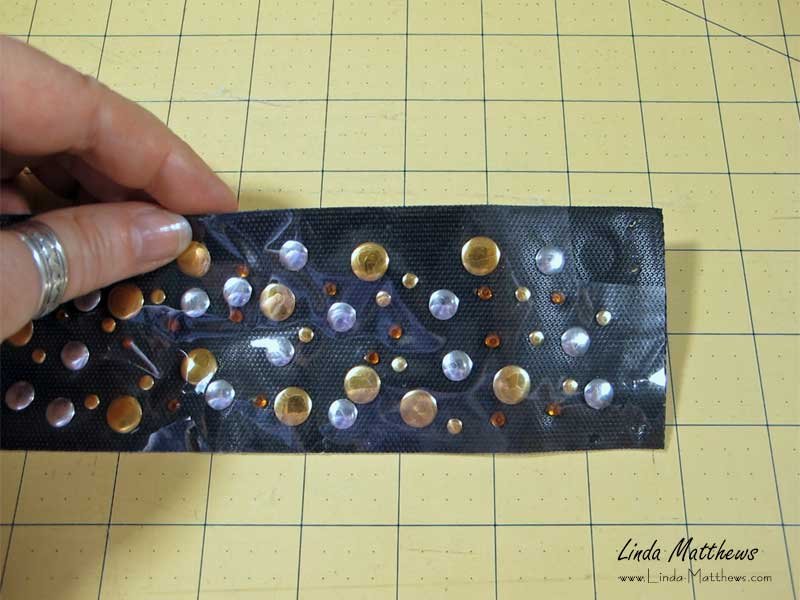
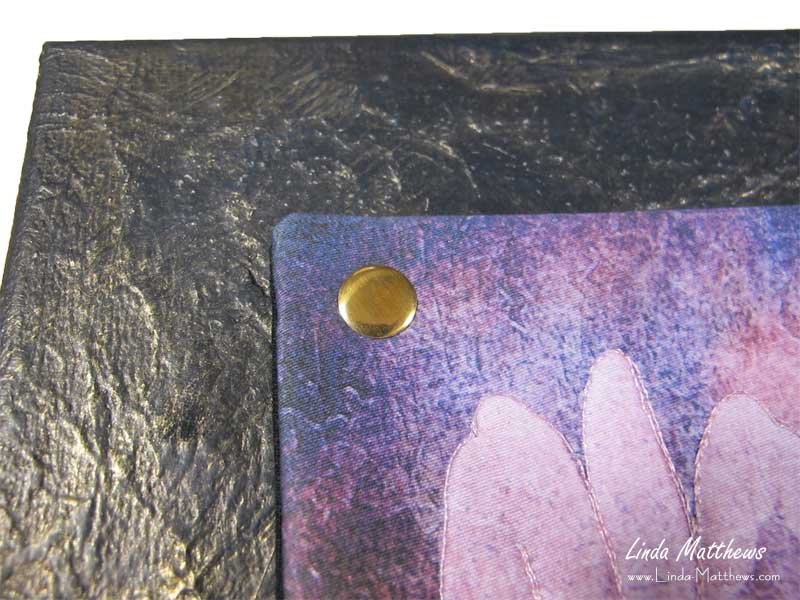
I hand stitched the quilt to the canvas in the corners and then ironed on the studs over the stitching. They were just the perfect thing to finish off the corners of the quilt and hide the stitching.
Camera Cozy
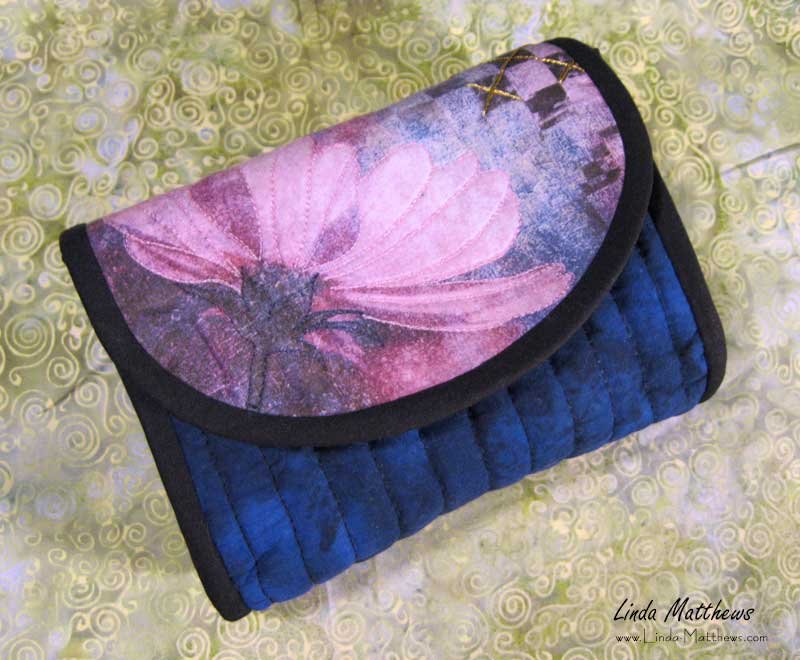
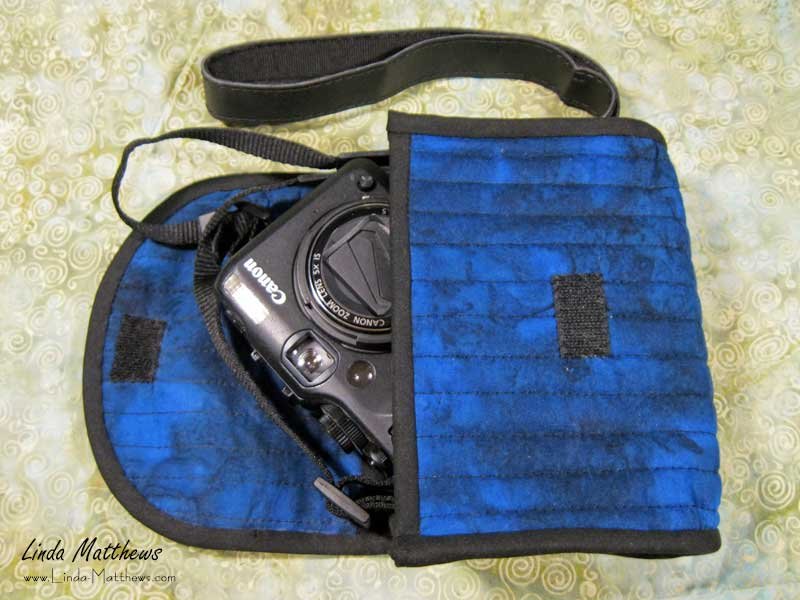
This is the same digital design printed onto fabric and made into a camera cozy. I think the idea of using one of your own photos turned into digital art and then made into a camera accessory is creative, artistic and practical.
This camera cozy has lasted well over the years and has done a great job in protecting my camera. You can see more photos and details about how I made this camera cozy here.
Purse Flap
I used the same digital design to make a flap for this clutch purse.
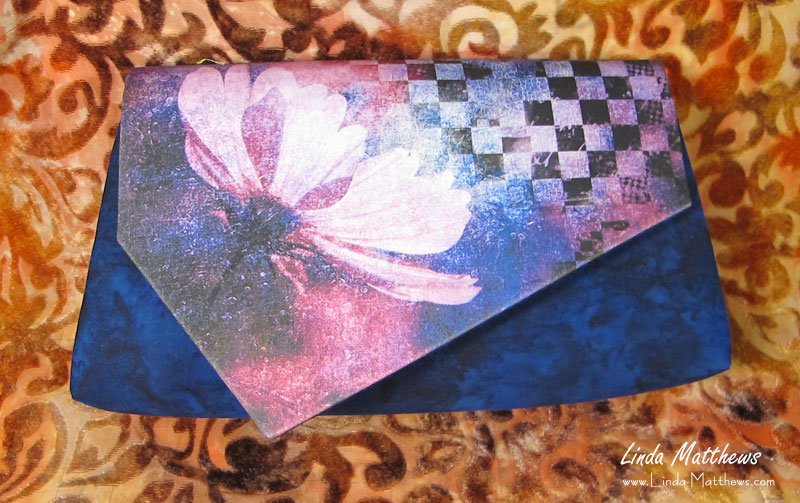
The flap for this purse is a very simple shape which makes it easy to turn into a digital template. The template can then be used to isolate any digital design which can then be printed onto fabric and used to make the bag flap. You can see how to easy it is to make a digital template here.

I hope these tips and creative ideas inspire you to use your own digital imagery in different ways.
Resources
Learn how to create beautiful PhotoArt – PhotoArtFX Video Class.
Learn how to print your own images onto fabric – Inked Cloth Workshop.

