Make the Lining
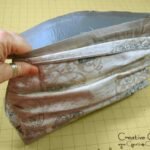
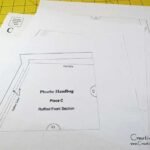
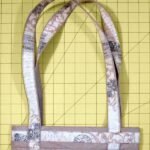
The bag lining is a drop-in lining, which means that it simply drops right into the bag body and is sewn in place. Generally when making a bag, a hole is left in the lining so the bag body can be pulled through, however for this particular bag design, it would be quite difficult to do it this way because of the ruffled panel on the front. A drop-in lining is a much easier solution.
Attach the Interfacing
The first step is to iron the medium-weight fusible interfacing to the wrong side of the lining.
Make the Inside Zipper Pocket
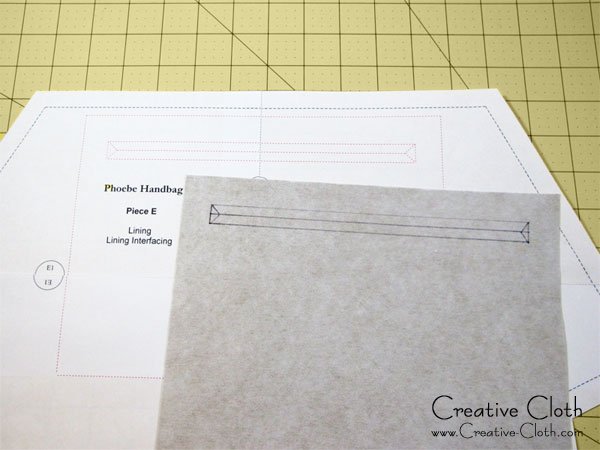
The inside zipper pocket is made in the same way as for the outside zipper pocket on the bag body, except using the placement markings on Pattern Piece #E. Position the pocket 3/4″ down from the top edge of the lining, centered between the sides, and use the 12″ zipper.
Make the Slip Pocket
Iron the light-weight fusible interfacing to the wrong side of the slip pocket fabric. With right sides facing, fold the pocket in half so that it measures 8″ x 4-1/2″. Sew the seams along each side and the bottom, leaving a gap of approximately 3″ along the bottom seam for turning. Clip the corners.
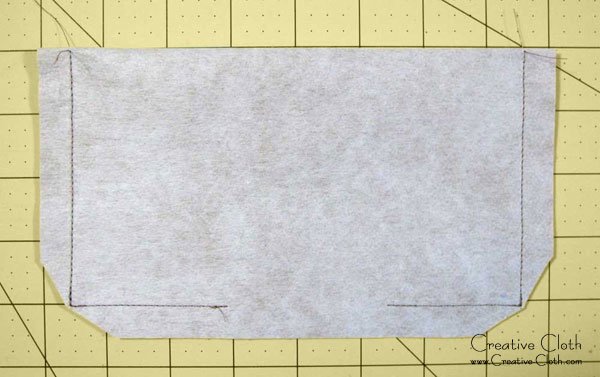
Turn right side out through the gap in the bottom seam. Carefully poke out the corners, and press. Topstitch the top edge (folded edge) of the pocket.
Tip: It’s not necessary to sew the opening closed. This will be sewn closed when you sew the pocket to the lining.
With the right side facing up and on the opposite side to the zipper pocket.

Position the slip pocket 1-1/2″ down from the top edge, centered between the sides. Topstitch close to the edge of the pocket along the left side, the bottom, and the right side.

Assemble the Lining
With right sides facing, fold the lining in half and matching raw edges along the top and sides. Pin the side seams. Starting 1/2″ down from the top, sew the side seams.

Press the side seams open. See tips for pressing side seams using a seam roll the same as used on the bag body. Fold each of the side seams to match the raw edges along the bottom. Sew the seam to form the box shape.

Fold the top edge under 1/2″ and press. The lining will be hand-stitched in place once it’s dropped into the bag. Pressing a nice even fold on the top makes this job much easier.

Coming up Next
In the next session we’ll sew the section with the bag top and straps.

