Every Spring and Autumn I usually add a few new pieces of clothing to my wardrobe. I do have some dressmaking skills having spent half my life sewing and designing for others, but time is short when you have a business run and buying clothes rather than making them is often more convenient.
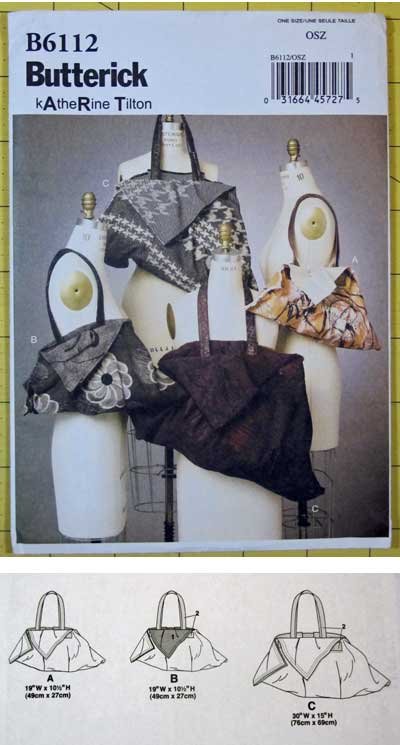
This season however I thought I might make one or two pieces and while I was browsing for some new jacket patterns my eye fell on this bag pattern by Katherine Tilton which I immediately fell in love with because of its unusual design.
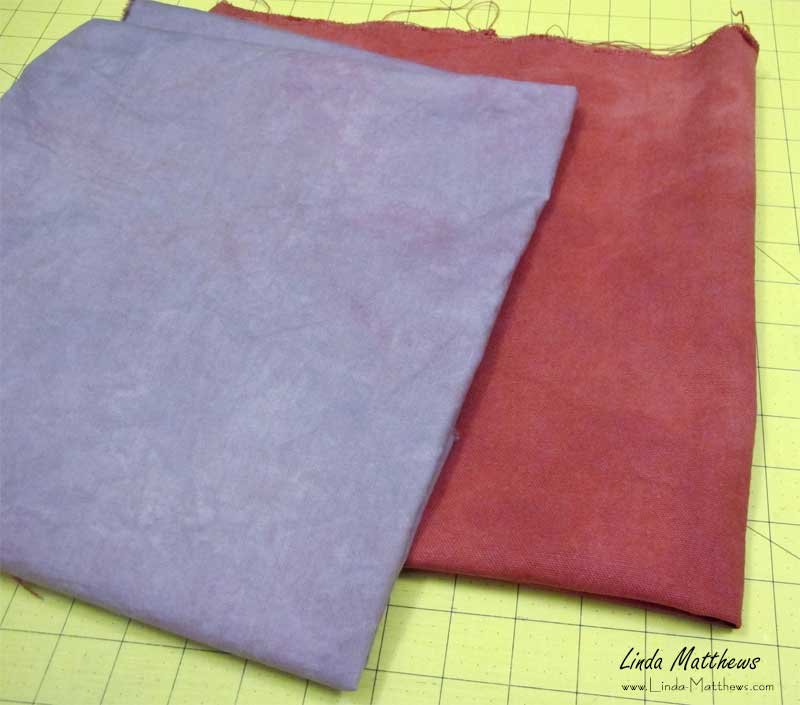
So I decided to make it using some of my hand-dyed fabrics. I dyed some cotton duck a brownish pink color for the outside of the bag and some quilting cotton for the lining. Dyeing duck fabric isn’t as easy as you might think because the fabric is quite thick but it’s a perfect fabric for bag making and I only needed a smallish piece. The color turned out very nice.
Since the bag design is quite artsy, I thought it would be fun to add some surface design to the lining of the bag. One of my favorite surface design techniques is to create a faux batik crackle line design and I do this using a flour resist paste. If you’ve never played with flour resist before, it’s safe, fun and easy and the results are really very good. I think I first discovered this technique in one of Jane Dunnewold’s books.
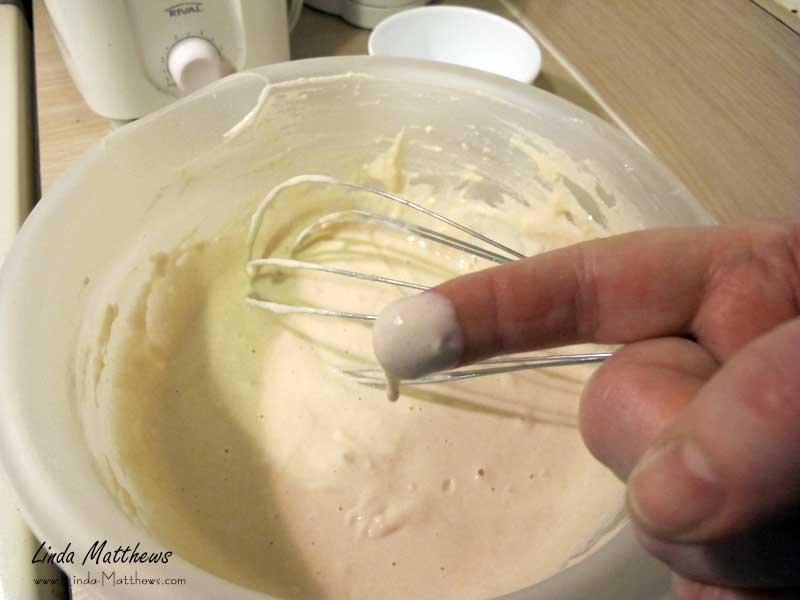
The trick is to get the flour and water mixed into a smooth paste but this is easy to do using a whisk. You use a ratio of 1:1 – one cup plain white flour to one cup water and the paste should be thinnish but not too runny.
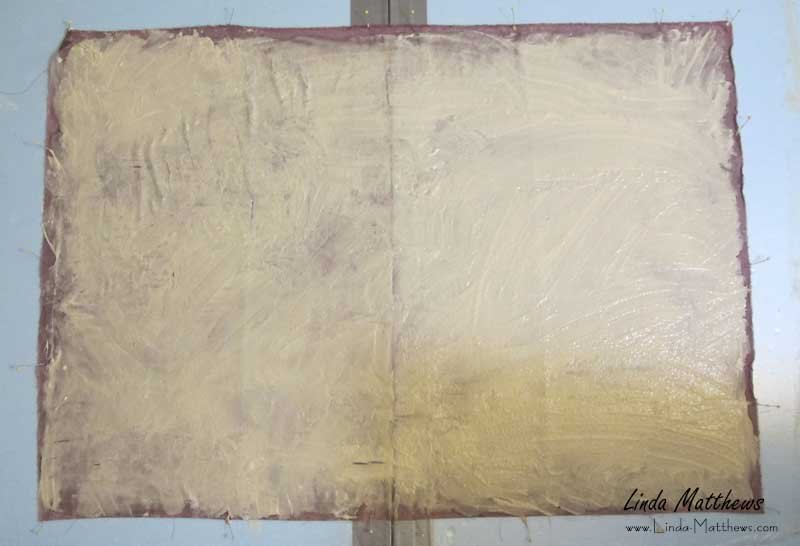
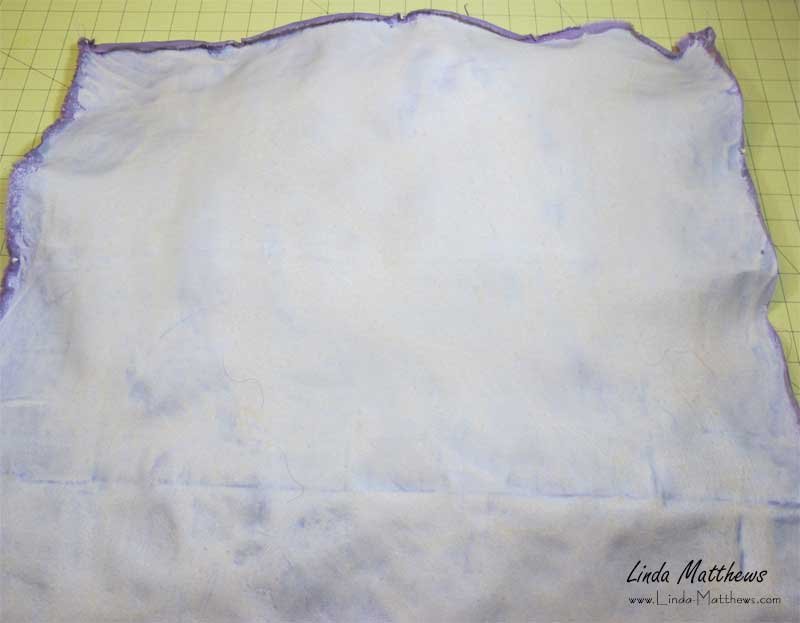
You first need to pin the fabric to a flat surface. When doing this technique I use a sheet of styrofoam insulation which also doubles as my design wall when I throw a piece of flannel over it. Living in small spaces you need to get creative. Spread a thin layer of paste all over the fabric. You can do this using a screen printing squeegee, but I find it easier using my hands. Messy, but easier.
When the paste dries, the fabric shrinks and distorts which is why you need to pin it.
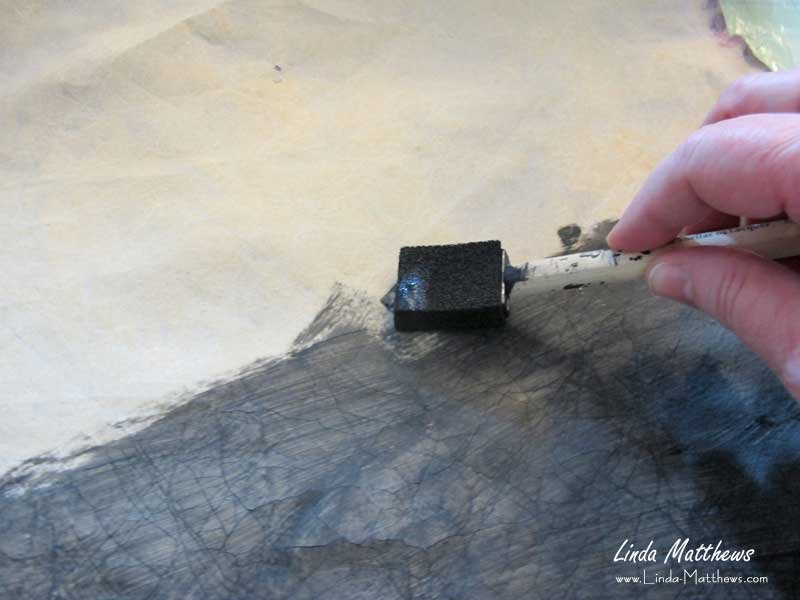
Then comes the fun part. First mix a thinned out solution of paint. You can use any color and any type of fabric paint or slightly thickened dye but for this piece I used black acrylic paint because it was the only black paint handy. Gently scrunch the fabric to create cracks in the dried paste. You can scrunch it as much or as little as you like. Then cover the flour paste with the paint solution. The reason you need the paint to be runny is so that it seeps through the cracks. I like to use the flat end of a foam paintbrush and press the paint into the cracks. Leave for about an hour to dry.
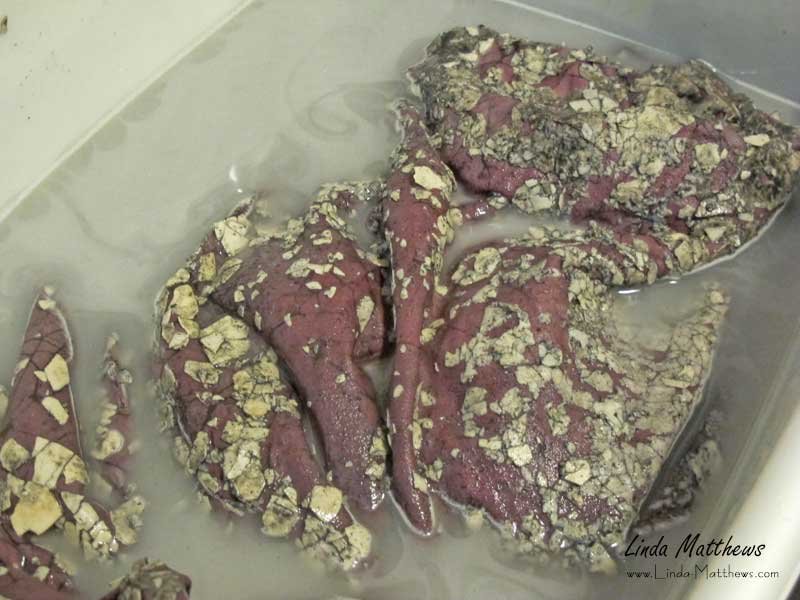
Rinsing the fabric is a little messy but the easiest way is to allow the fabric to soak for a few minutes in some warm water until the paste softens, and then squish the fabric in your hands until the clumps of paste come loose. I usually do this in a plastic bucket and change the water every so often. Don’t dump this stuff down your drain otherwise it will just clog it up. Do it outside.
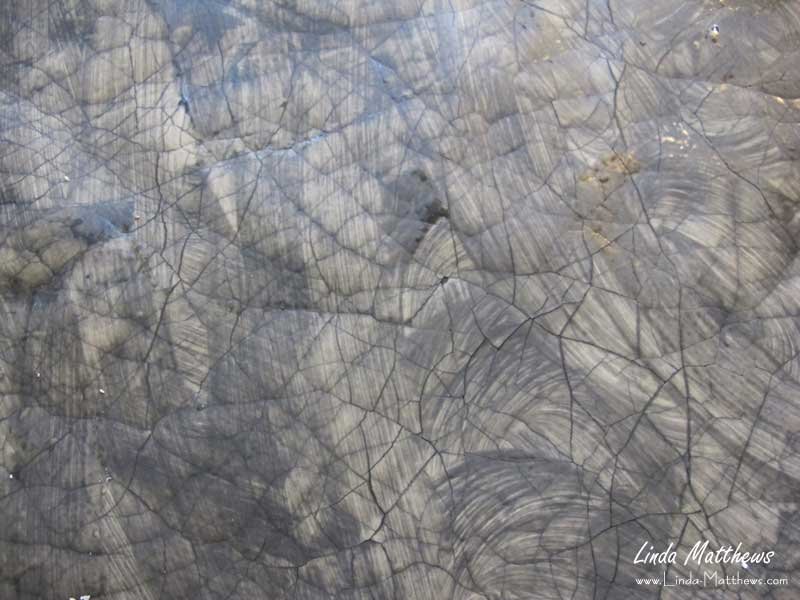
After the fabric is clean of all paste, allow it to dry. It was difficult to get a photo of the whole piece of fabric because it’s quite large, however the results are very good.


To finish this piece off I’m going to stencil a design all over the fabric – See Part 2 here.


