After making some polymer clay button molds a few weeks back, I finally had the opportunity to test the molds.
I thought for this batch of buttons I’d use air dry clay which is the same clay I used to make the faces for my spirit dolls. It’s much lighter than oven clay and dries quite hard. I like to use it because it doesn’t require messing about with the oven.

You need to condition it in the same way as standard clay, and then just press it into the mold. I dusted the mold first with a little talcum powder so the clay wouldn’t stick.
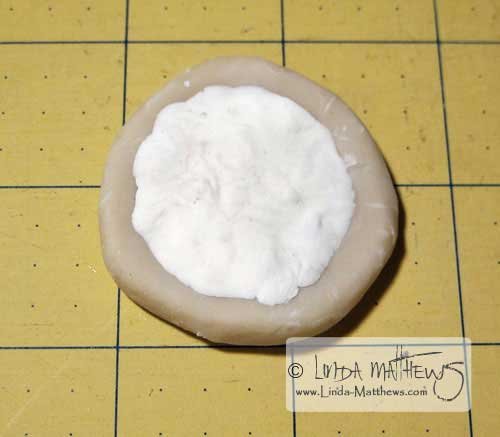
It was quite easy to remove as the mold is quite flexible.

There was some excess around the edges …
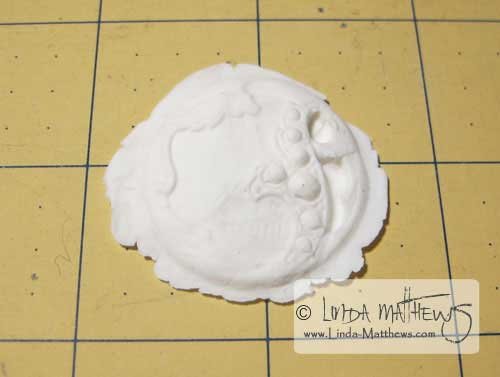
… which I cut away with a small pair of scissors, and then I smoothed the edges out with my finger.

I added a shank by pressing a jump ring into the underside.
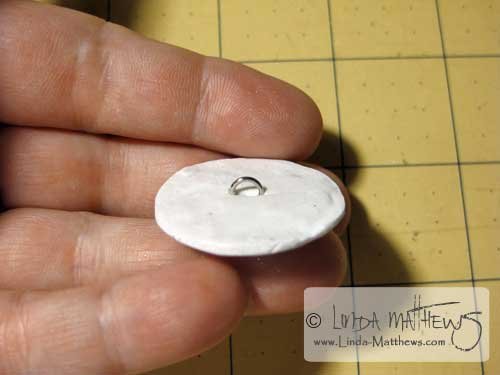
It was interesting to note that the air dry clay shrank when it was dry. Air dry clay is supposed to have “minimal” shrinkage but this button shrank by about 10% which is quite significant.

I also made some flat buttons by rolling out a sheet of clay and pressing a stamped design into it.

I used the cap off a bottle of glue which was about 1″ diameter to cut out the shapes of the buttons. I read somewhere on the internet that if you place a piece of plastic wrap on top of the clay before pressing out the shape that it helps to make the edges rounded.

Which it did.

I then placed a real button on top to use as a template and made some holes in the clay button with a kebab stick.

The buttons turned out quite good. However I think I’m going to try again using oven bake polymer clay to see if there is less shrinkage.


