Have you ever used a fabric marking tool and not been happy with the results? Join the club! You’d be surprised to know just how many people have been disappointed to discover their fabric marking pen or pencil leaves marks on the fabric, or they bleed into the fabric, or they just plain won’t work.
The best way to avoid disappointment when using these types of fabric marking pens and pencils is to read the instructions on the packet because they will explain exactly how to use the tool.
Then after you’ve read the instruction … always test on a scrap piece of fabric! It’s definitely worth taking the time to always test first because fabric differs from type to type and manufacturer to manufacturer and a fabric marking pen that works on one fabric doesn’t necessarily work the same way on another. Trust me on this.
But over the years I’ve discovered that I generally work with similar types of fabrics and subsequently tend to use the same marking tools. These are my all-time favorites.
My very favorite fabric marking tool is a hera marker.
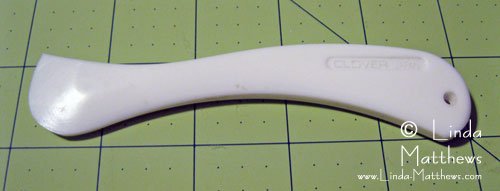
Hardly anyone knows what this tool is never mind what it does, but I’ve used one for as long as I can remember and I always have several on hand in case I misplace one.
A hera marker is used to make invisible crease lines in your fabric and it’s particularly useful for times when you don’t want to make pen or pencil marks on your fabric. You can make straight or gently curved lines with it and you can use it for marking quilting designs, or for marking and creasing seam allowances.
When using it for marking quilting designs, I sometimes find that if you handle the fabric too much, the lines tend to disappear so you have to take a little care not to handle your quilt too much.
I find it particularly useful however for making creases when I need to fold a seam allowance.
You use a hera marker by pressing the curved edge into the fabric, but not too much; just enough to create a crease.
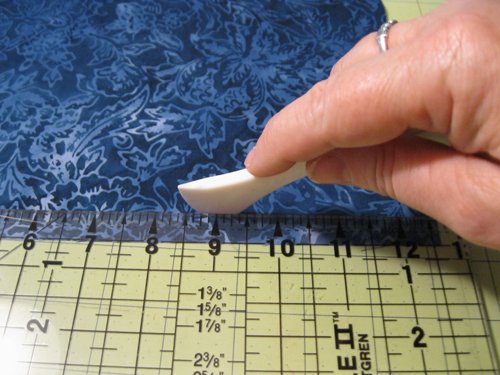
The crease is quite visible once you’re done marking and you should be able to see it in this photo near the bottom edge of the fabric.
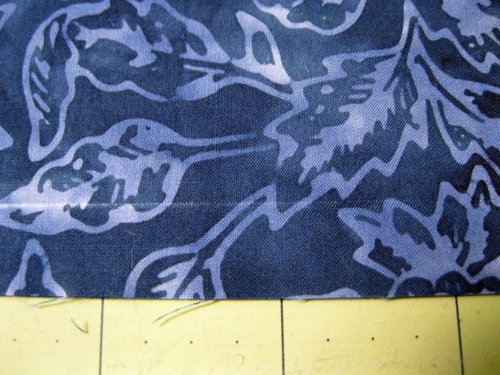
And because it’s a crease and not just a mark, your fabric folds easily – the perfect solution for making a folded seam allowance.
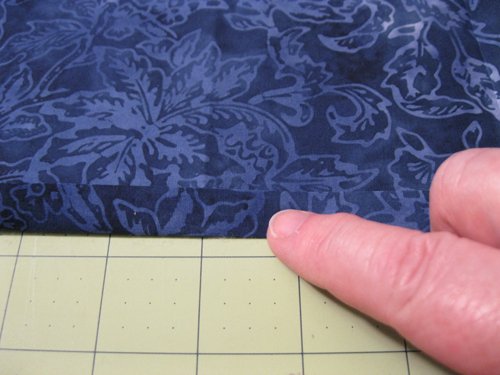
You can also see how I use it here to mark the seam lines for my bag straps.
My favorite fabric marking pen is the Clover White Marking Pen.

This is my very favorite fabric marking pen and I use it for applications where a hera marker isn’t practical. The ink is white but it can be used on practically any color fabric (except white) with fairly good visibility.
I like it mostly because it has a super fine tip so you can make very intricate markings that disappear when you apply a shot of steam from your iron. You may need to run a pen mark two or three times to get a really good visible mark on lighter colored fabrics and you will need to wait for a few seconds for the markings to appear. However this pen has never let me down and it absolutely disappears with a simple shot of steam.
However … if you find that one day your marks just don’t want to disappear, it’s probably because you used this white marking pen by mistake – it’s a white gel roller pen. That looks exactly like the white fabric marking pen. But this mark will not come out no matter how hard you try, so it makes a good permanent fabric marking pen, not so good for temporary markings (sigh).

And finally, my favorite chalk marking tool is the Bohin Chalk Pencil.
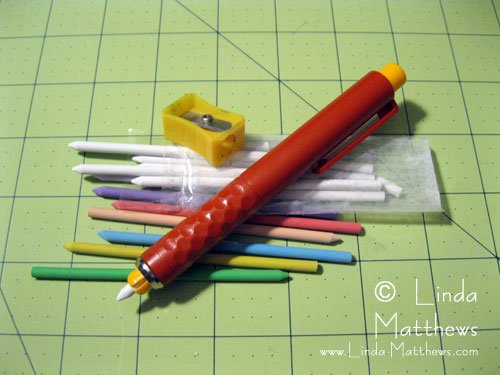
I use this chalk pencil for applications that need a stronger line definition and I like this tool because you can make marks that wipe off or wash out. I generally wipe with a damp cloth. Plus you can get replaceable chalk sticks in different colors, and when they get blunt you just sharpen them with a pencil sharpener.
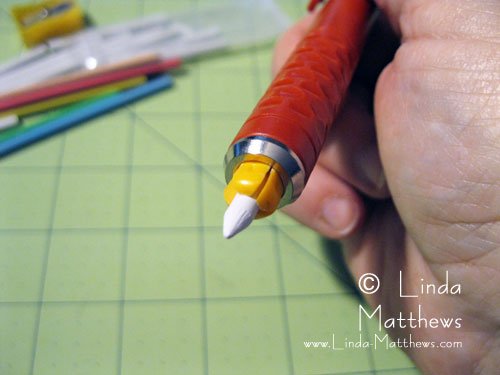
I’ve heard a few horror stories about people having problems with removing the chalk after using similar type chalk sticks, however there are several different brands available and I’ve always used the Bohin and never had any problems, it always wipes off.
And when you use the colored sticks you only want to make a mark that is light and just visible enough to see what you’re doing. You don’t need to press hard. But always test first – just in case.
There are lots more different types of fabric marking pens, pencils and tools of course, so to avoid disappointment, before purchasing always read the product description to make sure it will be suitable for your application, read the instructions before using, and then test first on a piece of scrap fabric.

