Printing your own fabric is fun and easy and it can be used in all sorts of different ways in all types of sewing projects. Small to medium printed photos and images can easily be printed out using a standard size inkjet printer.
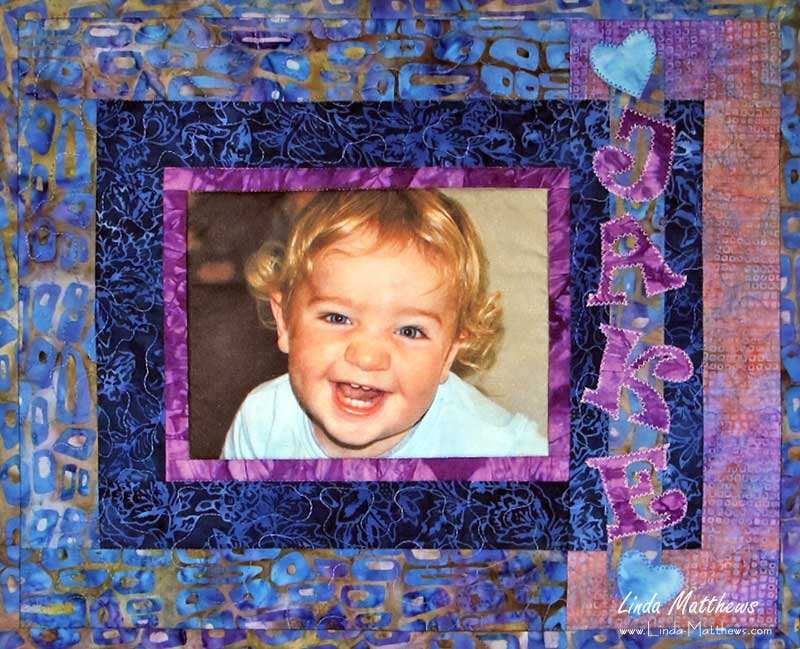
Printed photos can be used to make memory quilts or photo quilts.
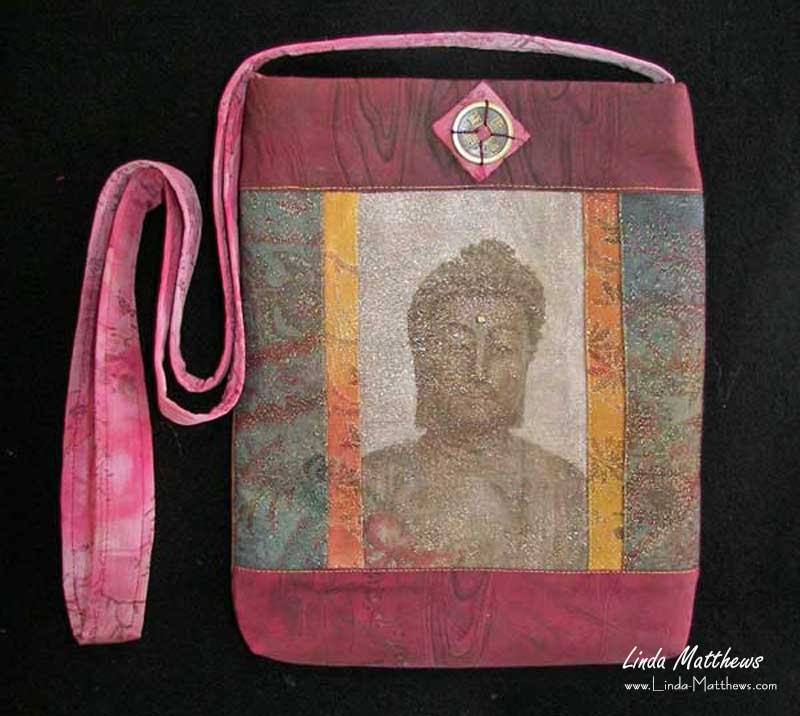
Other types of images can be used to make anything from a camera cozy …

… to art quilts.

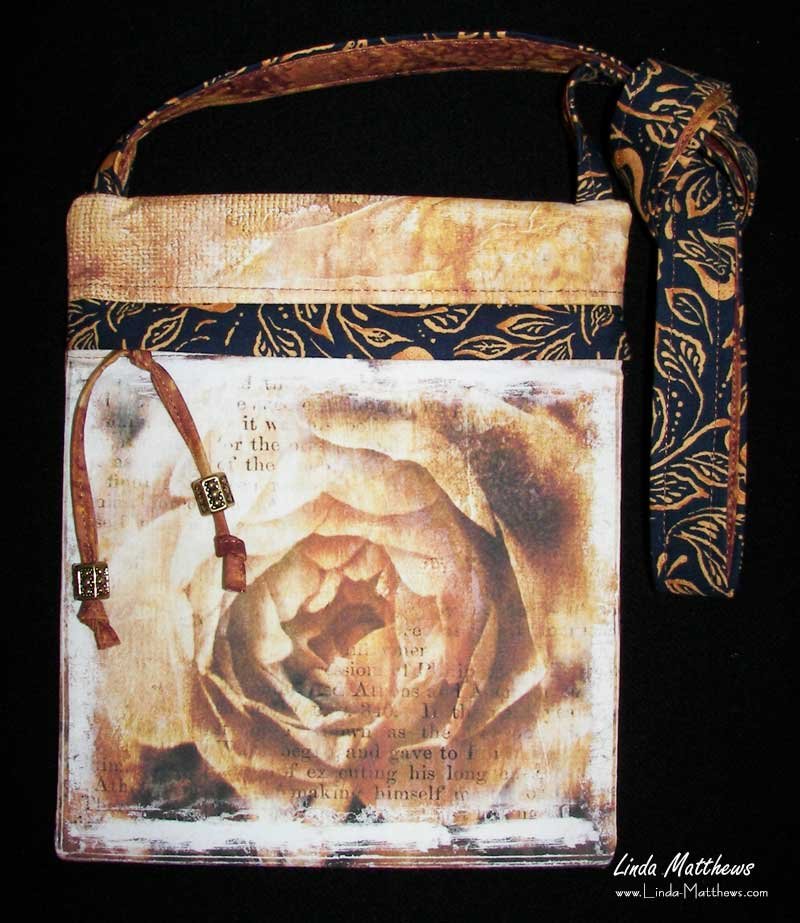
And images and photos can also be used in creative ways to make bags and purses.
How to Print on Fabric Using an Inkjet Printer
The easiest way to print your own fabric and get excellent results is to use commercial fabric sheets. Commercial fabric sheets have a paper backing that makes it easy to feed through your printer, and they are pre-treated so you can use them with any type of inkjet printer and the fabric prints will be washable. I always use EQ Printables which is available in
letter size fabric sheets, 8-1/2″ x 11″
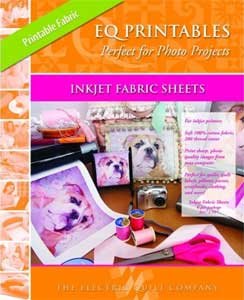
or on a continuous roll, 8-1/2″ wide by 120″ long.

Alternatively you can prepare your own fabric sheets using a product called Bubble Jetset, and then iron the fabric to freezer paper, however this can be time consuming and messy. You can find more information about Bubble Jetset here.
Preparing the image
It’s worth remembering that the quality of your printed image will only be as good as the quality of the photo or image you use. So you may first need to touch up, and/or resize, your photos using a photo editing program such as Photoshop Elements to make them look as good as possible. For printing on fabric, photos and images should have a minimum pixel resolution of at least 200.
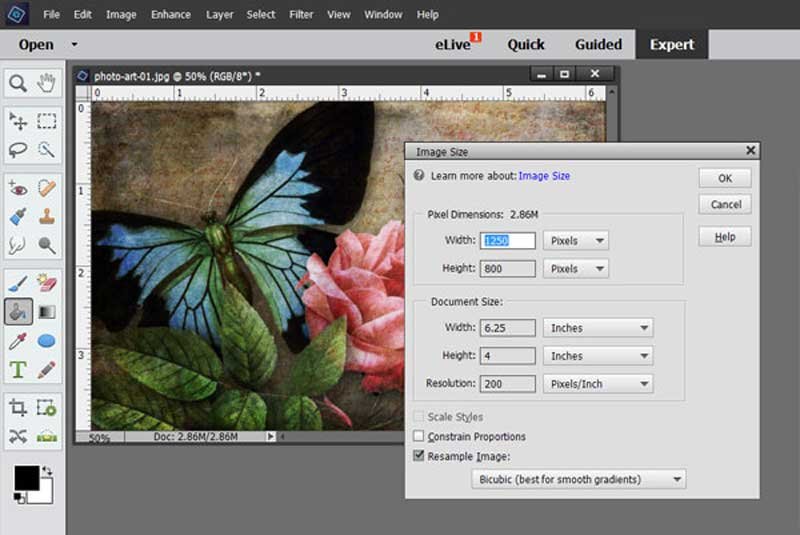
Once you’re happy with the way your image looks, then all you need to do is put the fabric sheet in the printer, adjust the printer paper setting to plain paper, and set the print quality to standard or photo setting. You may need to do a test print first to see which setting gives the best results. Some printers spit out too much ink when set at the photo setting, and this will result in the ink bleeding which will ruin the print.
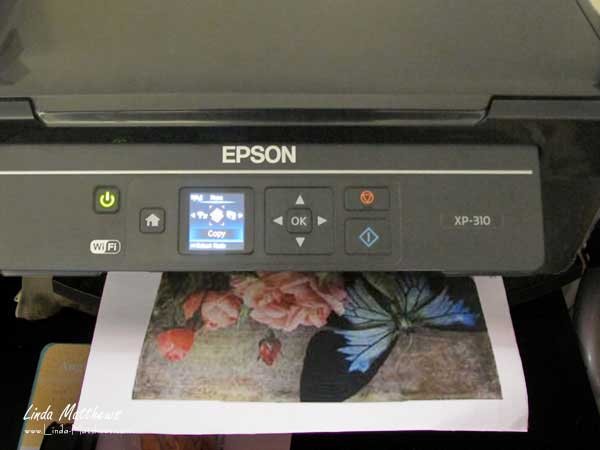
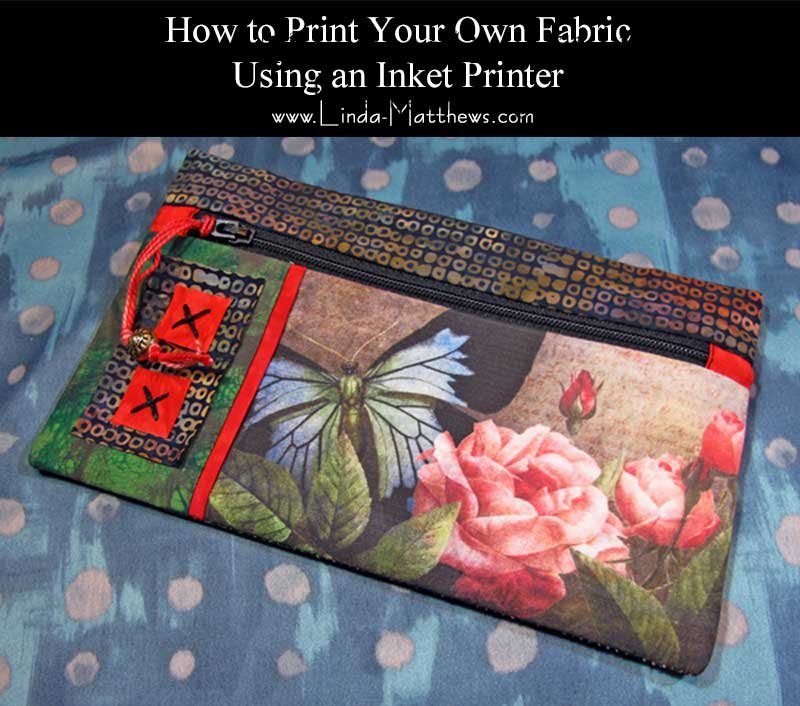
Once the image is printed, you can use it as you would any other type of fabric. I’ve used this photo art image that I designed in Photoshop Elements to make this zipper pouch.


