If you’ve played with blending modes in Photoshop you no doubt have your favorites. My favorite blending modes are generally “overlay” and “soft light” because they seem to produce consistent results for the type of photo art I like to make. However this week I took a stop outside the box and began working with the blending mode “difference” which resulted in some interesting images.
For example …
Last weekend some friends and I took a road trip to the Viera Wetlands to take photos in the early morning. Up before dawn (ugh) we arrived just as the sun was rising. I managed to take a few decent shots including this white egret with a full reflection.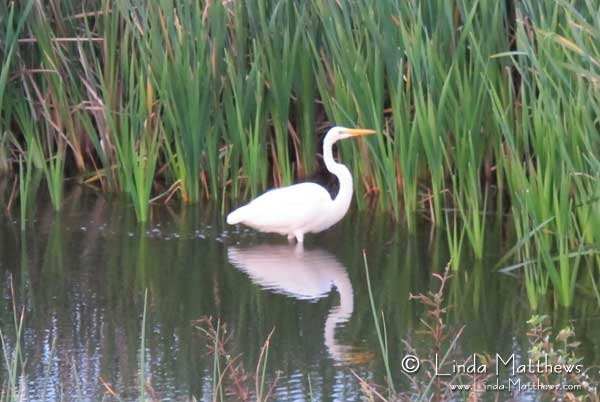
As a texture overlay I photographed and cropped several gelatin monoprints …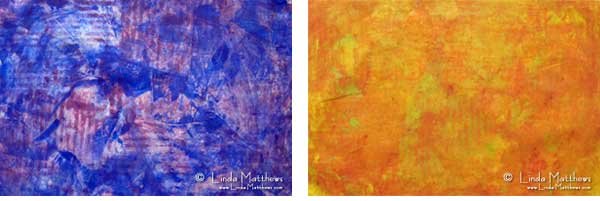
… and used them as a texture overlay set to blending mode “difference” – well – what a difference!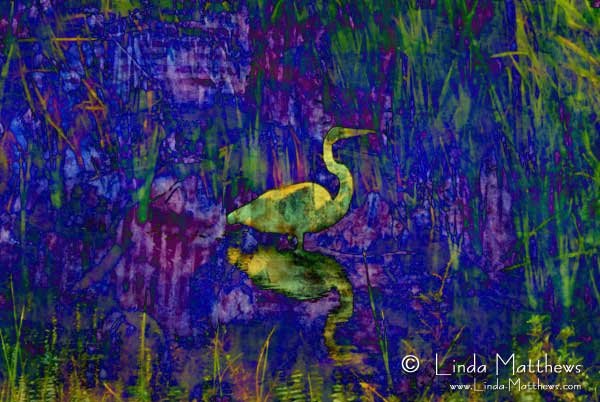
I particularly like this one.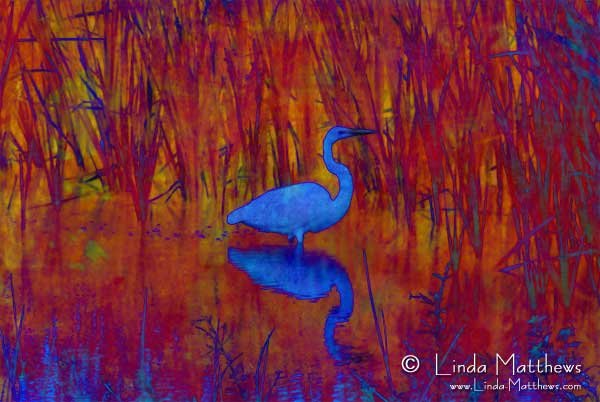
I also managed to take a great photo of these reeds which were broken at different angles and created a pool of crazy-looking geometric shapes.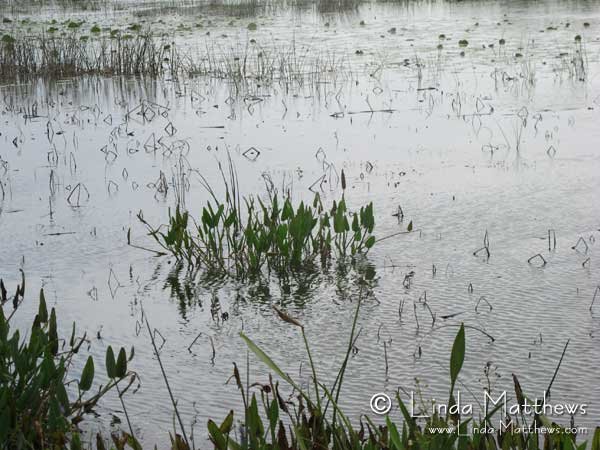
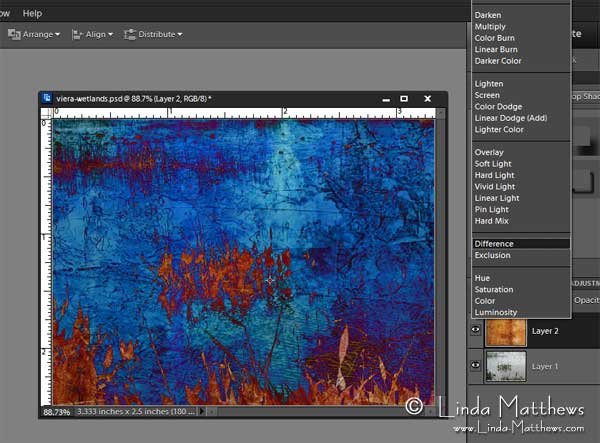
I used a different gelatin monoprint as a texture overly which resulted in this fabulous image. I love the way these images have turned out and I’ve already begun work on a new art quilt using several of these images.
To use the “difference” blending mode
Position a texture image on a layer above your main image and set the blending mode of the texture layer to “difference”. The colors that you use have a lot to do with the results that you get so you may have to play around with different combinations of texture colors and main images.
“Difference” Looks at the color information in each channel and subtracts either the blend color from the base color or the base color from the blend color, depending on which has the greater brightness value.
Enjoy and have fun!