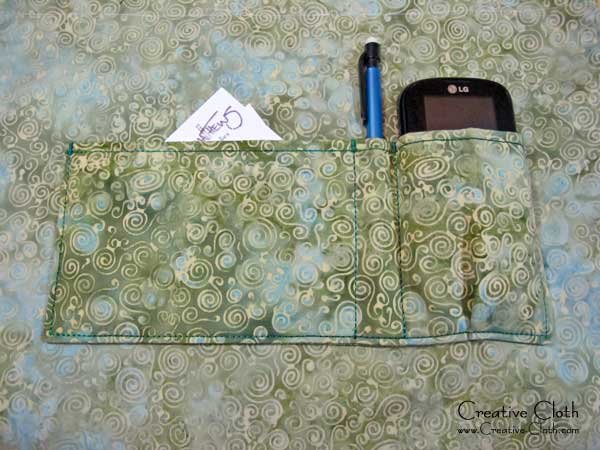
Slip pockets are easy to sew and are useful for holding and organizing small items in your purse such as cell phone, pens, glasses etc. Designing a slip pocket with sections is also easy and allows you to custom design a pocket to suit your own personal requirements.
Designing a Slip Pocket for your Bag
To design a slip pocket, first consider what you need to put into the pocket. For a small, general purpose pocket, a good size to start with is a 4″ high by 6″ wide.

Then you can add sections to it for different items. For my bags, I like to have a general purpose pocket, a pocket for a pen, and also a pocket for my cell phone.
Calculate the measurements for your pocket sections
For a cell phone pocket, measure the cell phone along the top and sides. For my cell phone I would add 3″ for the phone. However when adding pockets for bulky items like cell phones, I also like to sew a small pleat into the bottom of the pocket to allow for the bulk and I add an extra 1/2″ for the pleat. For a pen pocket you would add a 1″ section. Then depending on the size of your bag, you can adjust the measurement on the general purpose pocket more or less.

Sewing a Slip Pocket into your Bag
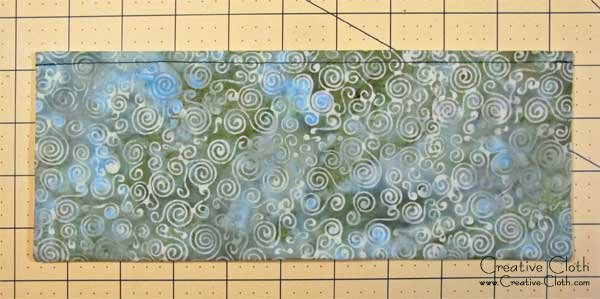
Once the pocket is designed, you can now cut and sew the pieces. Slip pockets are usually cut from one piece of fabric. To calculate the cut size: multiply the height x 2, then add 1″ to the height and 1″ to the width for 1/2″ seam allowances. For my pocket I’ll be cutting a piece of fabric 11″ wide by 9″ high.
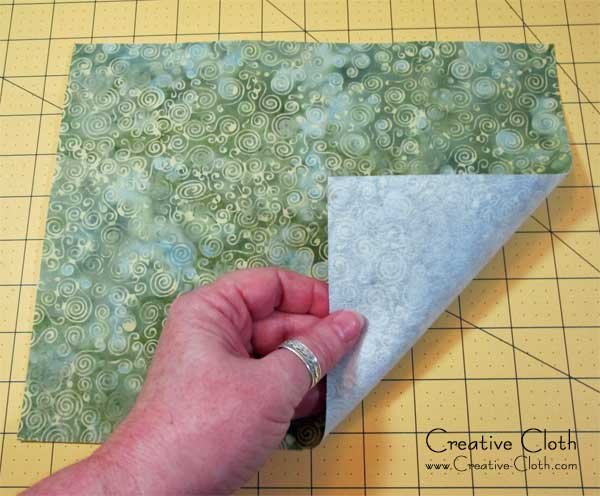
To help support the contents of the pocket and prevent the pocket from sagging and drooping, line the pocket fabric with a medium-weight interfacing. I like to use fusible interfacing such as Pellon mid-weight fusible interfacing.
Fold the fabric in half lengthways and sew a 1/2″ seam down both sides and along the bottom, leaving a 3″ gap along the center of the bottom seam. Trim away the points at the bottom corners being careful not to snip the stitches. This will allow the corners to lay flat when turned inside out.

Turn the pocket right side facing out through the opening in the bottom of the pocket and carefully push out the corners. Tip – use a point turning tool to push out the corners. This tool has a slightly rounded tip which helps to push out a point without tearing the stitches in the seam.

Tuck the seams into the opening and straighten. Press with an iron, and topstitch about 1/4″ from the top of the pocket.
Using a fabric marking pen or chalk marker, mark the sections for the pen and cell phone on the upper side of the pocket.

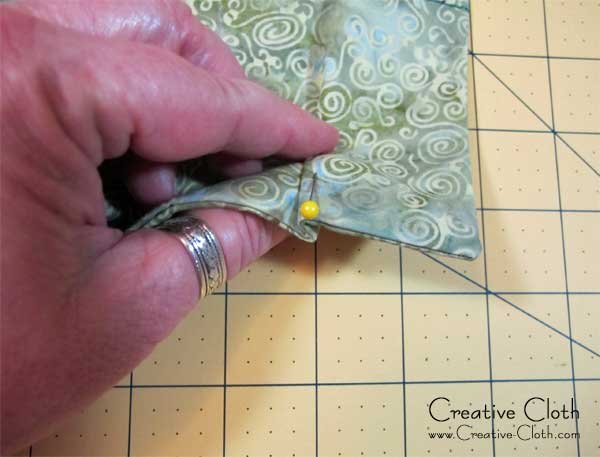
On the section for the cell phone, fold a small pleat and pin in place.
Slip pockets are sewn to the bag lining and I like to sew mine approximately 4″ from the top edge of the bag which allows me quick and easy access when I need to grab something in a hurry. Center the pocket on the lining between the side seams, pin in place and sew down both sides and the along the bottom close to the edge. Sew the sections along the marked lines.

If your sewing machine has a bar tack stitch, use it to secure the stitches at the top of the pocket. A bar tack stitch is a small narrow zig-zag stitch and will prevent the pocket from ripping away from the lining if you put heavy or bulky items into it.

You now have a perfect slip pocket, customized for your own contents!