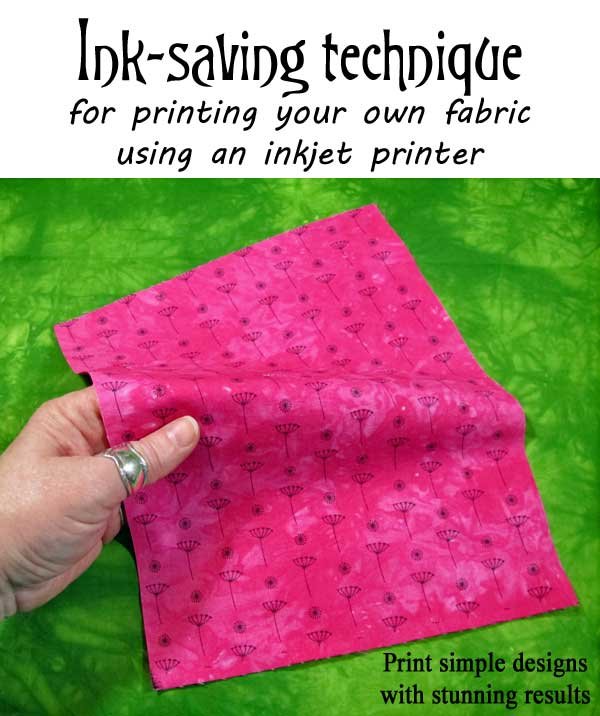
Although printing your own fabric using an inkjet printer doesn’t use any more ink than printing on paper, at times you may want to be a little more frugal with your printer ink. This ink-saving technique is perfect for printing simple designs onto fabric with stunning results.
Printing bold black designs onto plain colored fabric such as solid color commercial fabrics or hand-dyed fabrics, helps to save on printer ink because you don’t need to print a colored background. And the designs turn out fabulous! This technique works for most colors in a light to medium color range. It doesn’t work so well on dark colors.
Here’s how you do it …
1. Prepare the Fabric
If you want your inkjet print to be permanent and washable, you will need to use an inkjet printer that uses pigment inks which are water resistant (see Resources at end of this article), or use Bubble Jetset solution to pre-treat the fabric.
2. Attach Fabric to a Paper Backing
You will need to adhere a paper backing to the fabric so it feeds through your printer. Using freezer paper is an inexpensive option and I like to use these freezer paper sheets which are a little more heavy duty than the kitchen type freezer paper.
Cut a piece of freezer paper to size so it fits through your printer. The size will depend on the standard size copy paper that your printer uses – in the US it’s letter size 8 1/2″ x 11″.
Cut a piece of fabric slightly larger than the freezer paper. I’m using some of my hand-dyed fabric.

Using a hot iron with no steam, press the fabric onto the waxy side of the freezer paper. Make sure that no threads or bits of lint get caught between the paper and the fabric as this will ruin the print.
Once the fabric is ironed onto the freezer paper, trim the edges of the fabric even with the paper using a quilter’s ruler and rotary cutter. Check and make sure there are no loose threads hanging off the sides and every cut is nice and clean and straight. Your fabric is now ready to feed through your printer.

3. Create the Design
Create a digital design the same size as your fabric with a transparent background or a white background. Inkjet printers don’t print white.
I used this tutorial to make a half drop repeat pattern in Photoshop Elements. I made a design with a transparent background and saved the image in png file format which allows transparency.

4. Print the Design onto Fabric
To print the design, simply put the fabric into the printer exactly the same way as you would paper and set up your design in Photoshop Elements or other software program. Set the paper setting on your printer to plain paper, and set the print quality to standard or photo setting. You may need to do a test print first to see which setting gives the best results. Some printers spit out too much ink when set at the photo setting, and this will result in the ink bleeding which will ruin the print.


Allow the ink to dry then carefully remove the backing paper and set it aside. You’ll be able to use the backing paper quite a few more times. I love the way these type of designs look on hand-dyed fabric.

Resources
Information and tutorials about printing on fabric:
Inked Cloth
Bubble Jetset
For printing on fabric I use and recommend EQ Printables Inkjet Fabric Sheets or EQ Printables Inkjet Fabric on a Roll