Simple styles of fabric bags offer the perfect canvas for adding embellishments and surface design, and today I’m showing you one of my favorite ways to create color and visual texture on fabric using a circular tie-dyeing technique and a pre-made fabric bag!

Supplies
- Super Simple Tote Bag made using white cotton fabric or pfd (prepared for dye) fabric
- Twine or thick crochet cotton
- Fabric Dye
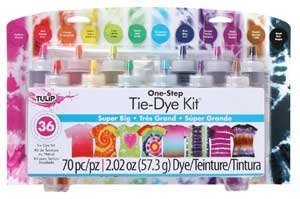
If you’ve never dyed before, it doesn’t get any easier than these one-step dye kits. You can usually find them in your local craft store, or online:
Instructions
Read the instructions that are included with your fabric dyes. For example, the instructions may tell you to pre-wash the fabric. This is to remove any sizing or other surface treatments on the fabric which may prevent the dye from penetrating the fibers easily. If using pfd (prepared for dye) fabric, you won’t need to do this as this type of fabric is already free of surface treatments and is ready to dye.
Make a Super Simple Tote Bag using white cotton fabric. You can find instructions to make the bag here.

Place the bag on a flat surface and pinch the center to gather the fabric.

Holding the pinched end in one hand, use the other hand to gather the rest of the fabric and fold it into a sausage shape. Using twine or thick crochet cotton, tie a secure knot approximately 1/2″ from the pointed end.

Tightly wrap the twine around the fabric in a spiral – wrap the twine tightly two or three times, leave approximately a 1″ gap, then wrap the twin again tightly two or three times. Arrange the fabric so that the gathers aren’t twisted too much. Where the twine is wrapped and where the gathers fold will leave white areas on the fabric after dyeing. For more white, wrap tight. For less white, wrap slightly loose. Tip: You could also use rubber bands instead of twine.

Wrap all the way to the end of the handles and tie off. Now the tote bag is ready to dye.

Soak the wrapped fabric bag in some warm water. This will help to open the fibers and allow the dye to penetrate better. Place in a plastic container. Work in the sink or a plastic covered bench and wear rubber or plastic gloves to protect your hands.

Make sure to read the instructions for any special steps needed for your particular dye. Using a squirt bottle or a tablespoon, drip the dye onto the fabric. On this bag I’m using multiple colors – I mixed red and blue to make purple which is the main color, then I also dripped a little extra red and blue on different sections of the bag.
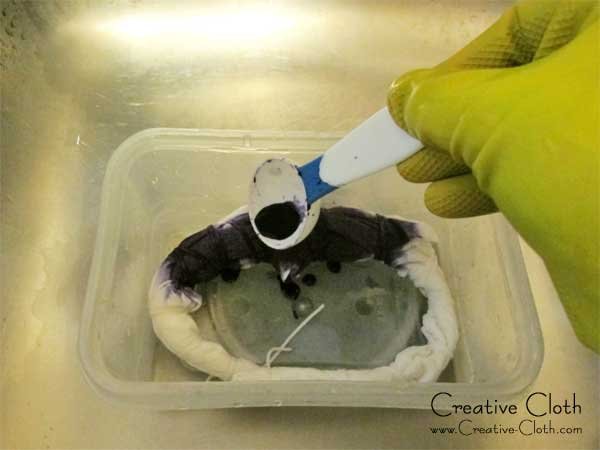
Once the fabric is covered in dye, leave it so the dye has time to batch; usually at least a couple of hours, or as recommended in your dye instructions.

At this point you can squish the fabric a little so that more dye penetrates to the center. But remember – the more you squish, the less white will show. If you like a lot of white, don’t squish.

After the dye has batched, place the fabric bag in a tub of water and unwind the twine. This is where the magic happens and you get to see the fabulous design you created. Rinse the fabric until the water runs clear and then hang it out to dry.
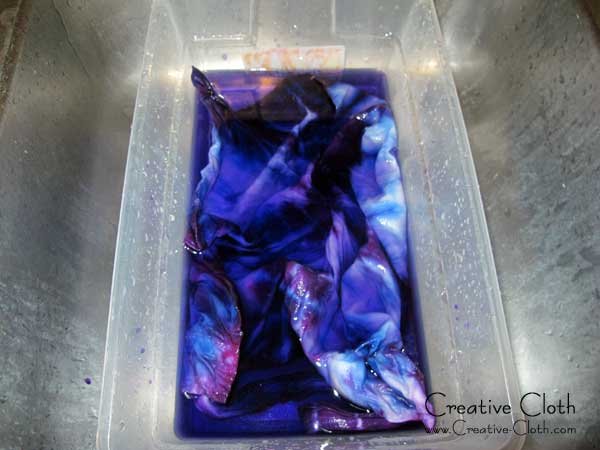
Ta Da! I love these colors!
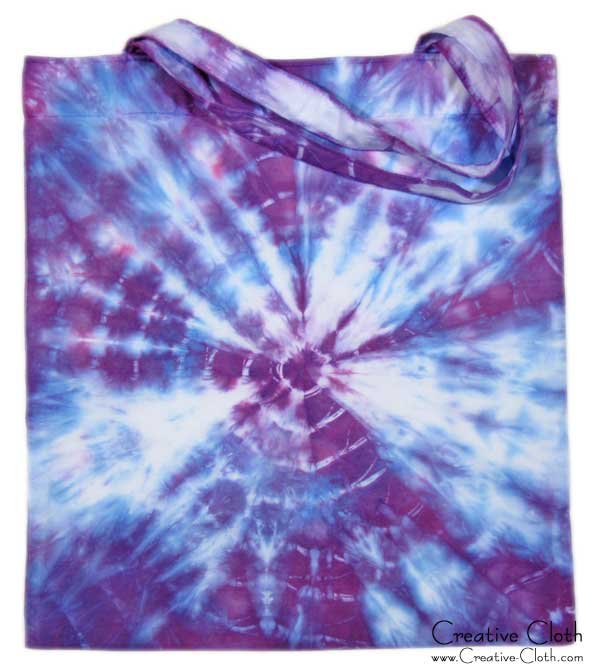
This tie-dye design also looks great in single colors.

During dyeing, I squished this one a lot so that there isn’t much white showing but the design still looks great.

I didn’t squish this green bag at all and after I rinsed it, there was a little too much white showing.

So I wrapped it again and redyed it using yellow which helped to cover some of the white and now it looks much better.

I hope this inspires you to try a little fabric dyeing for yourself! It’s so easy and fun and very creative.


