This week I’ve been spending a lot of time with Photoshop. We’re still not the best of friends, but we’re getting there slowly.
One of the things that I do really like about Photoshop is that there are many ways of doing the same task. Some are more complicated than others but since I’m all about keeping things as simple as possible, I’m loving all the simple shortcuts that help simplify a basic process.
One of the shortcuts that I find myself using over and over again, is this simple process for increasing the saturation on a photo.
This photo doesn’t look too bad, but I’d like to increase the saturation slightly.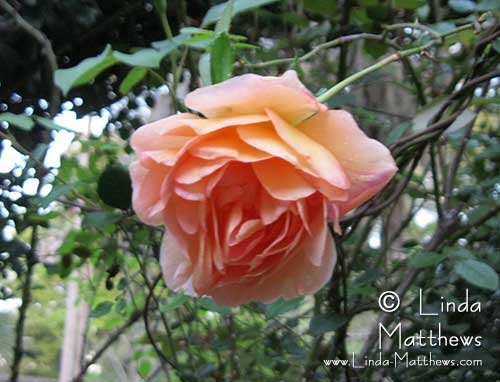
To do this quickly, duplicate the layer, select the top layer and select “soft light” from the blending modes.
Side by side you can see that the saturation is increased just enough in the photo on the right. That’s it done!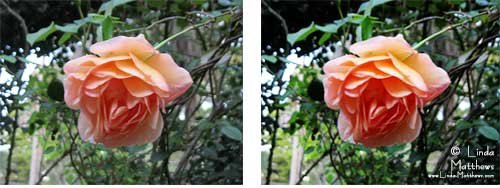
For a stronger saturation, instead of “soft light” select “overlay”. If this makes it too saturated, adjust the opacity level down until it looks good.
Happy Photoshopping!


