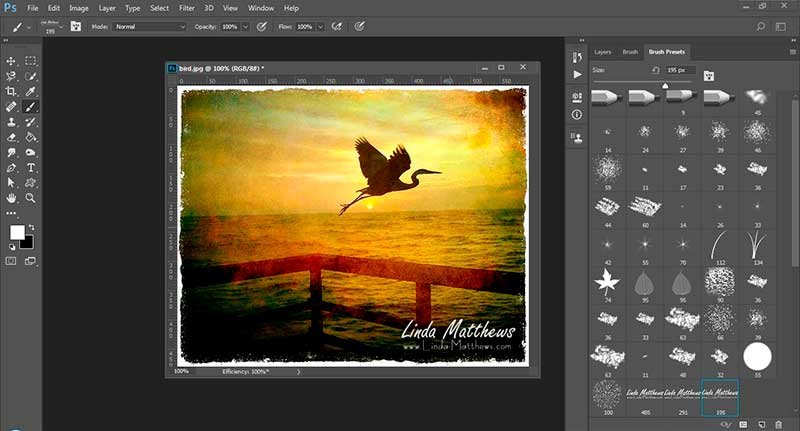
When publishing images on the web I always like to add a watermark signature on the bottom corner, mainly so that others know where the photo originated. If someone sees your photo on the internet or on social media and wants to know more, they can then easily find you. Creating a watermark signature or turning your logo into a watermark is quite easy, and using it as a brush is a quick and convenient way to watermark all your photos.
It’s a good rule to always edit and save your photos in a low resolution format (72 ppi) before publishing to the web. This won’t necessarily prevent theft of your images, but it is peace of mind that the images are not in a format that can be enlarged or used in publications due to the image quality being so low. While you’re saving in a low resolution format, adding a watermark using a brush takes only a few seconds and adds another level of protection for your images.
Please note – these instructions will be the same or similar for both Photoshop and Photoshop Elements.
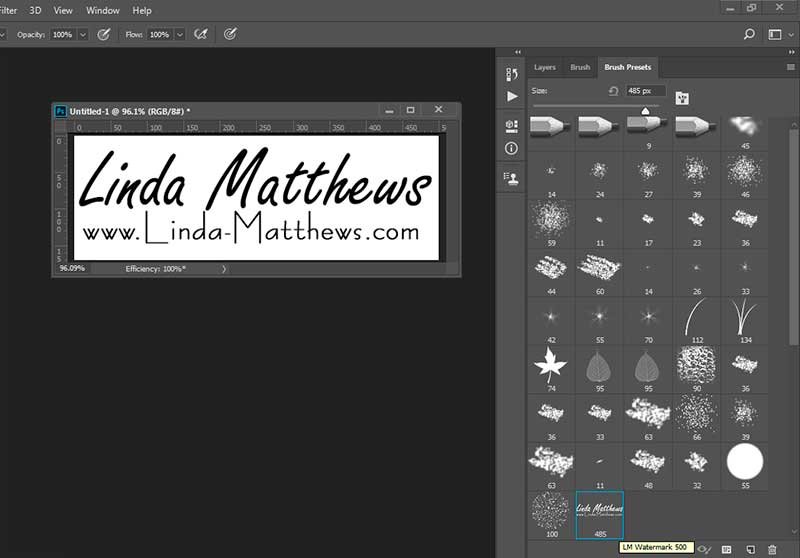
To begin, make a new file and type your information. This file is 500px wide and I generally use my name and website address but you could also add a small image or your logo.

On the main menu select Edit > Define Brush Preset (PS) (PSE – Define Brush).

Give the brush a name then click ok. I like to save my watermark brushes in several different sizes so I can choose the appropriate size depending on the size of the image I’m stamping so I’ve named my watermark brushes according to size to make it easy to select the correct one.

Now select the brush tool, scroll down to the bottom of the Brush Presets panel (PSE – Tool Options panel at the bottom of the screen), and you’ll see that the brush has been added. If you can’t see the Brush Preset panel, on the main menu go to Window > Brush Presets, and the panel will be added somewhere on the right side of the screen.
I like to keep my watermark brushes handy, so I’ve saved them to the default set of brushes. To do this click the drop down menu and select “Save Brushes”.
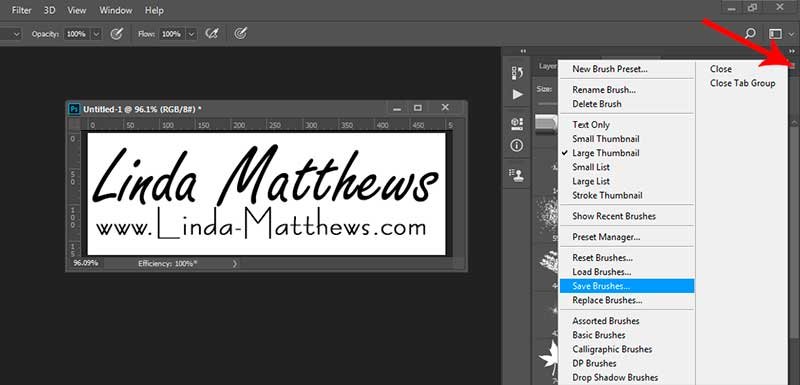
Highlight “Basic Brushes.abr” and save. If you don’t want to save them appended to the basic brush set, choose a different name and save.

Now when you need to watermark an image, simply select the watermark brush, select the foreground color and stamp in the corner.