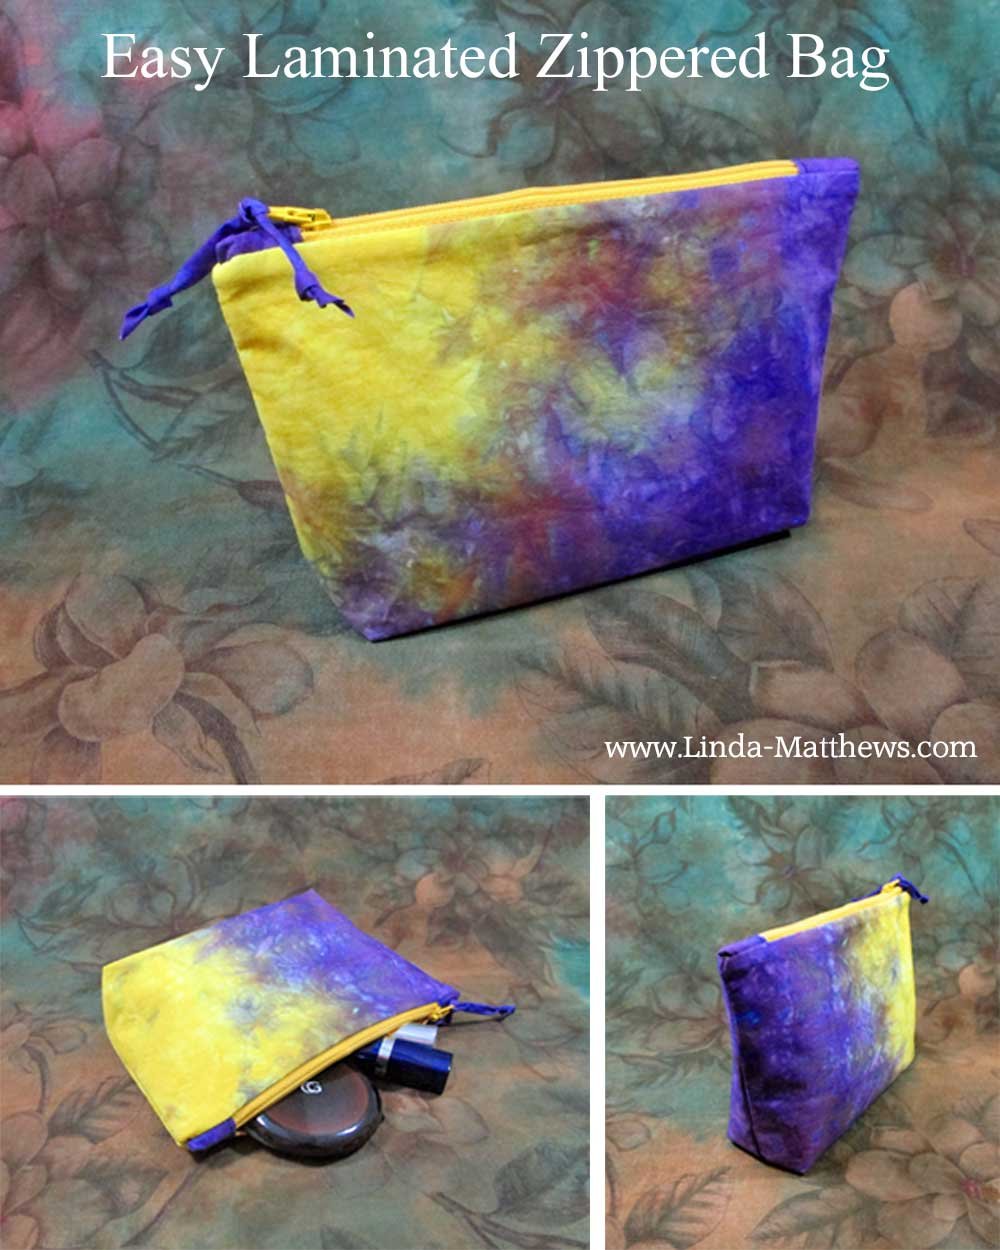
Zippered pouches are so very useful – they can be used to hold all sorts of items and they can easily be made in any size. In this tutorial I’m going to show you how to make a very easy zippered makeup bag with a laminated fabric lining which makes it easy to clean in case of spills. Plus I’ll show you a special way to insert the zipper so that it doesn’t bunch up the side seams when sewing thick or stiff fabrics.
Finished size of bag: 8-1/2″ wide x 5″ high
Supplies
- Main fabric – two pieces 9″ x 6-1/2″
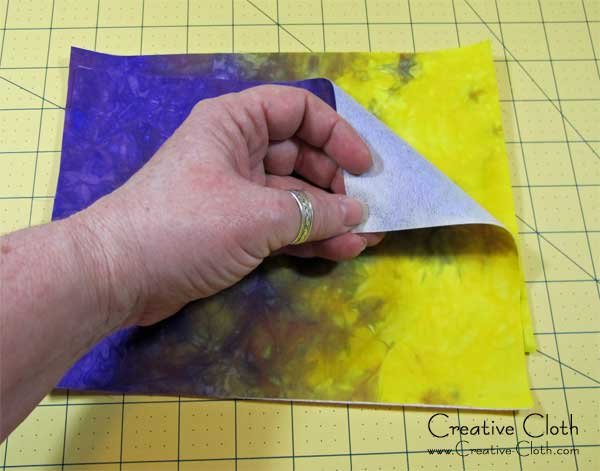
- Laminated fabric for lining – two pieces 9″ x 6-1/2″ Learn how to make laminated fabric here
- Fabric for zipper tabs – two pieces 3″ x 2″
- Medium-weight Interfacing – two pieces 9″ x 6-1/2″
- Nylon zipper – a few inches longer than the finished purse width
Directions
Iron the interfacing to the main fabric.
Cut the zipper to 8-3/8″ and add fabric tabs to the ends. Learn how to make zippers with fabric tabs on the end here.
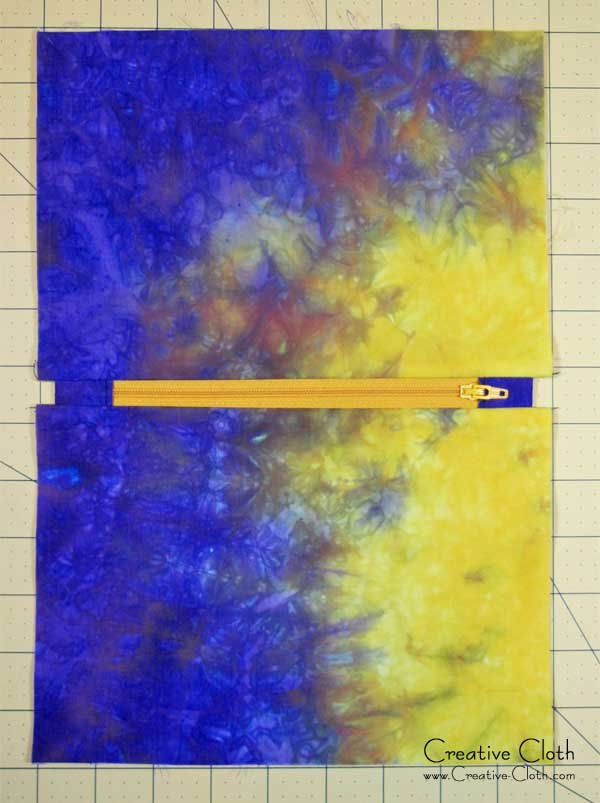
Place one piece of lining fabric right side (laminated side) facing up on a flat surface. Position the zipper with the right side facing up along the top edge, centered between the side edges. The zipper is shorter than the width of the fabric and allows for a 1/4″ seam allowance plus a little extra. This means when you sew the side seams.

Place one piece of main fabric right side facing down on top of the zipper. Align all the edges along the top and pin in place.
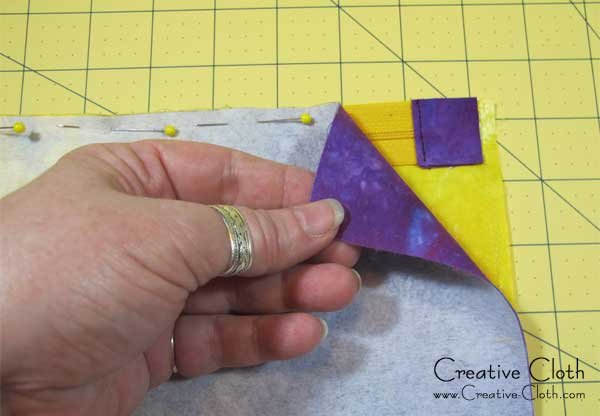
Sew a 1/4″ seam along the top.
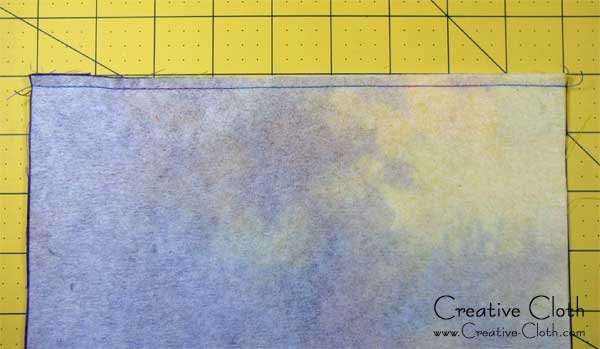
Unfold the sections and press flat.
Do the same for the other side.
Open the zipper. Fold the front sections together with right sides facing, and pin. Fold the lining sections together with right sides facing, and pin.
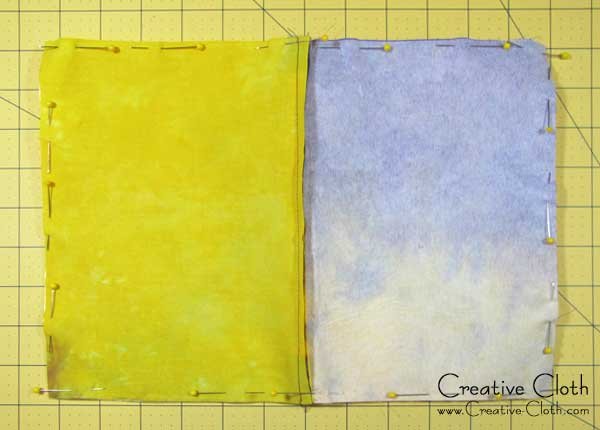
Sew a 1/4″ seam all the way around being careful not the sew into the edges of the zipper tabs. Leave a 4″ opening along the bottom of the front sections so you can turn the pouch right sides out. Normally you would leave the opening on the lining, however it’s difficult to sew laminated fabric by hand, so in this case it’s easier to hand sew the outside of the bag.
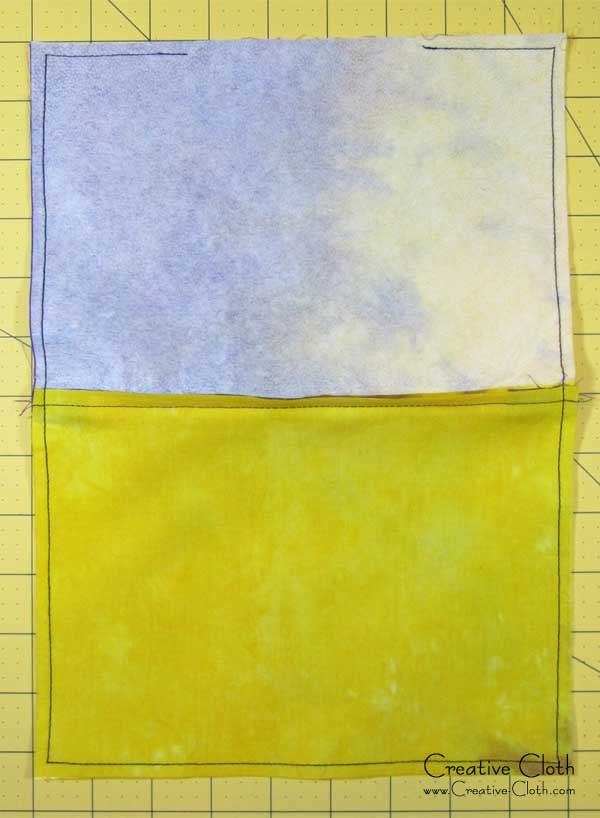
Fold the corners to a point, align the seamlines and sew 2″ boxed corners on each corner of the main fabric and the lining. Learn how to make boxed corners here.

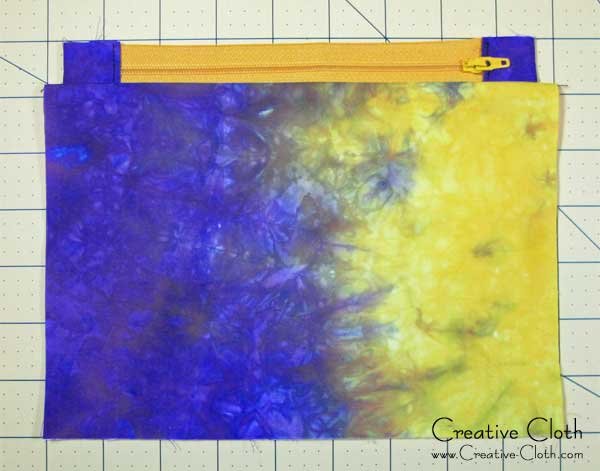
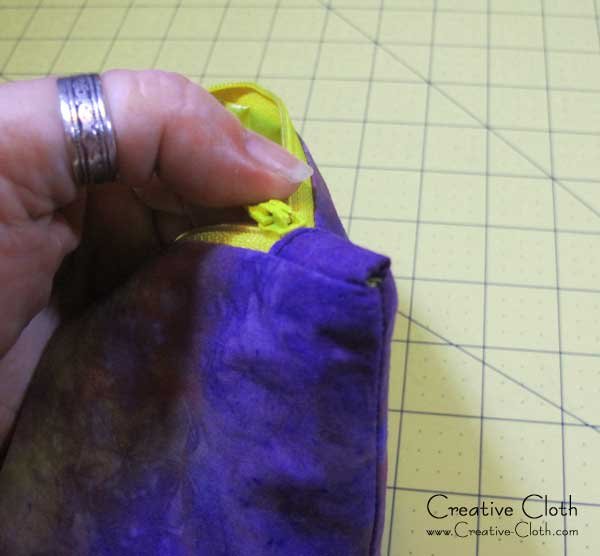
Turn the bag right side out through the opening, arrange the seams and carefully poke out the boxed corners. The tabbed ends of the zipper should be open and the side seams should lay fairly flat. Inserting a zipper in this ways helps to reduce the bulk in the seams and is a useful technique when sewing thick fabric such as laminated fabric.
Handstitch the opening closed. Thread a piece of ribbon or a narrow piece of fabric through the zipper pull to make it easy to open the zipper. And of course use beautiful fabric to make your bag!


