I just love zippered pouches for so many reasons. They’re quick and easy to make and can be made in any size and used for storing and organizing things large and small. Because they’re so versatile and useful, zipper pouches are the perfect sewing project to make for yourself or to give as gifts.
The zipper pouch doesn’t have to be plain and boring though, and I often like to dress mine up using PhotoArt images printed onto fabric and a bit of hand stitching. Adding these small touches really turns a plain zipper pouch into something special. Here’s how I do it.
Finished size of pouch: approximately 8″ wide x 5″ high
Supplies
- Photo printed onto fabric – print size 5-1/2″ x 3-1/2″ plus 1/4″ seam allowance = 6″ x 4″. If using a different size photo, you’ll need to make adjustments to the cut sizes for the fabric pieces.
- Front left – one piece 3″ x 4″
- Faux piping – one piece 1″ x 4″
- Back and front top – one piece 8-1/2″ x 6-1/2″
- Lining – one piece 8-1/2″ x 4″ and one piece 8-1/2″ x 6-1/2″
- Zipper Tabs – 2 pieces 1-1/2″ square
- Nylon zipper – 9″ or longer
- Medium-weight fusible interfacing – one piece 8-1/2″ x 4″ and one piece 8-1/2″ x 6-1/2″
- Hand embroidery needle and thread
Directions
First, gather your supplies. For this zipper pouch I was inspired to use some of my hand-dyed fabrics together with a PhotoArt image printed onto fabric.

Fold the faux piping fabric strip in half lengthways and press with an iron. Faux piping is quick and easy to sew and adds a contrasting splash of color.

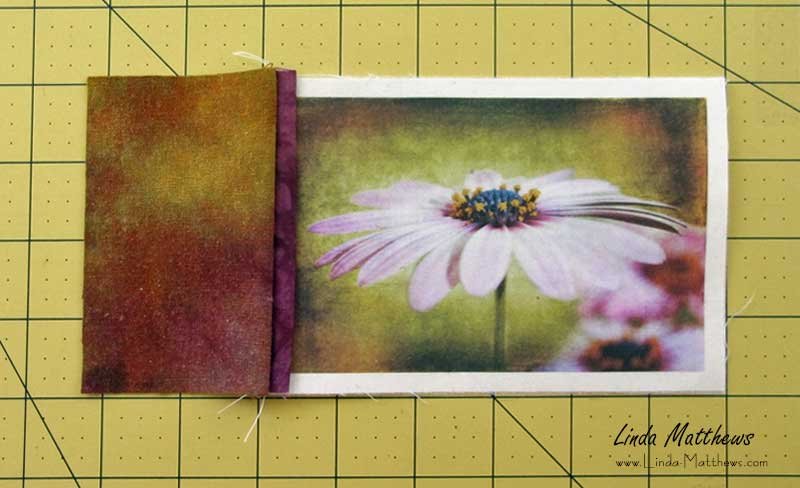
Place the fabric print on a flat surface. Place the faux piping fabric strip along the left side of the print, then position the front left section on top of the piping strip. Align the raw edges and pin in place.

Sew a 1/4″ seam, then fold the fabric open and press with the piping facing toward the fabric print.
Iron the interfacing to the underside of the front and back sections.

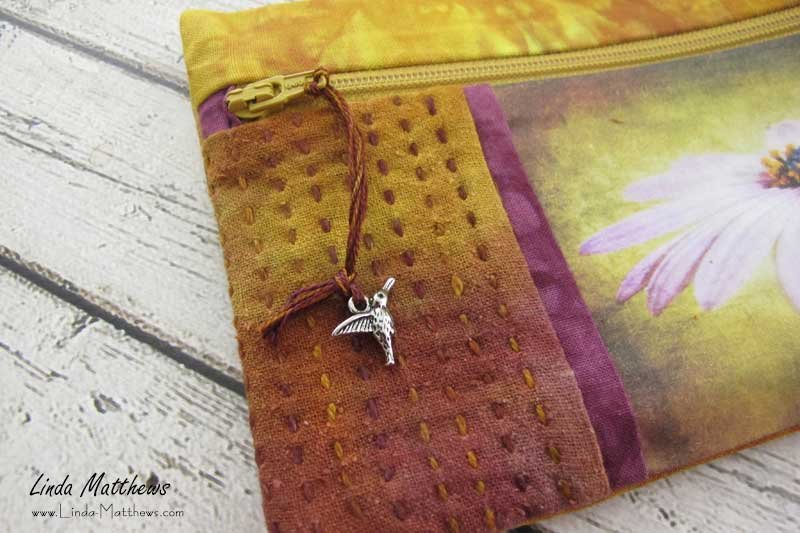
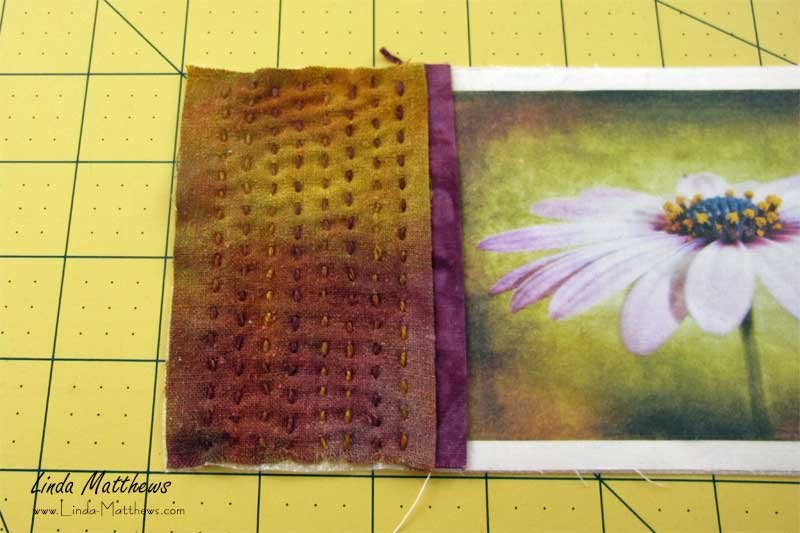
Using an embroidery needle and embroidery thread, sew rows of running stitch along the front left section.
Open the zipper and cut off both ends so that the zipper measures 8-1/2″. Be sure to cut off the metal bits from the top of the zipper as these just get in the way when sewing. Fold each of the zipper tabs in half and press.
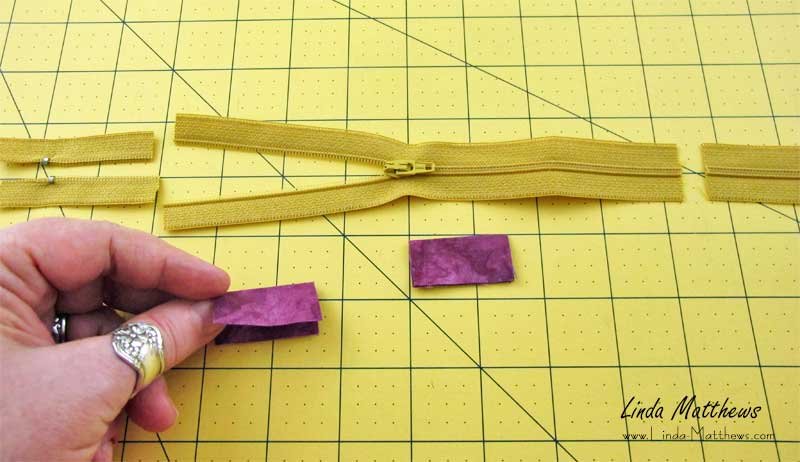
Position the zipper tabs, one on each end of the zipper, with the folded edge facing the inside. Align the raw edges with the ends of the zipper, and pin in place. Topstitch close to the edge on the folded side of the tab. Trim away the excess fabric from along the side edges.

Place the 8-1/2″ x 4″ piece of front lining fabric right side facing up on a flat surface. Align the zipper, right side facing up, along the top edge. Place the front section, right side facing down, on top of the zipper. Align the raw edges along the top, pin in place and sew a 1/4″ seam. When sewing, reach between the layers of fabric and move the zipper slider out of the way as you sew – don’t sew over it.

Open the fabric pieces right sides facing out and press.

Place the 8-1/2″ x 6-1/2″ piece of lining fabric right side facing up on a flat surface. Align the zipper, right side facing up, along the top edge. Place the 8-1/2″ x 6-1/2″ back and front top fabric section, right side facing down on top of the zipper. Align the raw edges along the top, pin in place and sew a 1/4″ seam. Once again, reach between the layers of fabric and move the zipper slider out of the way as you sew.

Open the fabric pieces right sides facing out and press.

Open the zipper. With right sides of the fabric facing, align the bottom edges of the outside fabric and pin together. Do the same with the lining sections. Sew a 1/4″ seam along both bottom edges then press. You should now have something that looks like two tubes of fabric joined in the middle by the zipper.
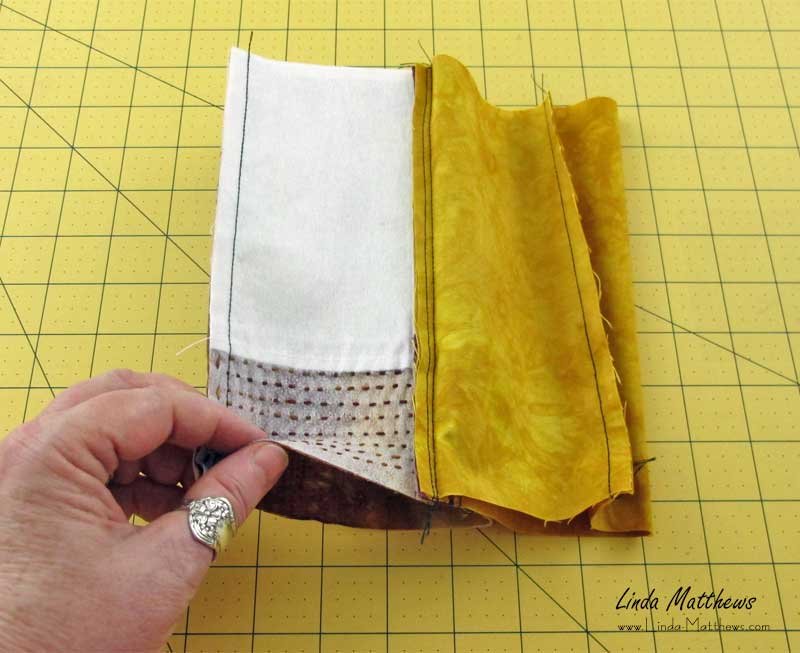
Push the outside fabric tube into the lining tube so that the lining folds over and wraps around the outside fabric.

Arrange and align the seams so that they are at the bottom of the pouch, then pin the side seams. Sew 1/4″ seams down both sides. Finish the seams with an overcast or zig-zag stitch.

Turn the pouch right side facing out, carefully poke out the corners, and press. You’re done!

I finished things off by adding a small charm to the zipper tab.