
Repeat pattern designs are the most common way to create designs, and straight repeat patterns are one of the easiest to make. Although you can make these types of designs using complicated programs such as Photoshop CC, you can also easily make repeat pattern designs using Photoshop Elements.
1. Download the image
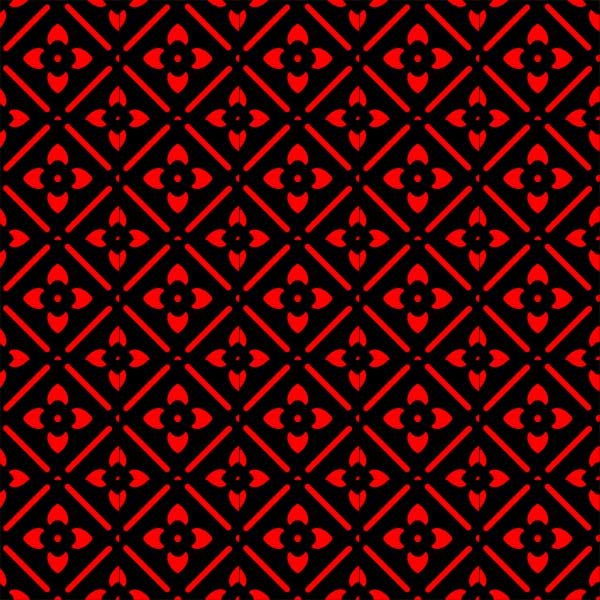
Use this sample image to follow along with the tutorial. Right click and save to your desktop.
2. Open the image in Photoshop Elements
Open the sample image in Photoshop Elements.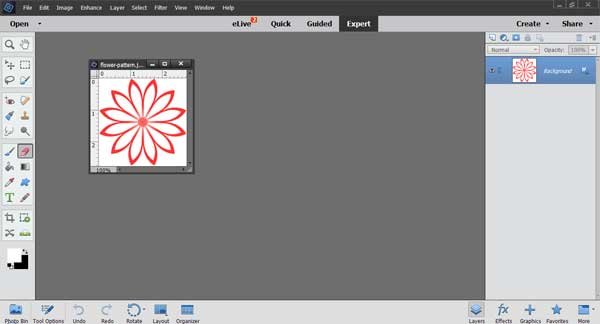
3. Define a pattern
In Photoshop Elements you can create a pattern and save it to the library. In this way you can use the pattern to fill large areas quickly and easily. You can find more about saving patterns and preset libraries here.
From the main menu:
Edit > Define Pattern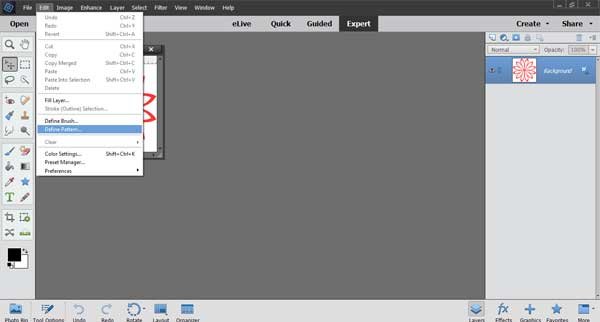
The pattern dialog box will open. Give the pattern a name and click OK.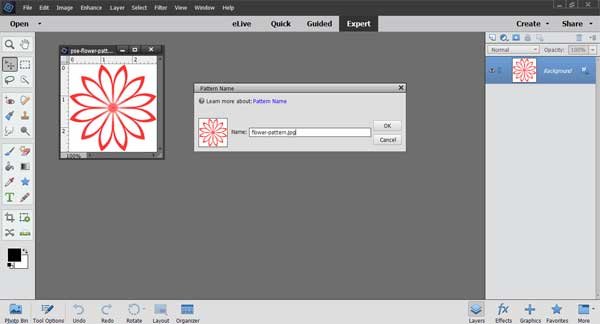
4. Make a new file and fill it with the pattern
From the main menu:
File > New > Blank File
Make the size 2000px wide by 2000px high by 72 ppi resolution. Give the file a name and click ok.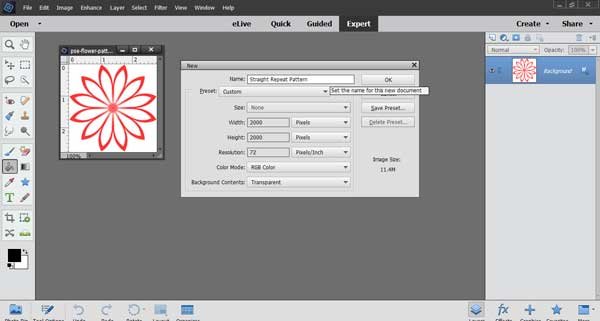
Position the new blank file alongside the flower image.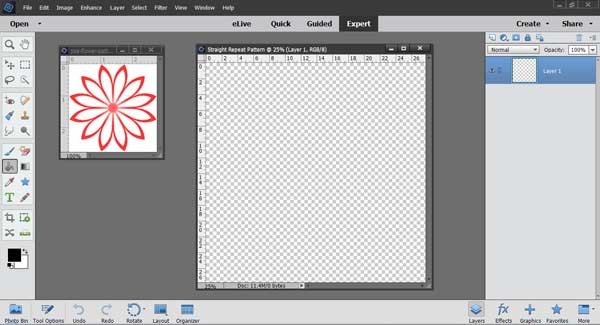
From the main menu:
Select the “Paint Bucket Tool”
Select “Pattern Fill” in the Tool Options
Scroll down and select the pattern you just made which you can see has been added to the bottom of the default set of patterns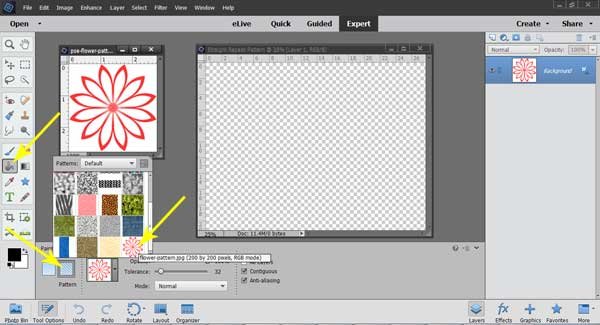
Click inside the new empty file and you will see that it fills with the pattern you just made.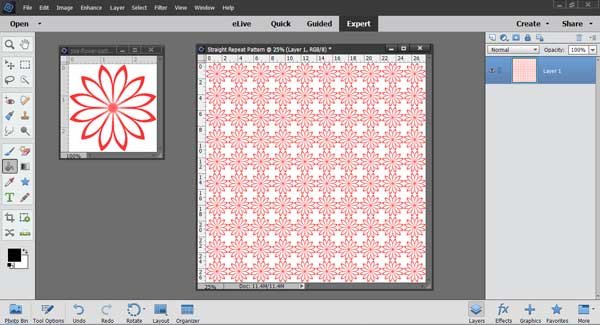
Get Creative
You can use these basic instructions to make all sorts of straight repeat patterns using different types of images. By adding a background layer and using the brushes and the cookie cutter designs that are included with Photoshop Elements, you can create endless patterns and designs using this method.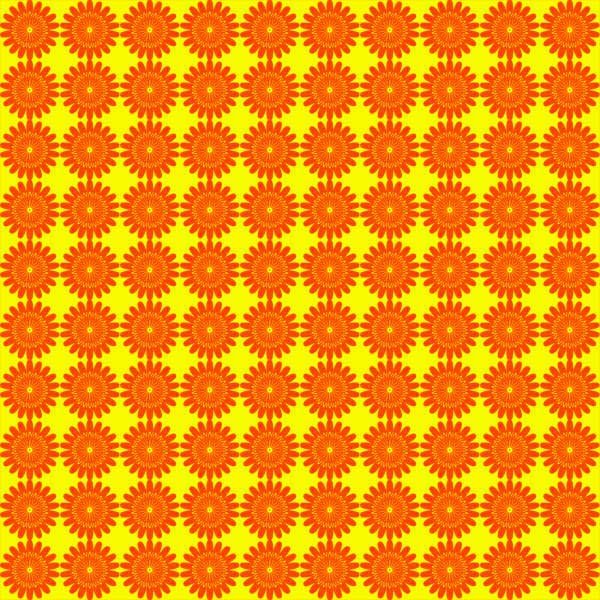
Recommended
Learn fabric design with this CreativeBug online class.
Find more recommendations in the Resources Section


