Adding a rigid bottom to a bag adds shape to the bag and helps to strengthen and stabilize the base. Items can then be arranged more easily, and heavy items can be carried without putting too much stress on the bottom or side seams. Adding a rigid bottom to a bag is easy and can be added to any bag that has boxed corners.
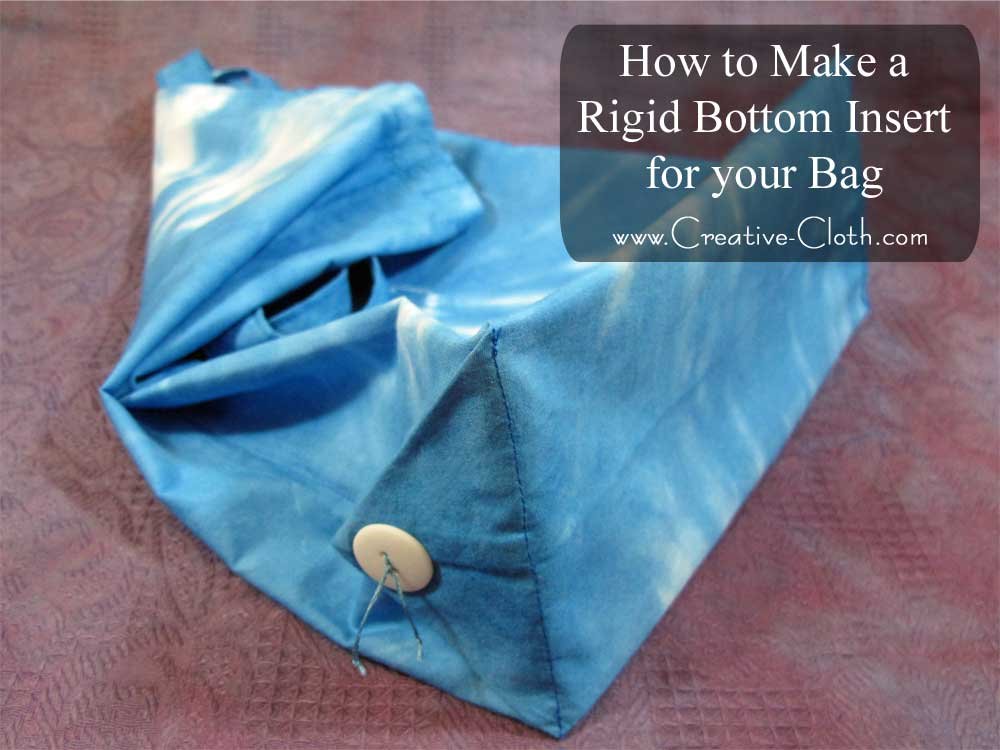
This tutorial shows you how to make a rigid bottom insert for a bag that has a fabric cover with a foldover flap. The foldover flap prevents the insert from falling out and it can easily be removed for washing. I’m using the Super Simple Thirty Minute Tote Bag that I made several weeks ago after adding boxed corners.
Supplies
- Fabric
- A rigid insert – For the insert you can use anything that is lighweight, rigid and flat. Recommended materials for inserts include Peltex Heavyweight Stabilizer, plastic canvas, or chipboard or other thick cardboard.
Instructions
Measure the length of the bag along the bottom center seam, and the width of the bag along the side seam.
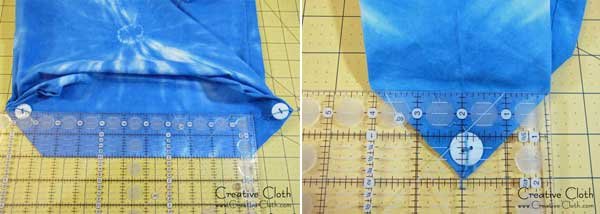
Cut your insert the same size, then trim 1/8″ from both the length and the width. This allows room to add the fabric casing and will allow the insert to fit snugly at the bottom of the bag. I’m using plastic canvas which is easy to cut using scissors.

Cut a piece of fabric twice the length plus 2″, by the width plus 1″. For example, for this bag the length is 9-1/2″ and the width is 4″. I cut the fabric 21″ by 5″.
Sew a 1/4″ hem along both narrow ends: Fold under 1/4″ and press. Fold under 1/4″ again and press. Topstich.
Sew the side seams using a French seam: With wrong sides facing (right sides facing out), fold the fabric lengthways so that one end is 1″ shorter than the other.

Fold the extra inch of fabric over the top of the upper fabric layer and pin the side seams.
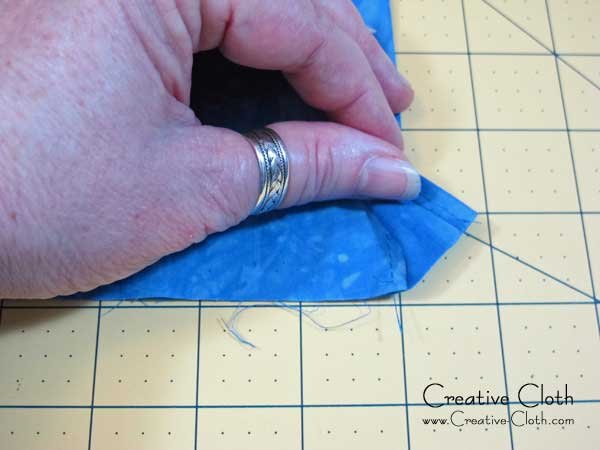
Sew 1/8″ seams down both sides. You should have a foldover flap at one end.

Turn inside out, finger press the seams, and sew 3/8″ seams down both sides. Turn right side facing out and press. Fold the flap back and slide the insert inside the case.
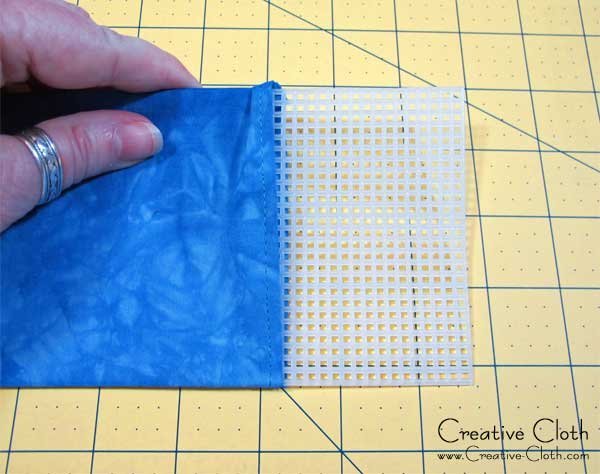
Fold the flap back over the top and the insert should be safely tucked inside.

Slip the insert inside your bag and it should fit snugly. You could add a few handstitches along the side seams to hold it in place, or leave it loose. Wasn’t that easy?