It’s no secret that I’m a big fan of Peltex stabilizer which is a super-heavyweight stabilizer, and I love to use it in lots of different ways …
As a base structure to help hold the shape of my art bags
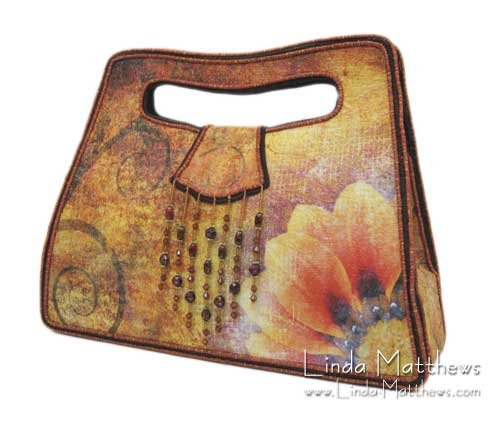
As a base structure for three dimensional art

And also for fabric embellishments.

I used to use Timtex many years ago until they stopped manufacturing it. Timtex was the first heavyweight stabilizer on the market and when it went away I switched over to Peltex stabilizer because this was the only equivalent on the market at that time.
Timtex was resurrected by C & T Publishing back in 2008 and you can read the story about it’s resurrection here (Update: this article is no longer available). I did buy some Timtex when it came back on the market and in a moment of madness I bought a whole bolt of it, but I never really fell in love with it again and I still have most of the full bolt taking up precious storage space (sigh).
However let’s have a look at both Timtex and Peltex and how they stack up against each other ..
Timtex
Timtex is thinner than Peltex by about a half and feels like flexible cardstock. It comes in only one type which is sew-in.
There is a product called Fast2fuse which is supposedly the fusible type of Timtex. I purchased the “heavyweight” variety, however it’s really nothing like Timtex and I found it to be too soft with not enough support for how I like to use this type of stabilizer. In fact it’s quite thin and mushy compared to both Peltex and Timtex.
Timtex appears to be manufactured by fusing layers of different types of stabilizers together, with a thin covering on the top and bottom and a rigid core in the center. However after inspecting the bolt that I purchased, both the thin top and bottom layers are separating in places from the rigid core which results in small lumps and bumps in places. This might not be problem if you are using it for general purpose projects, but could prove to be a problem if using it for quality products. (One of the reasons I don’t like it)

Peltex
Peltex has a consistent thickness and is manufactured using one thick layer, so there can be no separation of layers like I discovered with Timtex.
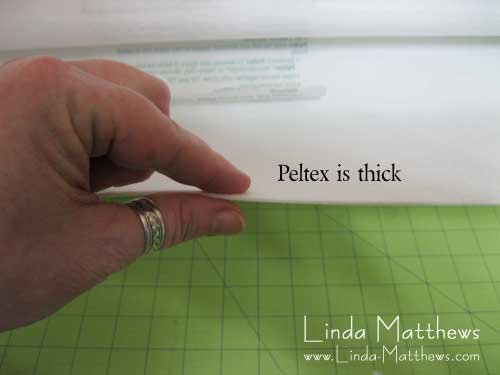
It comes in three different flavors – 70, 71 and 72 – which are all similar in thickness but with the following differences:
- Peltex 70 is a sew-in heavyweight stabilizer and although thick and firm, it’s also quite soft and more flexible than the fusible types.
- Peltex 71 is fused on one side so it’s a little stiffer than Peltex 70. This type is about equal in stiffness to Timtex.
- Peltex 72 is fused on both sides and it’s the stiffest of all. This type is stiffer than Timtex.
Why I love Peltex
Although Peltex and Timtex are both similar in type and are a rigid type of stabilizer that can be sewed through quite easily, I love using Peltex because it’s thick and has a spongy feel to it and my stitching always seems to look better compared to when using Timtex.
Peltex is very flexible and you can easily cut, shape, and sew it. It’s easy to work with because it doesn’t matter how much you scrunch or distort it while you’re sewing it, it always bounces back into shape and looks fabulous after ironing it or using a shot of steam.
It can be made more rigid by fusing additional layers of light, medium or heavy-weight stabilizers to it but it still retains easy sewability.
Things to look out for when using Peltex
Although Peltex is my favorite thick stabilizer, there are a few things to look out for when using it, but once you know how to work with it, it’s a dream to use.
It does not have a grain which means that you can cut it in any direction, however I’ve found that it does in fact have what I call a “rolling grain”. When used for curved or rounded applications it seems to roll much better when rolled in the direction that’s it’s wound on the bolt …
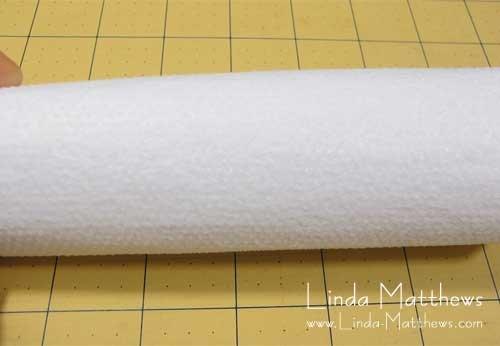
… as opposed to rolling it from one side to the other which causes quite noticeable ridges.
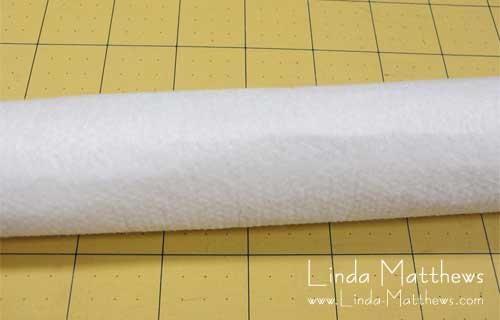
Peltex is also quite thick, which means that you have to pay special attention when using it as a stabilizer for bags and purses because the extra thickness can easily distort the lining causing it to bunch up and pucker. I’ve found that if you trim 1/8″ off each side and the bottom of the lining pieces, and then ease in the lining pieces when sewing them in, they fit just perfectly.
If you haven’t used Peltex before, I hope you’ll give it a try. Happy Sewing!

