Designing your own fabric patterns has never been easier with all the amazing tools that we have at our disposal these days. And making a repeat pattern design is one of the most common ways to create designs. Although there are special programs that make this task very easy indeed like Adobe Illustrator, you can make repeating designs quite easily using Photoshop Elements or Photoshop.
In Photoshop Elements and Photoshop Elements you can of course make repeat patterns using several different methods. This one is my personal favorite.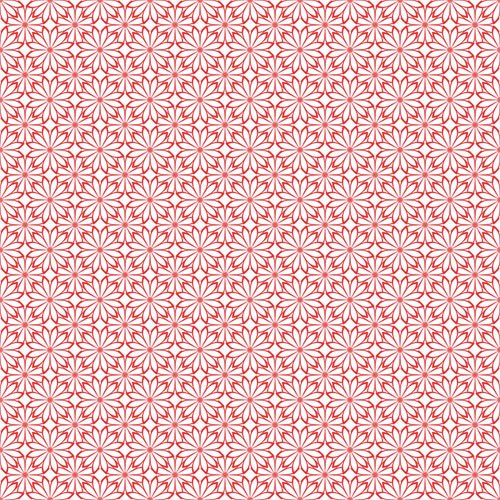
So let’s get started …
Note: This tutorial is for Photoshop Elements 6 but the steps will be similar in other versions.
1. Download the image
Right click and save to your desktop.
2. Open the image in Photoshop Elements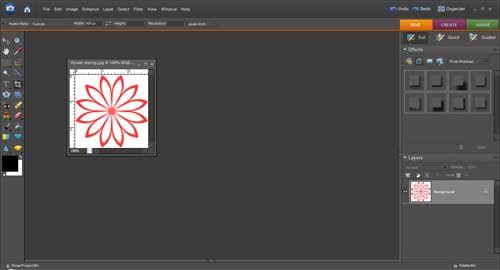
3. Create a half-drop repeat design
Duplicate the image by clicking on the flower image in the layers panel to select it.
Right click and select “Duplicate Layer”.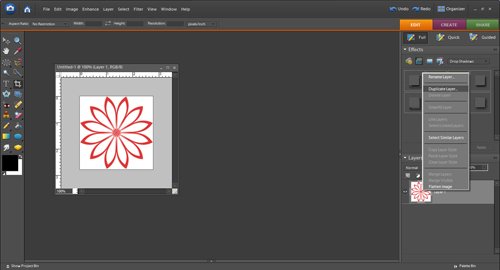
Click on the top layer in the layers palette to select it.
From the main menu:
Filter > Other > Offset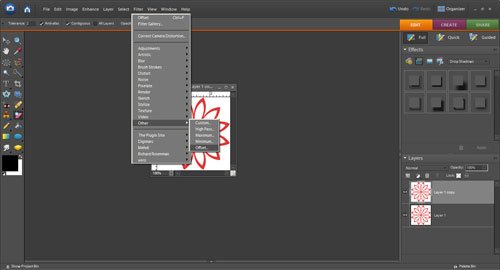
The original image is 200px wide by 200px height so to create a half-drop repeat, you will need to offset the image using half of the width and height of the original image.
In the “Offset Dialog Box” change the settings:
Horizontal: 100
Vertical: 100
Undefined Areas: Wrap Around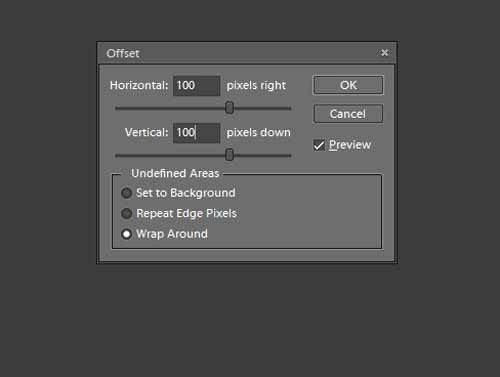
Click OK to close the dialog box and you can now see that the image has become offset.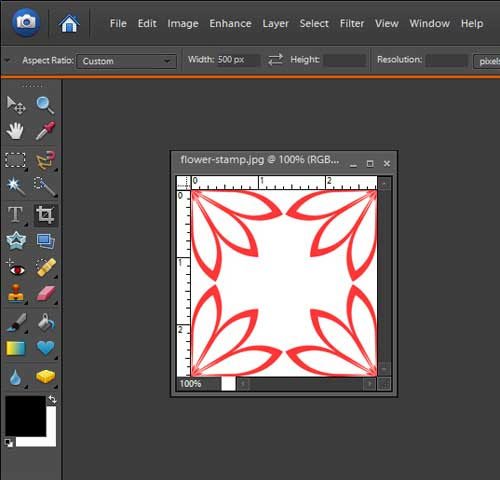
With the top layer in the layers palette still selected, now select the “Magic Eraser Tool” from the tools palette.
Click inside the center of the offset image to remove the white background which reveals the flower image underneath. This creates a dense pattern design.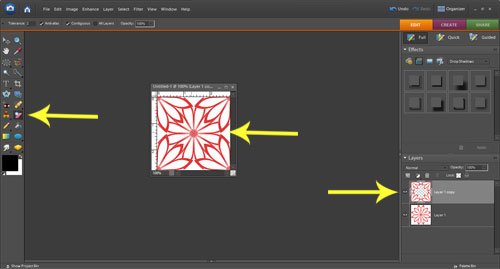
4. Define a pattern
From the main menu:
Select > Edit > Define Pattern
The pattern dialog box will open and you can see that the design you just made is displayed. Click OK.
5. Make a new file and fill it with the pattern
From the main menu:
File > New > Blank File
Make the size 2000px wide by 2000px high by 72 ppi resolution.
Click ok.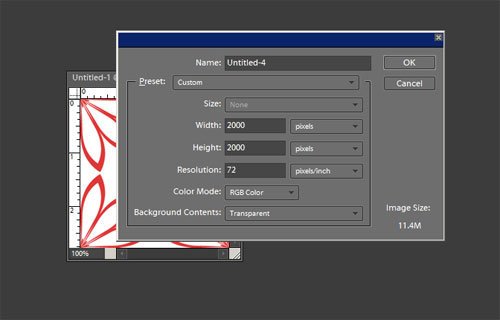
Position the new blank file alongside the flower image.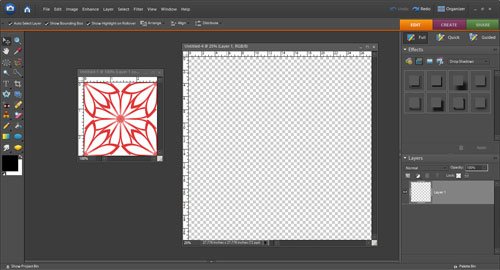
From the main menu:
Select the “Paint Bucket Tool”
Check the “Pattern check box” at the top of the screen
Open the “Pattern Picker” drop down box
Click on the offset pattern you just made which you can see has been added to the default set of patterns
Click inside the new empty file and you will see that it fills with the pattern you just made.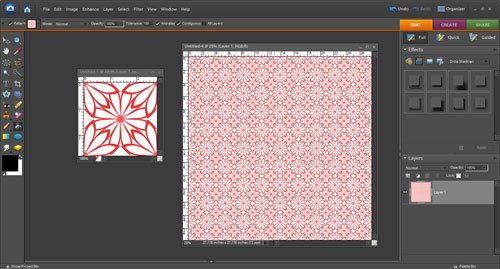
And you can make all sorts of creative designs by using the same process but with different images.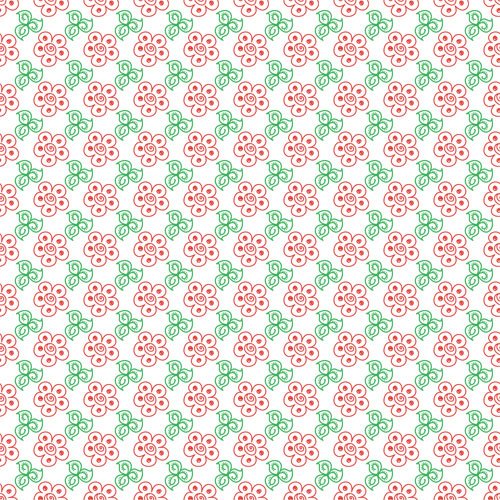
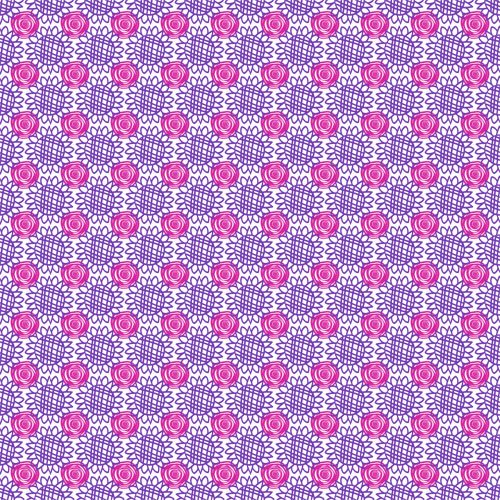
Easy when you know how right?
Have a creative day!


