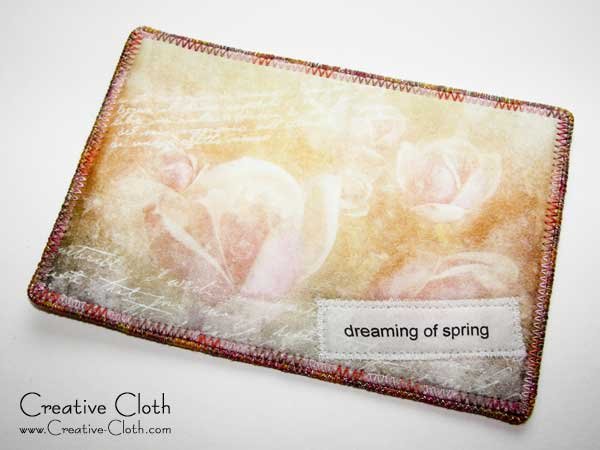
I love to make my own fabric postcards by creating photo art designs in Photoshop Elements, and then printing the designs onto fabric. Making fabric postcards this way is not only fun but it’s the perfect way to personalize your cards.
My favorite technique for finishing the edges is to use machine wrapped cording which is one of my favorite embellishments. I use this cording on many of my projects, particularly as a way to finish the edges.
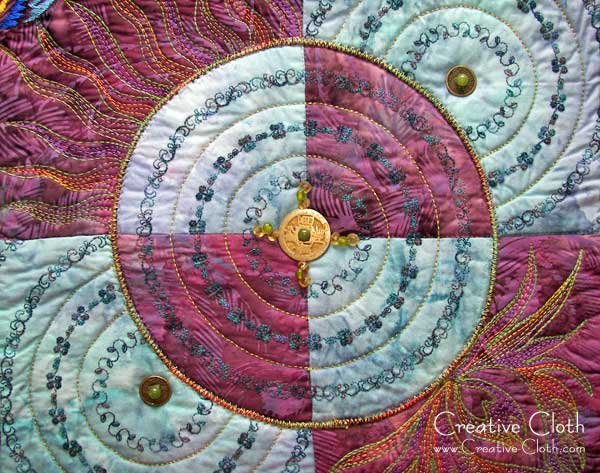
I used it to embellish art quilts …
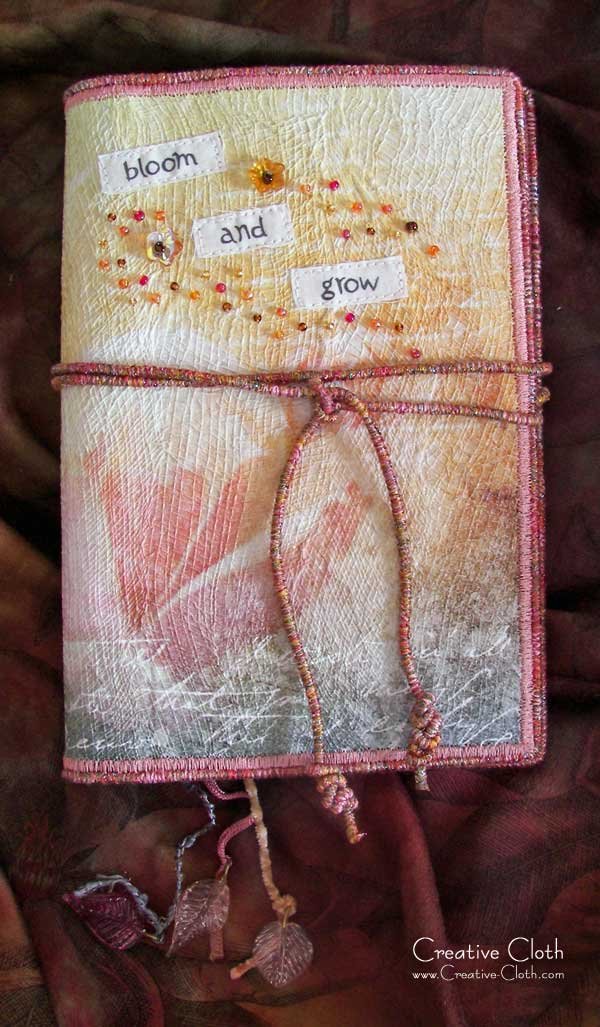
fabric journals …
and I particularly love using it to finish the edges of my Art Bags.

Here’s How I Do It
Begin by making a length of cording. If you haven’t made machine wrapped cording before, you’ll find instructions here.
Then add a dab of fabric glue or fray check to the beginning end of the cording. Allow it to dry, then snip the end cleanly with a small pair of sharp scissors. The glue seals the threads together so they don’t fray.

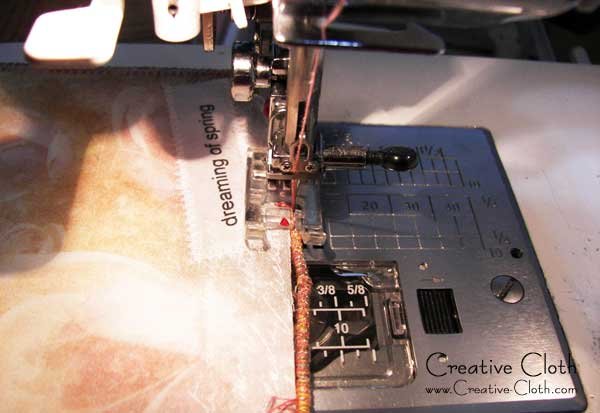
Leave a tail of about an inch before you begin stitching. Butt the cording up right alongside the edge of your postcard and using a zigzag stitch, attach it to the postcard. When the zigzag stitch swings to the left, it stitches into the postcard; when it swings to the right it stitches into the cording. This takes a little practice. Attach the cording all the way round until about an inch or two from the end, then add another dab of fabric glue or fray check to the end of the cording where it will match up with the beginning.

Nudge the beginning end, and the end tail of the cording up against each other, determine where the end cut should be, and snip the end cleanly.

Butt the ends up against each other so they lie snugly together, and finish attaching the cording.
Once finished stitching, add another drop of glue in between the butted ends and allow the dry.

And that’s it … A perfect finish!