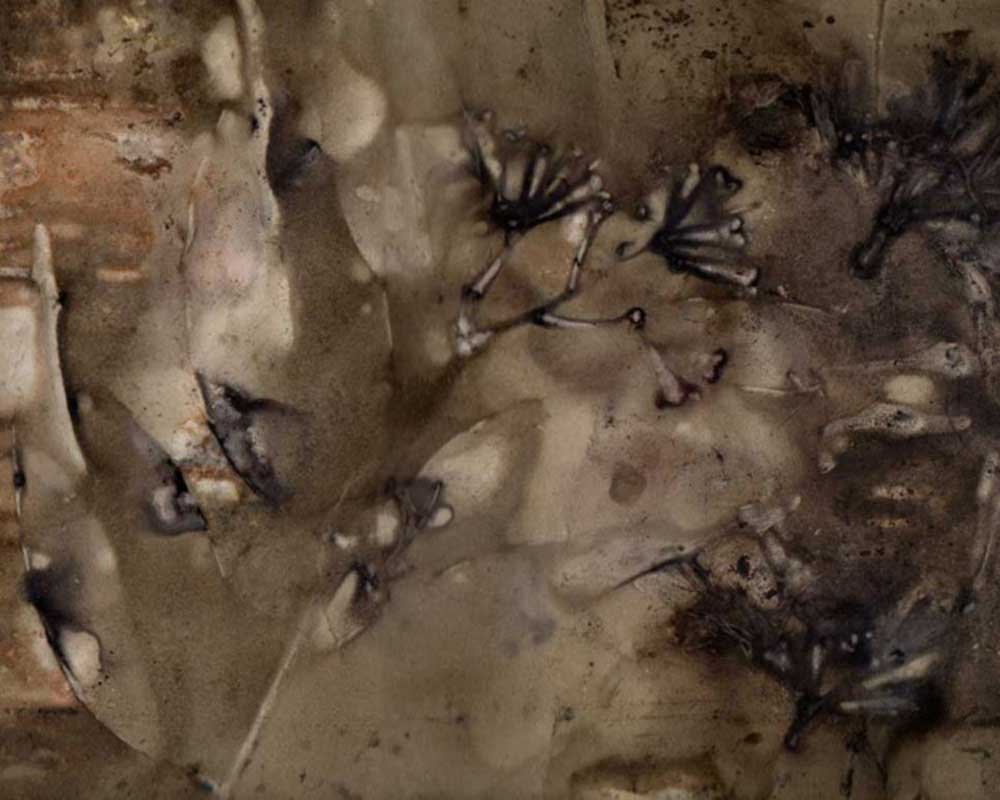
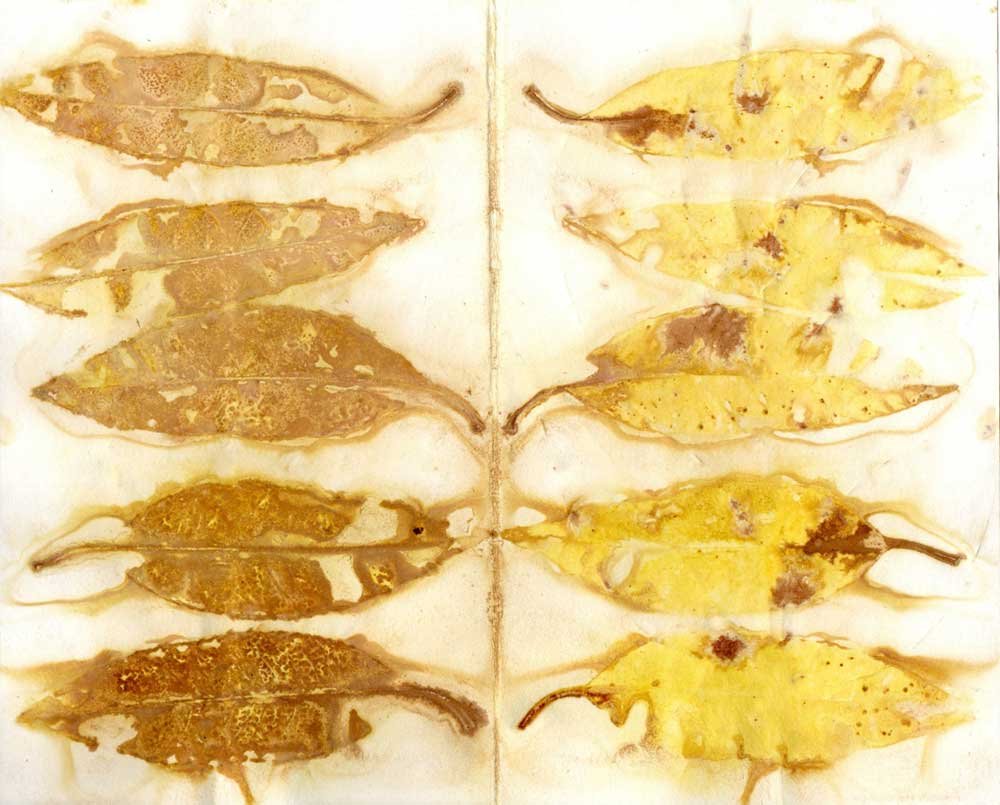
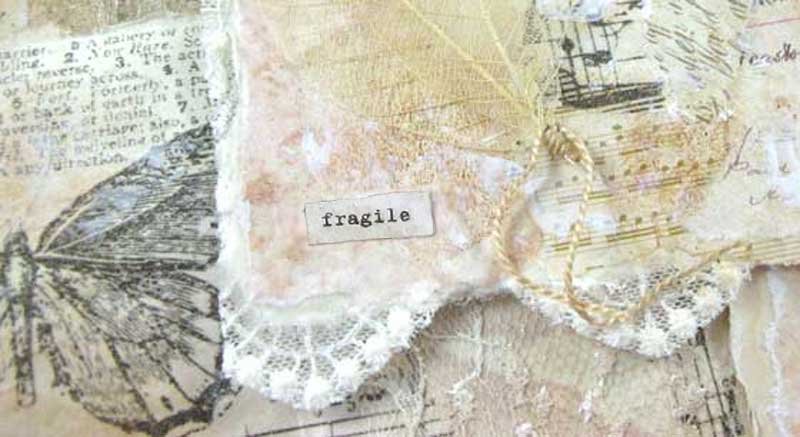
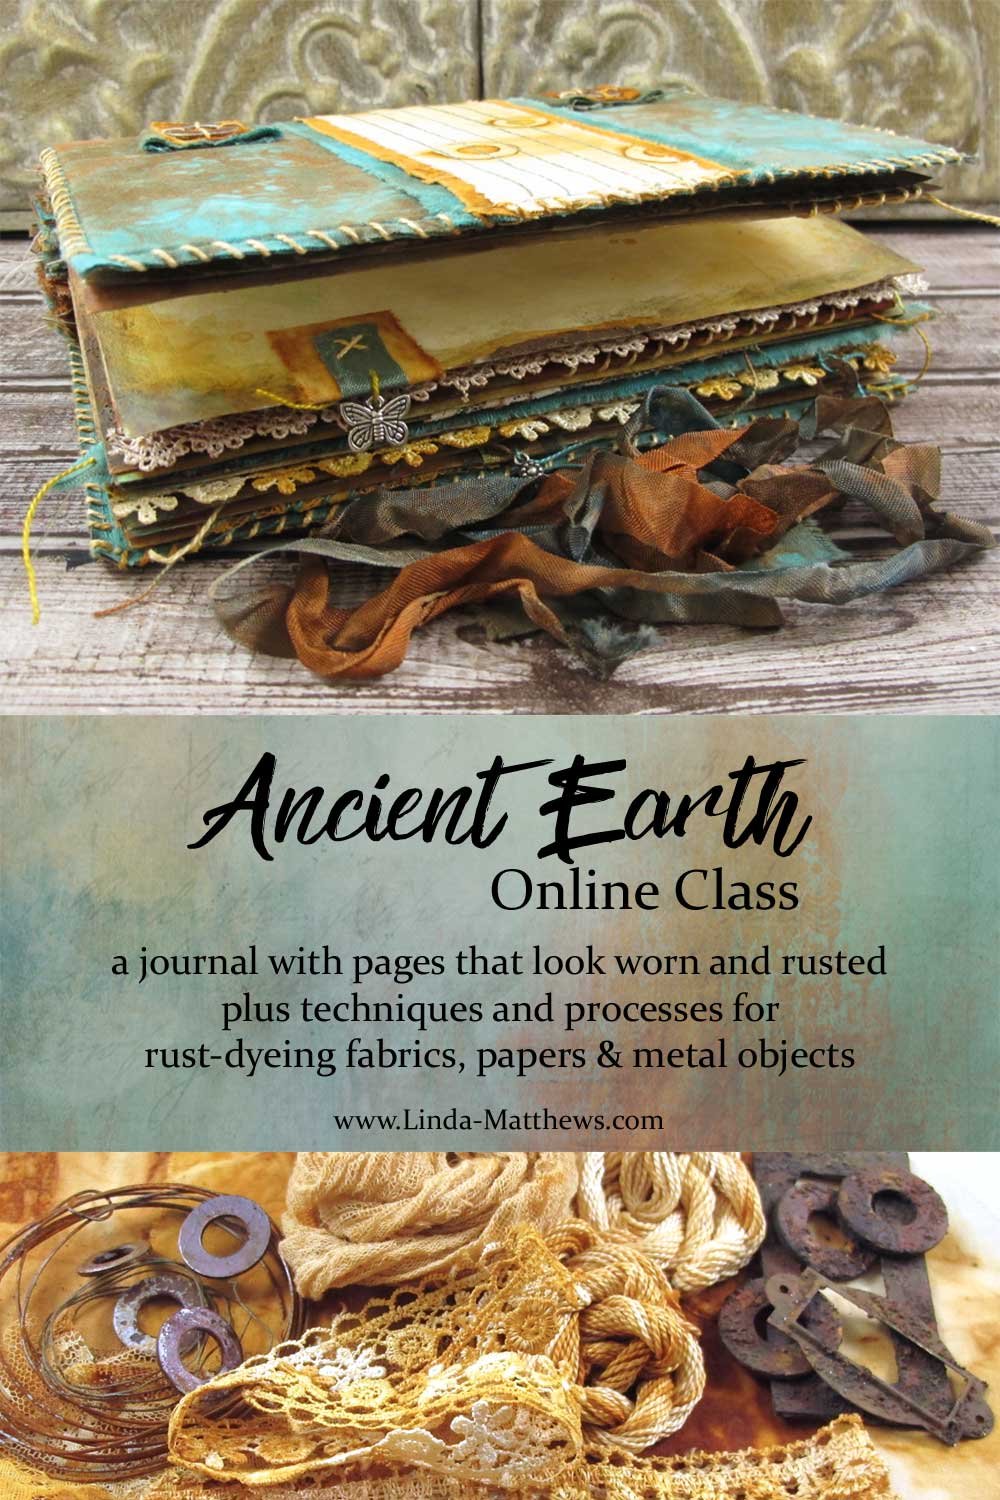
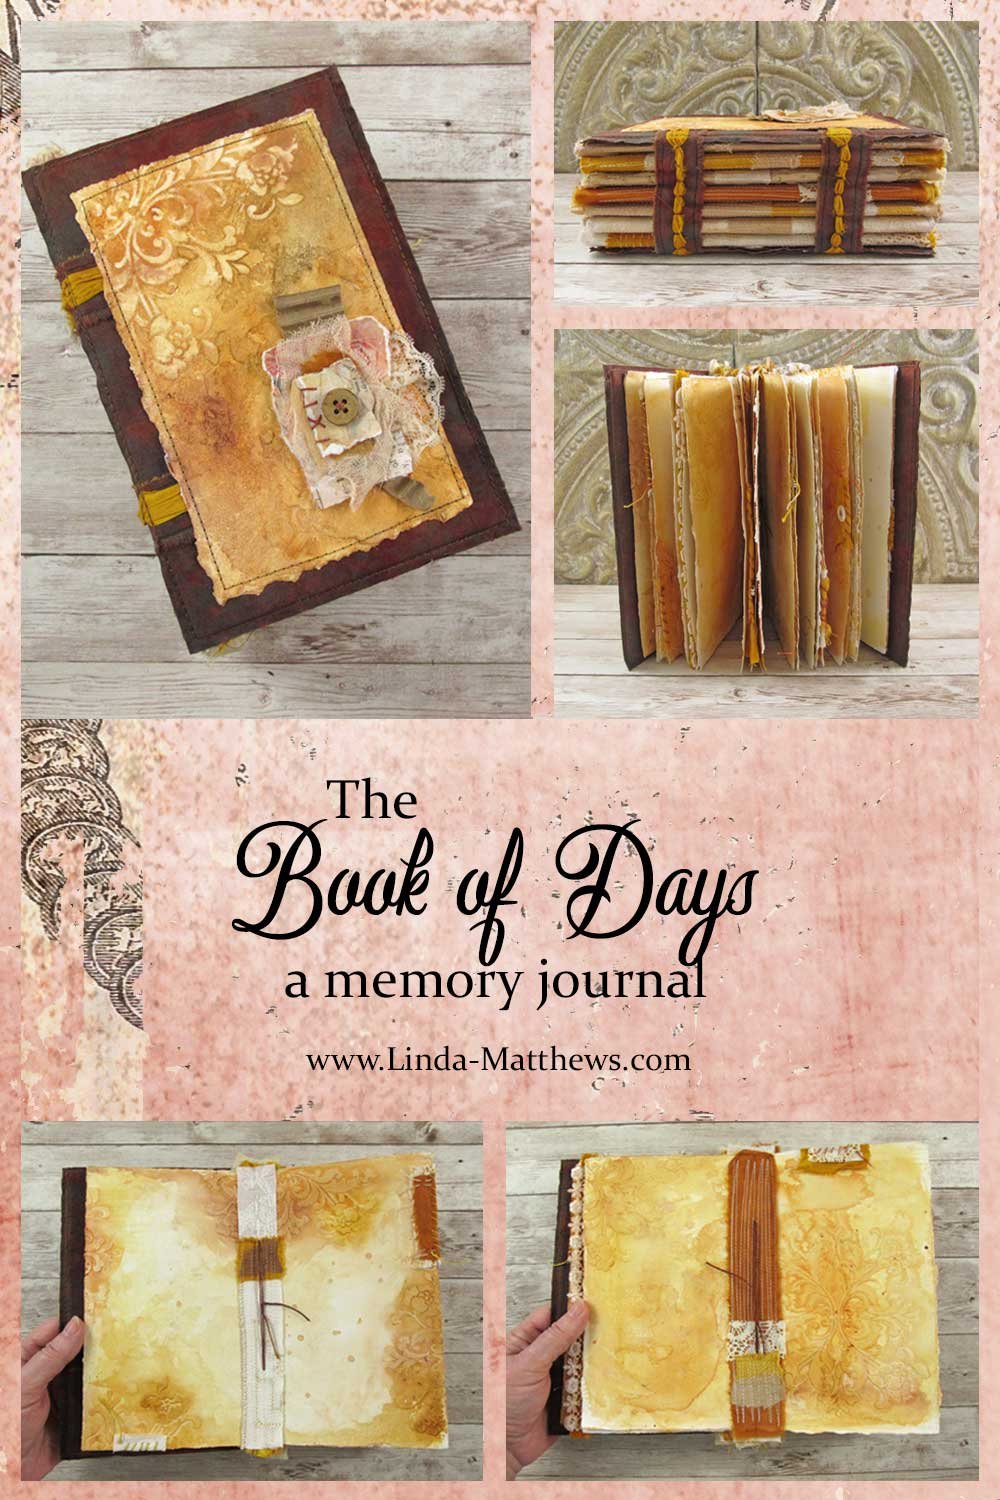
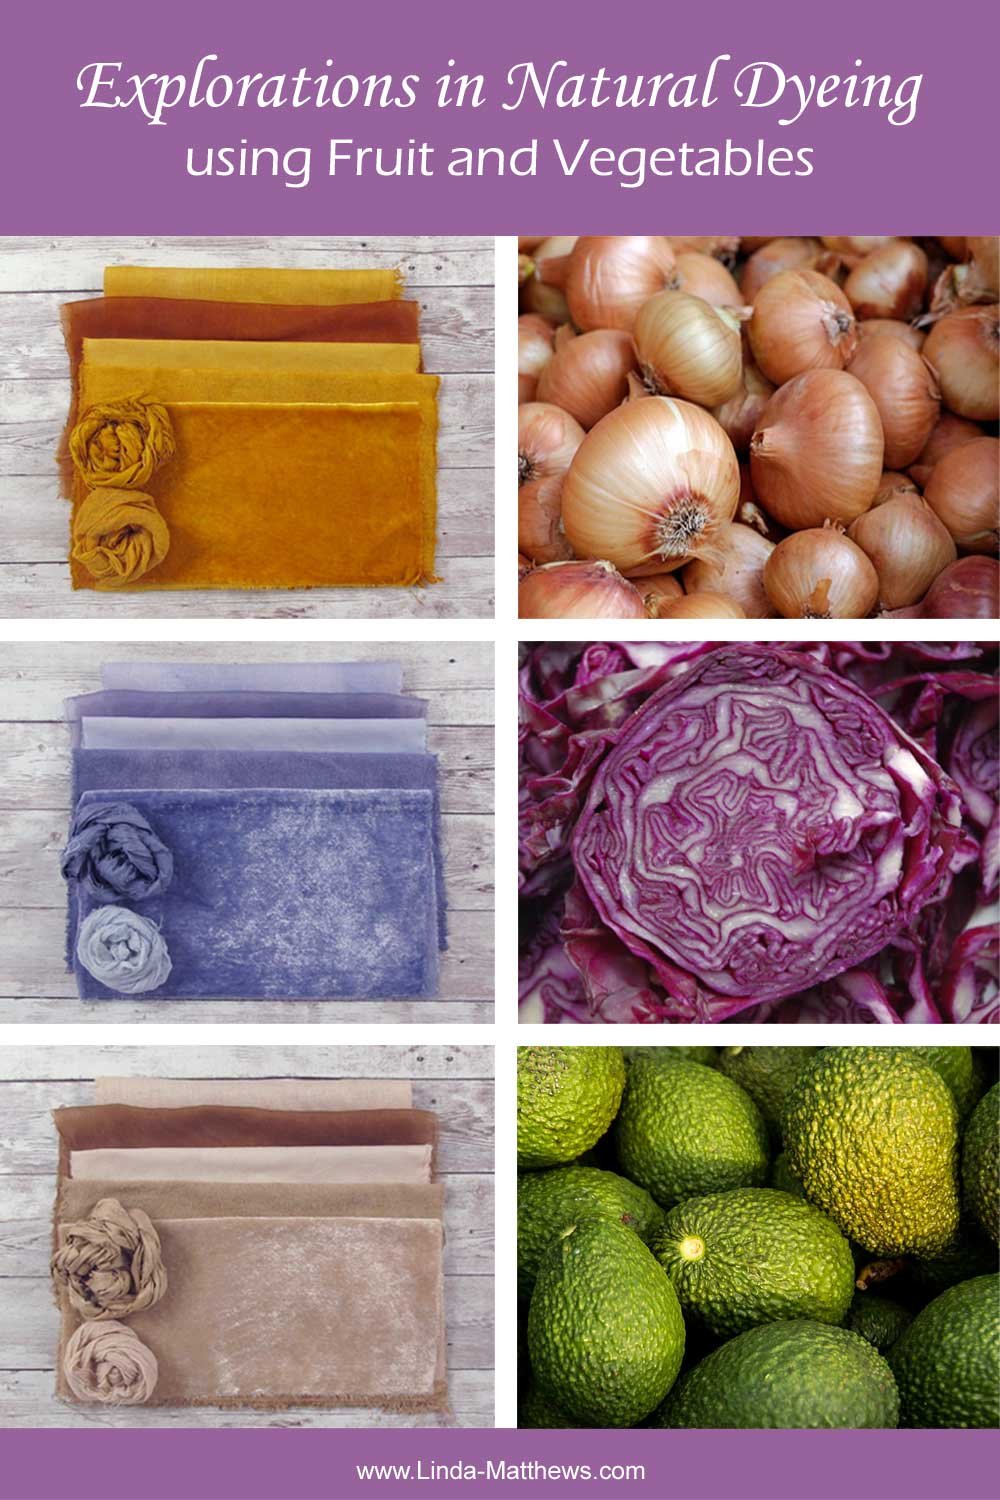
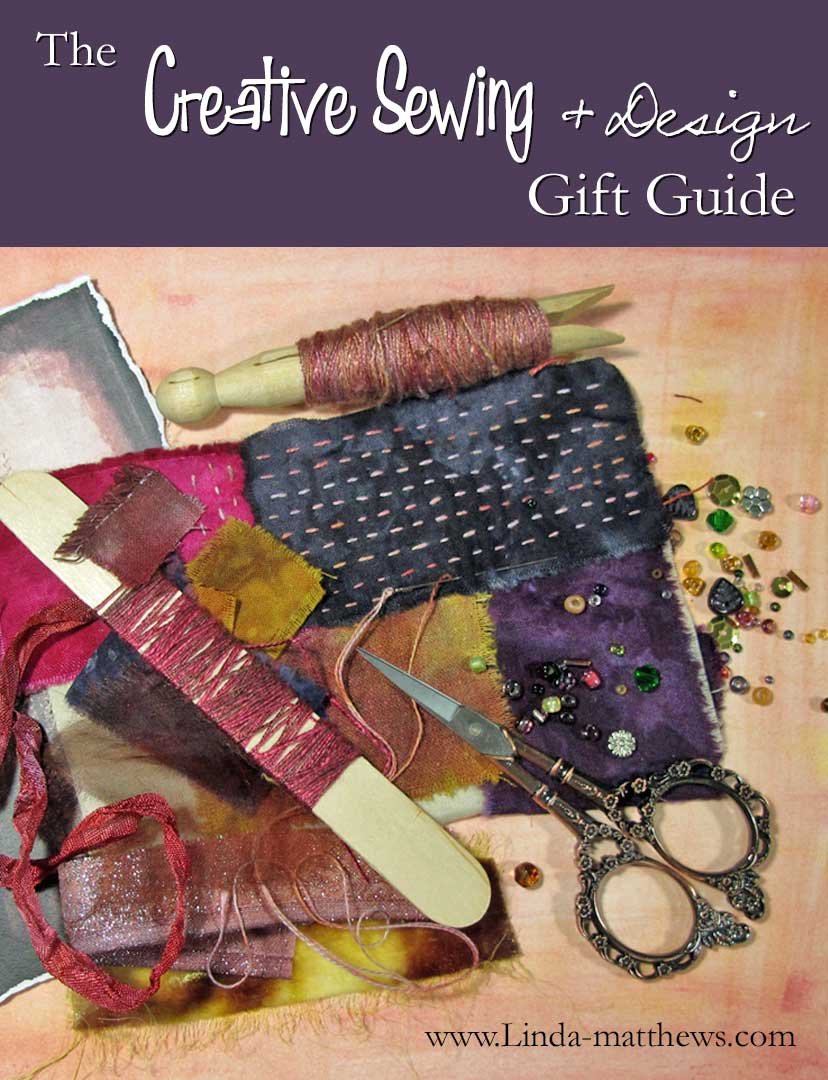
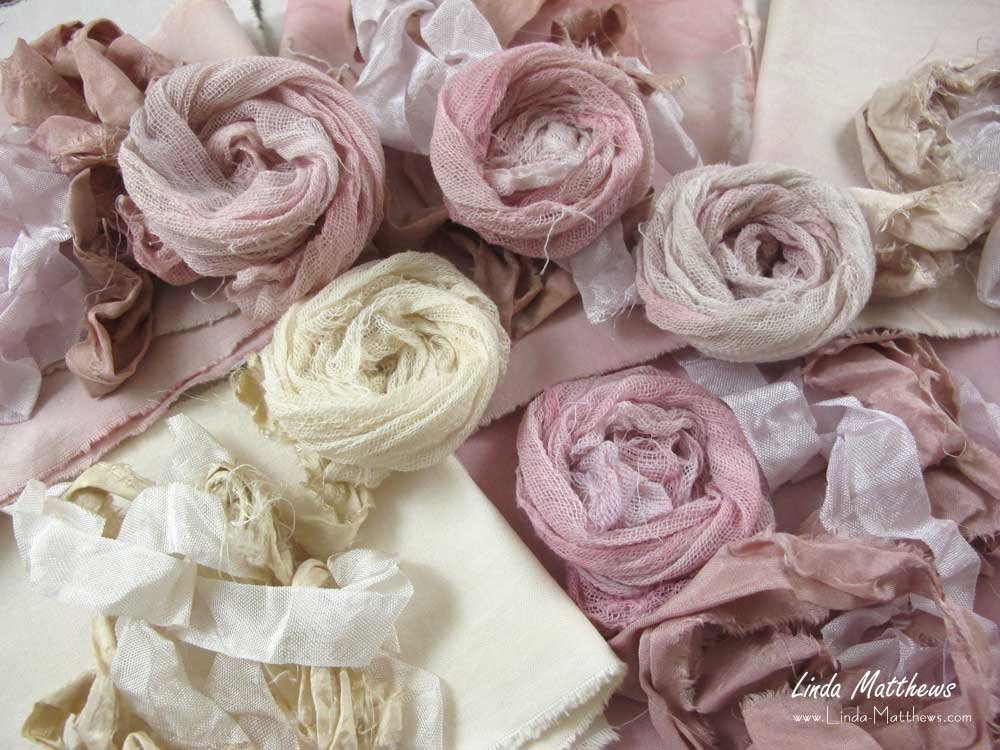
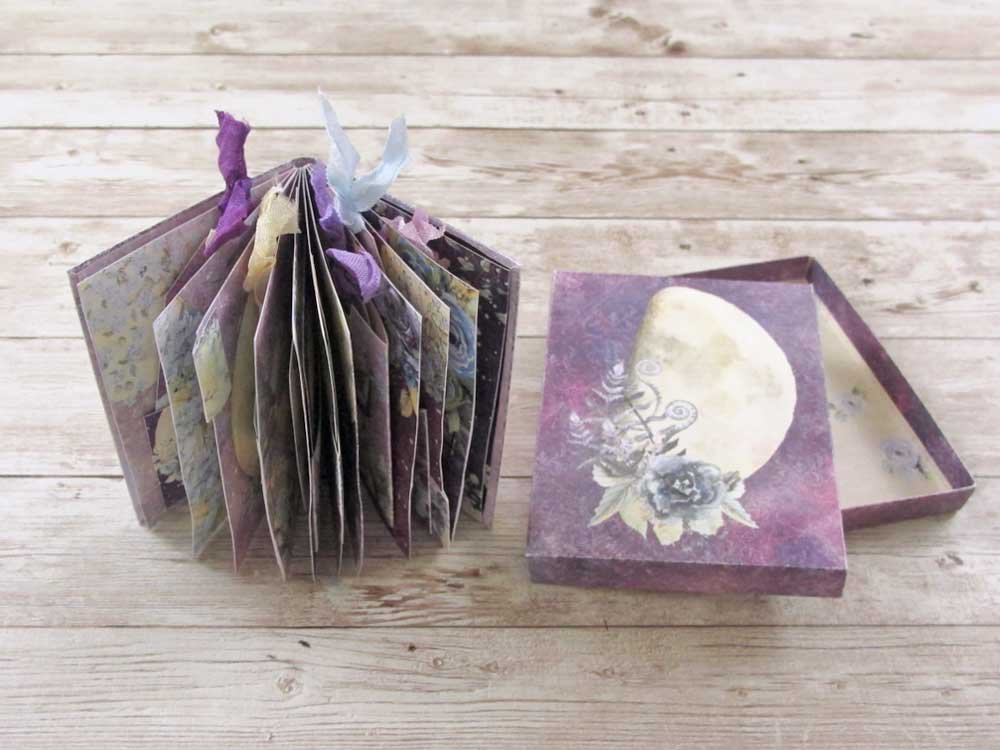
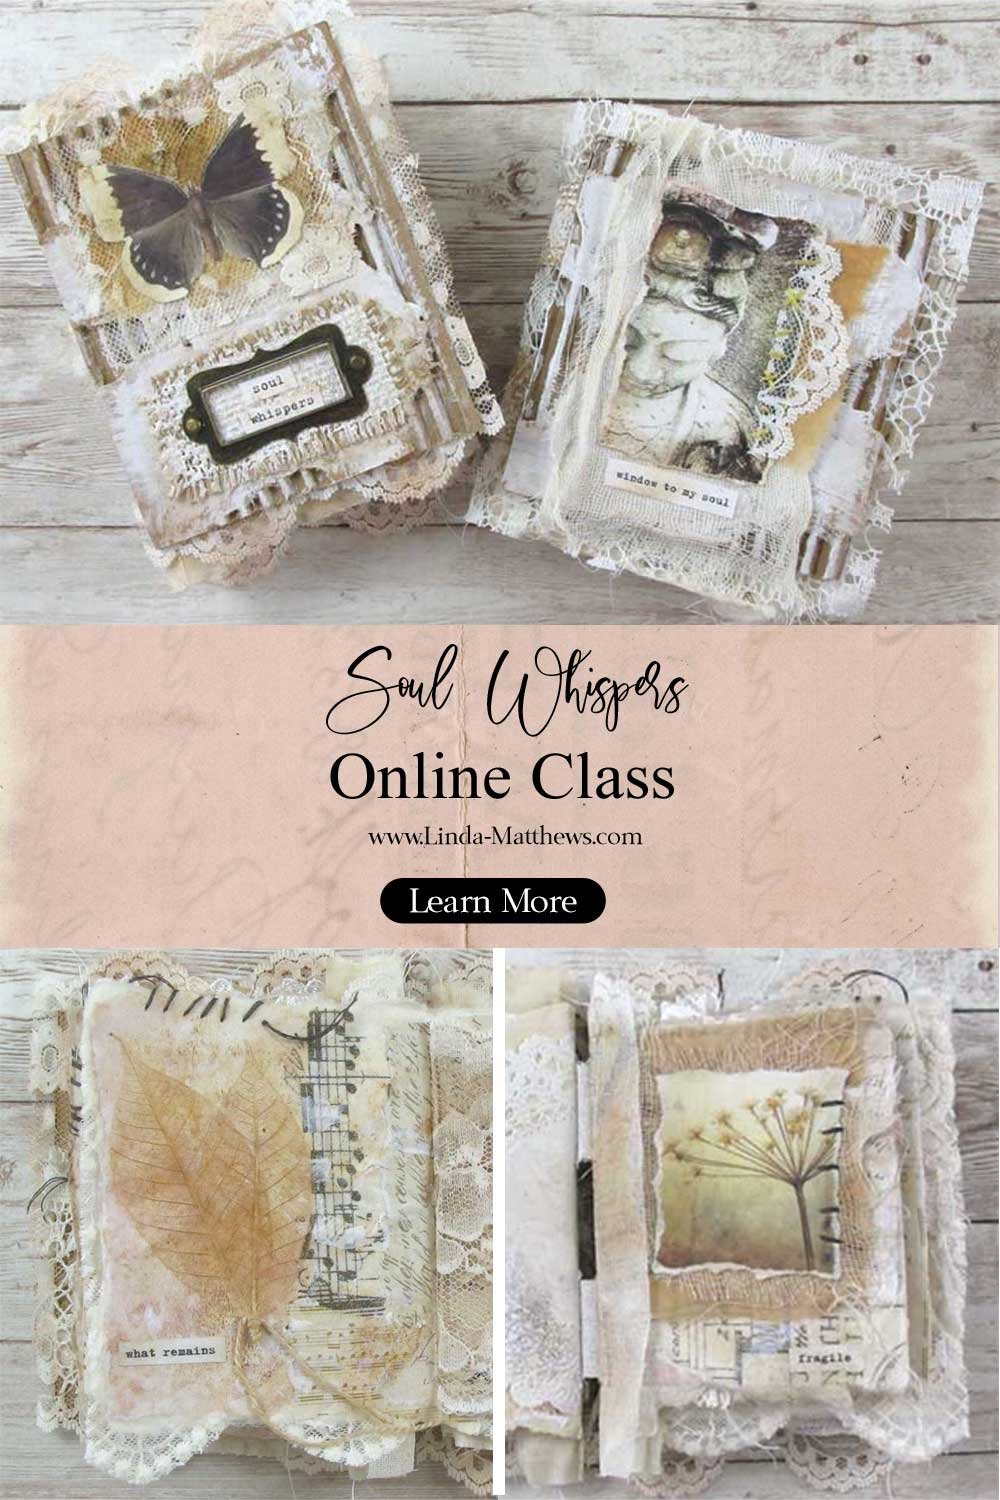
Making Fabric Postcards – Finishing the Edges

As you know, machine wrapped cording is one of my favorite embellishments and I use it on many of my projects, particularly as a finishing edging.

I’ve used it on art quilts …

Circles Quilt

fabric journals

Fabric Journal

and I particularly love using it to finish my Art Bags.

Fabric Journal

I get asked quite often how I get the ends of the cording to meet up so nicely. It’s a little difficult to explain without pictures, so while I was busy making fabric postcards for the upcoming Arts on Stage event – and don’t they look just delicious -

Fabric Postcards

I took a few photos for you to show you the technique.

First, begin by making a length of cording. If you haven’t made machine wrapped cording before, you’ll find instructions here on the tutorials page.

Then add a dab of fabric glue or fray check to the beginning end of the cording, allow it to dry, then snip the end cleanly with a small pair of sharp scissors. The glue seals the threads together so they don’t fray.

Fabric Postcards

Leave a tail of about an inch before you being attaching the cording to your project, then attach the cording all the way round until about an inch or two from the end, then add another dab of fabric glue or fray check to the end of the cording where it will match up with the beginning.

Fabric Postcards

Nudge the beginning end, and the end tail of the cording up against each other, determine where the end cut should be, and snip the end cleanly.

Fabric Postcards

Butt the ends up against each other so they lie snugly together, and finish attaching the cording.

Fabric Postcards

Once finished stitching, add another drop of glue in between the butted ends and allow the dry.

Fabric Postcards

And that’s it! A perfect finish…

Fabric Postcards

Titivations DVDAnd of course, for other fabulous embellishing techniques, stop by the store and check out my Titivations DVD.

Continue reading

Leave a comment Posted in Embellishments, Tutorials
Tagged ,

You might also like


Making Fabric Postcards from Injured Prints

This week I’ve been super busy making some fabric postcards for the upcoming Arts on Stage event I’m participating in next month, and along the way discovered that injured prints make fabulous postcards.

This is a print that really went screwy. It was printed using digital grounds on textured fabric (it’s a real pain in the *** when these prints go wrong because it takes so long to prep the fabric) and the image printed out in a portrait orientation instead of landscape and subsequently the right hand side of the image got chopped off severely.

Fabric Postcards

However even with the chopped of main image, I thought there might be enough of the image left to make an interesting postcard.

Here’s a tip for you …

Using a “viewer” to fussy cut your fabric or images makes things a whole lot easier. A viewer is easy to make – simply determine the size of your project and for a postcard I use 4″ x 6″, then cut a hole out of a piece of cardstock. Position the cutout area over your fabric to determine what looks best for your project and when you’re happy with what you see, mark the area using a fabric marking pen or pencil then cut it out.

Fabric Postcards

This is what was I ended up with for my postcard which looks kind of interesting don’t you think?

Fabric Postcards

And if you’ve never made a fabric postcard before, they can’t get much easier than this. For my image transfer fabric postcards I print out my image (or in this case I salvaged one from an injured print), cut to size some fusible peltex and a piece of cardstock for the back (I like to use a pre-printed backing on my postcards and if you want a copy you can download a copy here then print it out onto cardstock or fabric). And I also sometimes use machine wrapped cording to finish the edges.

PS I’ve been asked a number of time how I join my machine wrapped cording when I use it for edging or couching so check back tomorrow and I’ll show you.

Fabric Postcards

And once everything is fused together and the edging added, here’s my postcard.

Front …

Fabric Postcards

and back …

Fabric Postcards

Fabulous!

Continue reading

Leave a comment Posted in Creative Recycling, Digital Grounds, Image Transfer, Tutorials
Tagged , ,

You might also like


Photoshop Elements Tutorial: Designing Repeat Patterns

Photoshop Elements Tutorial: Designing Repeat PatternsOne of the most commonly used designs on fabric is a repeat pattern design. Repeat patterns are easy to make in Photoshop Elements using the Offset feature and simple copy and past. So let’s get started …

Note: This tutorial is for Photoshop Elements 6 but the steps are probably similar in other versions.

1. Download the image
Right click and save to your desktop.

Photoshop Elements Tutorial: Designing Repeat Patterns

2. Open the image in Photoshop Elements

Photoshop Elements Tutorial: Designing Repeat Patterns

3. Arrange the image in a half-drop repeat
From the main menu Filter > Other > Offset

Photoshop Elements Tutorial: Designing Repeat Patterns

The original image is 200px wide by 200px height so to create a half-drop repeat, you will need to offset the image using half of the width and height of the original image.
In the Offset Dialog Box change the settings:
Horizontal: 100
Vertical: 100
Undefined Areas: Wrap Around

Photoshop Elements Tutorial: Designing Repeat Patterns

Click OK to close the dialog box and you can now see that the image has become offset.

Photoshop Elements Tutorial: Designing Repeat Patterns

4. Copy the image. From the main menu:
Select > All (shortcut keys Ctrl+A)
Edit > Copy (shortcut keys Ctrl+C)
Select > Deselect (shortcut keys Ctrl+D)

5. Resize the canvas
Make sure the background color is set to white. You can quickly reset it by using the shortcut key D
From the main menu: Image > Resize > Canvas Size

Photoshop Elements Tutorial: Designing Repeat Patterns

Once the Canvas Size Dialog Box opens, double the size of the canvas.
Width: 400px
Height: 400px
Position the current image in the top left hand corner by clicking the arrow on the top right hand side of the box.
Make sure that the Canvas Extension Color setting is set to Background.

Photoshop Elements Tutorial: Designing Repeat Patterns

Click OK to close the dialog box and you can see that the image has shifted to the top left of the canvas.

Photoshop Elements Tutorial: Designing Repeat Patterns

6. Paste copies of the image
From the main menu:
File > New > Image from Clipboard (shortcut keys Ctrl+V)
This drops a copy of the image onto the center of the canvas and also adds a new layer in the Layers Pallete.

Photoshop Elements Tutorial: Designing Repeat Patterns

This drops a copy of the image onto the center of the canvas and also adds a new layer in the Layers Pallete.

Now drag the image into position alongside the original image. This is easy when you have the Snap To function set. To set it:
View > Snap To > Guides
Now the image snaps into position.

Photoshop Elements Tutorial: Designing Repeat Patterns

Paste another copy of the image and position it underneath the original image.

Photoshop Elements Tutorial: Designing Repeat Patterns

And paste a final copy and position it on the bottom right corner.

Photoshop Elements Tutorial: Designing Repeat Patterns

7. Flatten the image
In the Layers Palette, right click and select Flatten Image. This combines all the layers into one layer.

Photoshop Elements Tutorial: Designing Repeat Patterns

8. Enlarging the design
You can continue enlarging the design by beginning again at step 4 and copying the image, then step 5 resizing the canvas.

Photoshop Elements Tutorial: Designing Repeat Patterns

By continuing in this way you can create a very large canvas of pattern.

Photoshop Elements Tutorial: Designing Repeat Patterns

Photoshop Elements Tutorial: Designing Repeat Patterns

Photoshop Elements Tutorial: Designing Repeat Patterns

Photoshop Elements Tutorial: Designing Repeat Patterns

And of course you can do this with any image that’s suitable for creating a pattern. Easy when you know how right?

Have a creative day!

Continue reading

3 Comments Posted in Images on Fabric, Photoshop Elements, Photoshop Elements, Tutorials
Tagged , ,

You might also like


Purses Totes & Handbags Updated for July

Now Listing Over 180 Free Patterns & Tutorials

Head over to the Free Purses Totes & Handbags listings and click on the Alphabetical Section “Added July 2010″ for the links to the tutorials for the following fabulous bags, purses and totes.

Enjoy …

Free Bag TutorialFree Tote TutorialFree Tote Tutorial

Free Tote TutorialFree Purse TutorialFree Tote Tutorial

Free Tote TutorialFree Handbag TutorialFree Handbag Tutorial

Free Bag TutorialFree Purse TutorialFree Purse Tutorial

Free Bag TutorialFree Tote TutorialFree Bag Tutorial

Free Purse TutorialFree Tote TutorialFree Purse Tutorial

Continue reading

Leave a comment Posted in Handbags Purses & Totes, Inspiration
Tagged , , ,

You might also like


New in the Store – Delicious Art Bags

I’ve just added some lovely new handbags to the store so stop by and check them out. Careful though, no drooling on your keyboard. These handbags are just the perfect size to travel lightly and brightly through your day, so make a statement and …

Wear Your Art on Your Arm

Magnolias never looked so fragrant …

Magnolia Handbag

Poppies are my flower of the moment – simple and uncomplicated …

Poppy Handbag

… and Daisies, well they’re just bright and cheery.

Daisy Handbag

Each art bag is embellished with a small decorative emblem and bead, attached to the bag handle with a gold chain. And as a bonus each art bag comes with it’s own special “Baggie” to keep it free from dust while it’s being stored – a brilliant idea!

Handbag Baggie

More designs will be added shortly as soon as I catch my breath (it’s been a hugely busy week), but in the meantime visit the store for details, ordering and additional photos.

Travel lightly and have a great day!

Continue reading

Leave a comment Posted in Art Bags, Digital Art, In The Store
Tagged , , ,

You might also like


Stitch, Cloth, Paper, Paint

Stitch, Cloth, Paper & Paint

If you follow my blog, you should know by now that I
love
to work with fabric paper.

I print on it

I paint it

and I use it for all sorts of projects.

So if you love using fabric paper also, then you’re sure to love this book I recently stumbled across…

Stitch, Cloth, Paper & Paint: Mixed Media Ideas & Inspiration by Angie Hughes

It’s just filled with tons of inspiration for using fabric paper in all sorts of fascinating ways … it’s great to see someone else who loves to use it as much as I do! You’ll also find a few projects to get you started and of course there’s LOTS of photos to inspire.

So head over to amazon to check it out – it’s a visual feast for the eyes.

And if you can’t wait for your book to arrive, you can always start with basics with my downloadable lessons – Making Fabric Paper.

Have a creative weekend!

Continue reading

Leave a comment Posted in Books, Inspiration
Tagged , ,

You might also like


Inspiration For All You Eccentric Fashionistas

What inspires you …

to be daring

to be different

Be inspired by Iris Apfel …

Want more?

Enjoy the slideshow

or check out the book …

Rare Bird of Fashion
Rare Bird of Fashion: The Irreverent Iris Apfel

Have an eccentric day!

Continue reading

Leave a comment Posted in Books, Inspiration, Videos
Tagged

You might also like


Arts on Stage

If you’re in the Daytona Beach, Florida area on the 14th and 15th August, stop by and visit with me and get a close up and personal look at my digital art on fabric at a special event …

Arts on Stage

Arts on Stage is a two day event being held INDOORS!! (yayyyyy!!!!) in the air conditioned comfort of the lovely Peabody Center where you can browse and shop for local fine arts and crafts and as this is a juried event you know there will be some lovely artwork on display.

As well, you’ll be entertained by some local performing artists and if you get hungry you can grab a bite from some of the local restaurants who’ll have some food for sale. And the best part, no charge to get in! What a fabulous day!

Download a flyer so you don’t forget the dates, and I hope to see you there!

Continue reading

Leave a comment Posted in Special Notices
Tagged

You might also like


Chaos and Order

Way back when I was dressmaking I once had a client who freaked out when she saw all her beautiful fabric cut into pieces and lying on my sewing room table. She took one look at her beautiful Chinese silk fabric that was once yardage which had been hidden away in her closet for 20 years and asked that I pack it up so she could take it home because she wasn’t happy with the mess I was making. At the time I had only cut out the pieces and had yet to put one stitch to it so I guess in her eyes all she saw was a sloppy bunch of irregular shaped pieces of fabric haphazardly strewn over my table. I’m still not sure how she thought clothing was made; that it does in fact have to be cut up before it can be sewn back together, but it was valuable lesson for me and I never let another customer see the “mess” that was their fabric cut into pieces, before I’d had a chance to sew it into shape first.

These days I don’t care if you see my mess; in fact I showed the world my chaotic mess the other day

Bags and Purses and Synchronicity

But from chaos comes order … and isn’t it pretty.

Blue White and Green Handbags

Spread a little harmless chaos today and watch what happens.

Continue reading

Leave a comment Posted in Handbags Purses & Totes, Inspiration
Tagged

You might also like


In The Garden

I haven’t made an art quilt in such a long time being so absorbed recently with my art bags, so I was a little nostalgic when my art quilt “Pomegranate” returned home to me last week after touring the country with the “Fibrations” exhibit for the last 12 months.

Art Quilt: Pomegranate

This little art quilt was part of my series “In The Garden” and was one of three small embellished art quilts that I completed exploring “soft edges”.

The other two were “Flowers”

Art Quilt: Flowers

and “Leaves”

Art Quilt: Leaves

I really enjoyed the process of working with soft edges using free motion embroidery techniques and water soluble stabilizer and you can see the soft edges better in this closeup.

Art Quilt: Flowers

You can also see where this art quilt series started in these posts:

Hand Dyed Fabric: Playing with Complementary Colors
Hand Dyed Fabric: Still Playing with Complementary Colors
Hand Dyed Fabric: All Done Playing with Complementary Colors

And of course, these techniques are included in my instructions dvds Titivations

Art Quilting Techniques

and Fabulous Free Motion quilting.

Art Quilting Techniques

It just may be that I’ll just have play with some art quilts this week.

Have a nostalgic day!

Continue reading

3 Comments Posted in Art Quilting Techniques, Inspiration
Tagged , , , ,

You might also like