One of the challenges I’ve always experienced when editing my product images, is removing the background. Depending on the technique you use to remove the main image from the background, sometimes it can end up looking like the dog had chewed around the edges of it. Then add to this the challenges of photographing fabric projects because of all the threads and embellishments.
One day recently while I was browsing the web I found the solution for removing backgrounds that produced a very smooth-edged result! And of course I can’t link to the tutorial because I don’t know where I found it, but this is how it’s done and it’s SO easy.
Please Note: This tutorial is presented using Photoshop Elements, however the instruction should be similar in Photoshop CC.
This is a photo I took using a black background. Once I had taken the photo I realized that there was all sorts of dust and flecks on the background that weren’t visible to my naked eye so it was necessary to remove the background.
You can see close up that the background is well, rather dreadful.
So here’s how to remove it. Select your favorite “selection” tool, either the magnetic lasso or the quick selection tool.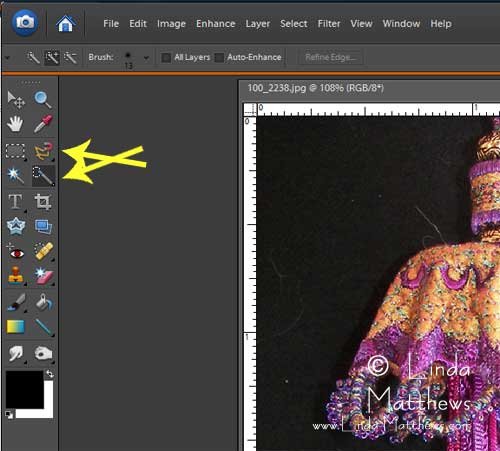
Zoom in real close to the image so you can see what you’re doing and select the outline of the image. You want to get the selection as good as possible. I’m using the quick selection tool for this. In the photo you can just make out the little marching ants around the outline.
Once you’ve selected the outline, go to the file menu and choose Select, Modify, then either Expand or Contract depending on which is the best way for you to cut out the image. For this outline I’m using Contract because I want to remove some of that fuzzy outline and cut in closer to the image.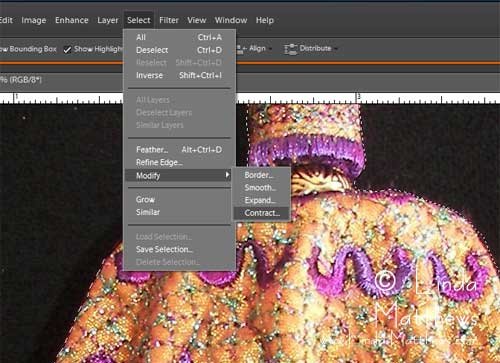
Choose the number of pixels you want to contract by; you usually don’t need too much. I’ve chosen 2.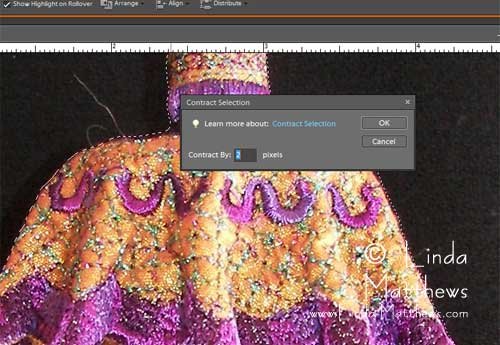
Next go to Select, Feather …
… and select the amount of feather to smooth out the edges. I’ve chosen 3.
Then go to Edit, Copy. Then Edit, Paste. Or Ctrl C then Ctrl V on your keyboard.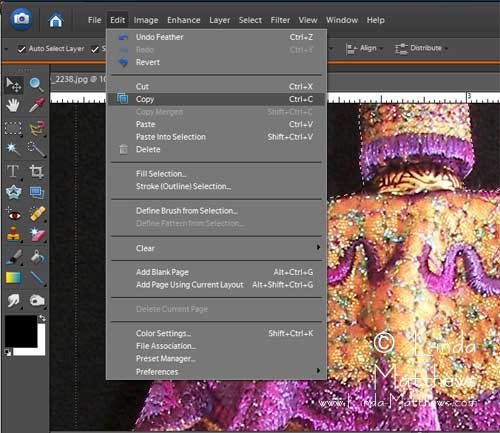
This now puts a copy of your cutout image in a new layer on top of your original.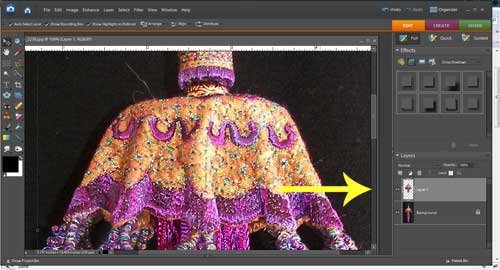
If you hide the original image, you can easily see that the edges have been feathered and softened.
And when you place this on a new background – it looks FABULOUS!
I love learning new things, especially when they work out so well!


