When I first started printing on fabric I immediately fell in love with the process of using an inkjet printer to transfer images to fabric. I love the ease in which you can get an extraordinarily good print onto a piece of fabric in no time at all.
One of the challenges I had when I first started printing on fabric was of course getting the fabric to feed through the printer successfully without jamming. Printer jams can be a problem particularly if you haven’t done much printing on fabric, but I’ve learned over the years that taking a little time and care to prepare your fabric properly will alleviate most of these problems.
There are a number of ways to feed fabric through your printer but this tutorial shows you how to print on fabric bonded to freezer paper which is one of the most common methods of feeding fabric through a printer. This method is inexpensive and easy, and the freezer paper can often be re-used. It’s suitable for standard types of fabric such as quilter’s cotton or silks.

The downside to using freezer paper as a backing sheet is that it can sometimes get jammed in your printer. This happens because standard freezer paper is quite thin and has a tendency to curl at the corners and along the top edge. When it jams, it can sometimes cause a real mess inside your printer.
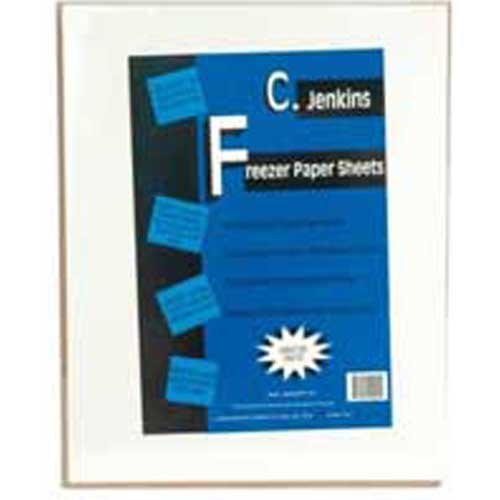 One of the ways to avoid this type of paper jam is to use heavyweight Freezer Paper from C. Jenkins Co. This is similar to ordinary freezer paper but much thicker. You can use it multiple times and it definitely helps to prevent paper jams.
This type of freezer paper is probably slightly more expensive than the type you find in the grocery store, but it’s a much thicker paper – 54lb weight which is really nice and heavy, and this makes it ideal for feeding through your printer. It comes already precut so you don’t have to worry about cutting it to size. I use it myself and can guarantee that it will reduce the amount of paper jams in your machine.
But if you’re using ordinary freezer paper off the roll, you can still use it quite successfully by taking a little care.
What you’ll need
- freezer paper
- white cotton fabric (if you need your prints to be permanent and/or washable, you need to use pretreated fabric)
- quilter’s ruler
- rotary cutter
- cutting mat
Instructions
You first need to cut the freezer paper to size so it fits through your printer. The size will depend on the standard size of a piece of copy paper that goes through your printer; in the US it’s letter size – 8 1/2″ x 11″.

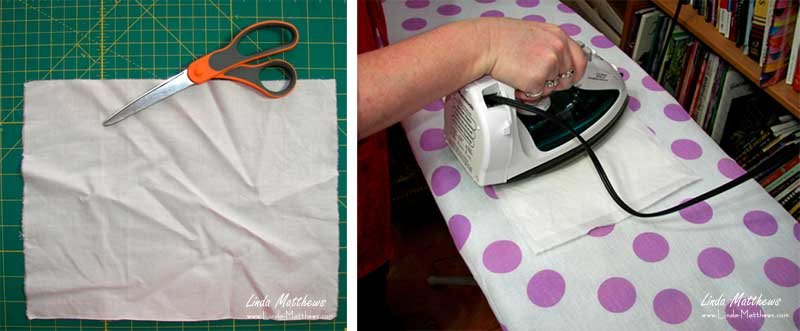
Cut a piece of fabric slightly larger than the freezer paper and iron to remove the wrinkles. Using a hot iron, press the fabric onto the waxy side of the freezer paper. Don’t use steam on the iron as this will ruin the paper, and make sure that no threads or bits of lint get caught between the paper and the fabric as this will ruin the print.
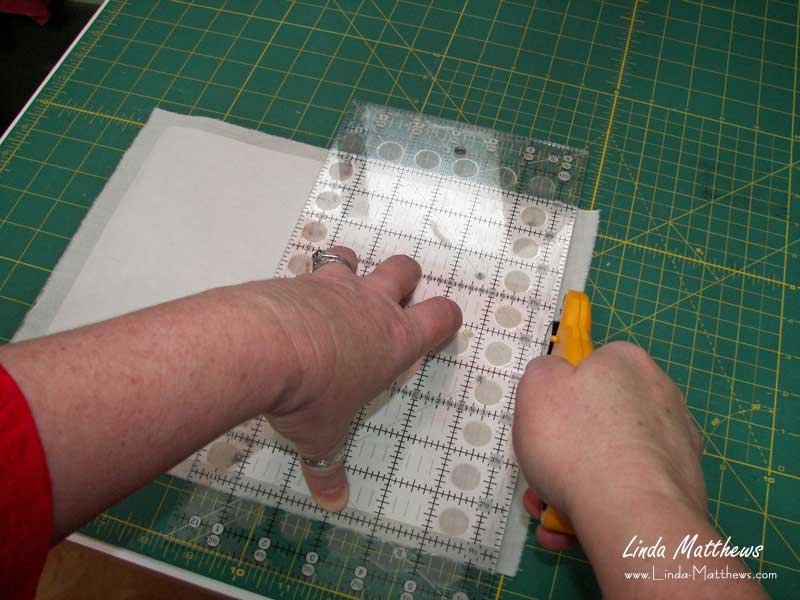
Once the fabric is ironed onto the freezer paper, trim the edges of the fabric even with the paper using a quilter’s ruler and rotary cutter. Check and make sure there are no loose threads hanging off the sides and every cut is nice and clean and straight. Your fabric is now ready to feed through your printer – happy printing!
