With the abundance of handmade items around, particularly on online stores like Etsy, it’s a good idea to attach your own fabric label to your items to give them a professional finish, and also so buyers can remember where they got it from. You can buy fabric labels from many places, but it’s also really easy to make your own.
I have a few different types of labels I like to use for my different items. For a professional looking label, I like to use PhotoFabric Silk Habotai. It’s already backed with sticky paper so you just cut off as much as you need and it feeds right through the printer and I like using silk because it has a lovely sheen.
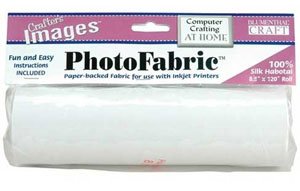
I used Word to design what I wanted the label to say – which is just my name and website url – set it inside a text box, sized it, copy and pasted it to fill the page, then saved the page to a file. So now when I need labels, I just cut the silk to size and and print it out.
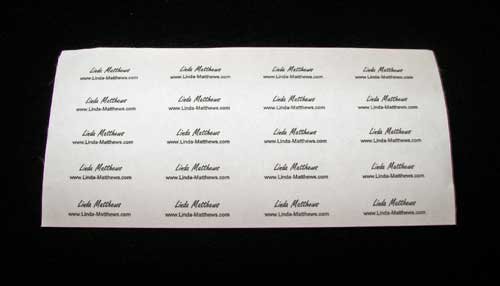
Then I cut the labels to size and sew them to my item. I don’t remove the backing paper which helps to prevent the edges from fraying and also gives a firm crispness to the label.

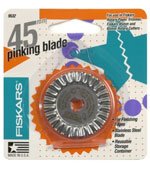
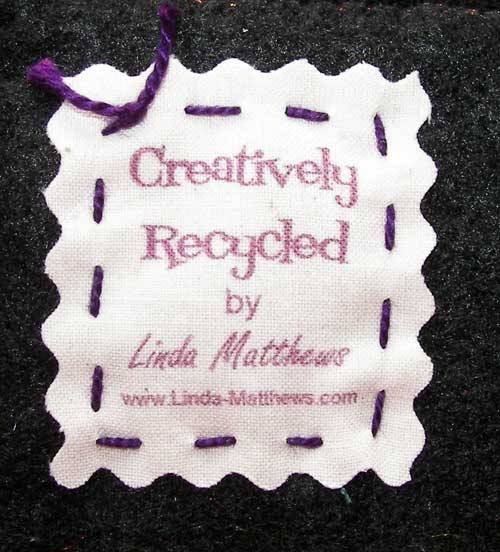
For my “Creatively Recycled” items, I do it a little differently. Again I designed the label and saved it to a word file but I print these labels out on muslin and then fused two layers of muslin together and cut them out using a rotary pinking blade so the edges don’t fray (I *LOVE* these blades and you can get them with different shaped edges) …
… and then I hand stitch them to my items. These labels as less formal and look more “handmade”.
If these methods don’t suit you, there are lots of tutorials out there using various other techniques. I particularly like this tutorial using iron on t-shirt transfer paper and twill tape, and I also like this tutorial using an old typewriter (remember them?)
Also, if you want to make absolutely sure that the labels are washable, print them on a printer that uses water resistant inks like Epson durabrite, or print them on pre-treated fabric that is suitable for washing.


