or How I Made a Mousepad in 5 Minutes
I’ve been threatening to make a new mouse pad for quite a while, but of course my “to do” list gets longer every day and it wasn’t a priority up until the other day when I finally couldn’t stand the sight of my old mouse pad which is all ratty on the ends, is covered in coffee and tea stains and probably breakfast stains as well, and is all together quite uninspirational and virtually unusable. I’ll do you a big favor and not show it to you.
So I finally decided that I could take 15 minutes out of my day to do this small project which also happens to be another perfect project for one of my injured prints. I’ve already shown you a couple of nice projects I’ve done using injured prints … a wallet I use every day and some lovely fabric postcards.
So I dug up another injured print and rather than the 15 minutes it thought it might take to finish the project, it in fact only took about 5 minutes and I have a fabulous new mousepad to show for it! Here’s how I did it …
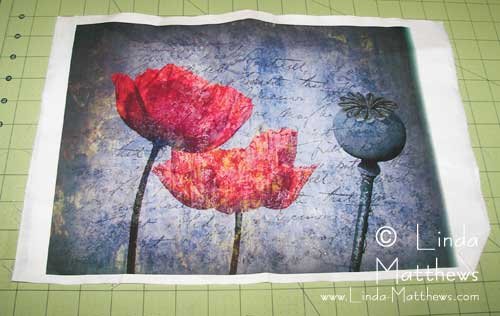
The first thing you need is an injured print. This was a fairly large print that slipped at the end (of course) during printing and you can see that the colors went a little screwy on the right hand side. However the rest of the print was fine and almost just the right size for a mouse pad. I painted a sealer over the top of the print so it gave it a slightly rough surface and this will also protect from spills.
You also need some thick stabilizer like timtex or peltex, fusible on one side …
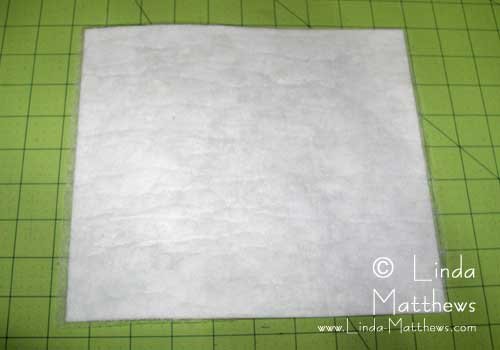
… and some grip matting …

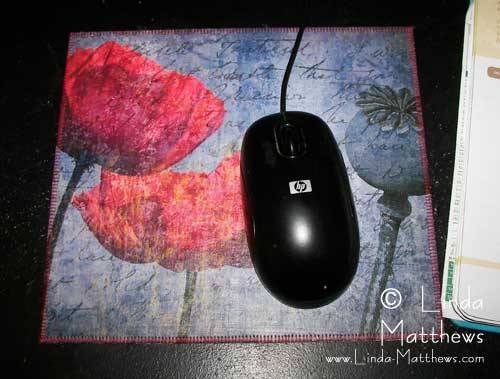
I wanted a finished size of 8″ x 9″ so I cut each piece slightly oversize, then fused the print to the stabilizer, cut it to size, and zigzag stitched around the edges.

I was then going to fuse the grip matting to the back of the peltex however it didn’t fuse too well so I ended up gluing it on which worked perfectly. The grip mat is the perfect thing to hold the mousepad in place and stop it from slipping all over the place.

Then I carefully trimmed away the excess matting from around the edges being careful not to cut the stitching. And …. ta! da! one fabulous mouse pad whipped up in no time at all and much better looking than my old mouse pad!
And don’t forget .. my favorite method of making fabulous prints (injured or not) is using digital grounds – you’ll find LOTS of info here.


