Printing Images onto Fabric: Thinking and Printing Out of the Box

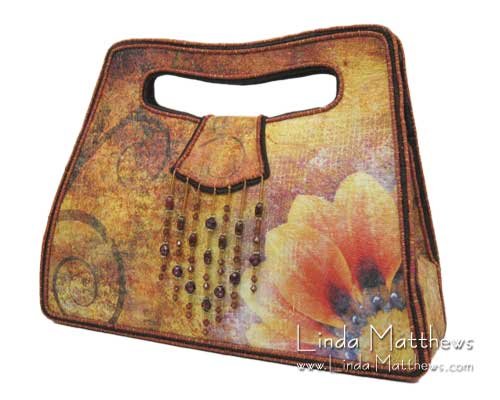
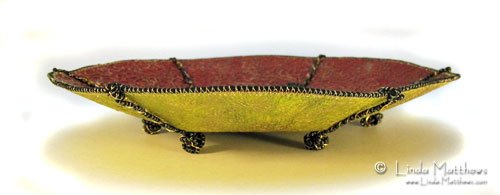
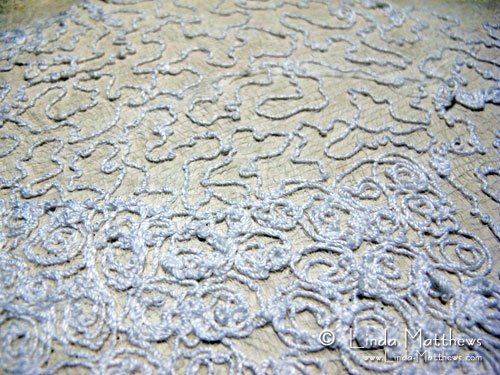
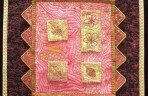
One of the most creative things about printing images onto fabric is that it doesn’t necessarily have to be a photo or a picture. Thanks to today’s amazing digital technology, you can print any type of image at all onto fabric or paper – or even fabric paper. One of my personal favorite methods of […]
Printing Images onto Fabric: Thinking and Printing Out of the Box Read More »