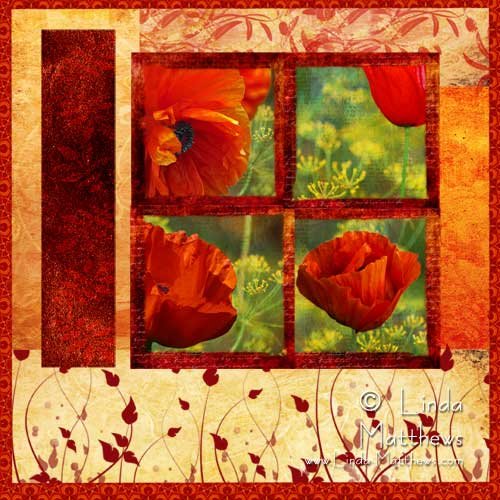
As I mentioned last Friday, I’m in the process of making a new quilt using images printed on fabric. I originally made some photo art images which you can see here, but after printing some samples they didn’t look as good on fabric as I thought they would. So I ended up tweaking things.
The images originally had different backgrounds so I removed the original backgrounds and replaced each of them with a piece of background from the same photo and added some texture so they now have an overall cohesiveness. I also adjusted the colors so that each flower now looks similar in hue instead of different shades of orange and red. I used the “match color” tool to do this (only available in the full version of Photoshop). Then I changed the frame around each image which gives them a stronger focus. And this is how they turned out. You gotta love photoshop.

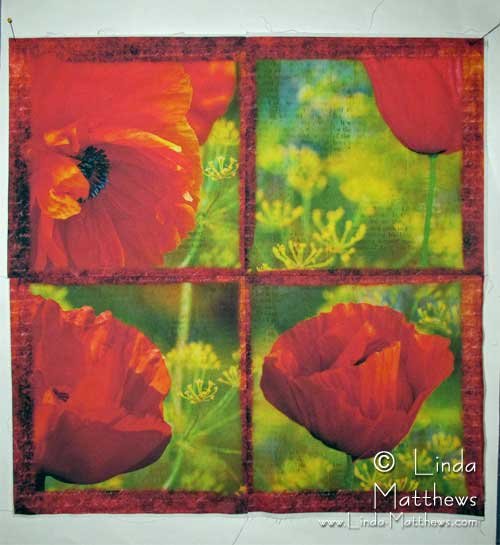
And this is how they look printed on fabric, pieced, and pinned to my design wall. Each image is a 10″ square block so they are BIG and they look awesome!
Designing with Photoshop
One of the reasons that I recently moved up to the full version of Photoshop, is that it has special features that help to make the designing process much easier.
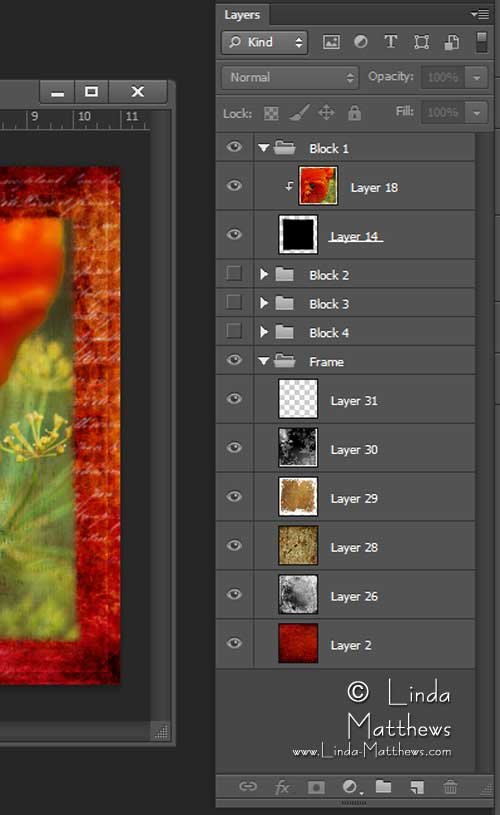
One of the features that I really like is that you can create folders for your layers. This feature makes it really easy to keep your layers organized and structured.
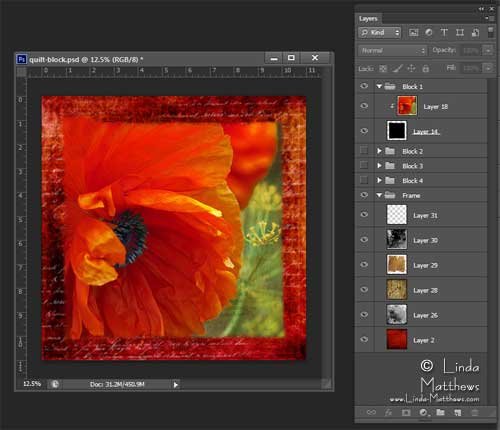
For example, these quilt blocks all used different flower images, but the same frame images. So I grouped each of the different flower layers and the frame layers into a different folder which made it really easy to quickly locate the layers I need when printing the images.
I’m also designing the quilt layout in Photoshop as it’s really convenient for designing simple layouts. I’ve made a start, but I expect this layout will change as I progress with the quilt. But I kind of like it so far.
