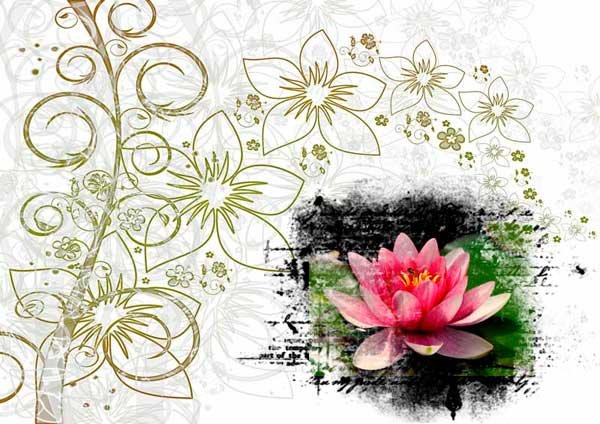
There are many different ways to blend multiple images in Photoshop Elements, however my favorite methods are using the gradient tool, and using clipping masks.
Clipping masks can be used in lots of different and creative ways, and are ideal for blending smaller images onto large backgrounds.
Let’s take a look at how it’s done.
To follow along with this tutorial you’ll need a background image and a smaller image that you’ll attach to the clipping mask.
A clipping mask is always made using a layer filled with a solid black color. This layer can then be cut into a shape using various different techniques.
Make a new file: 300px by 300px by 72 dpi and fill it with the color black.
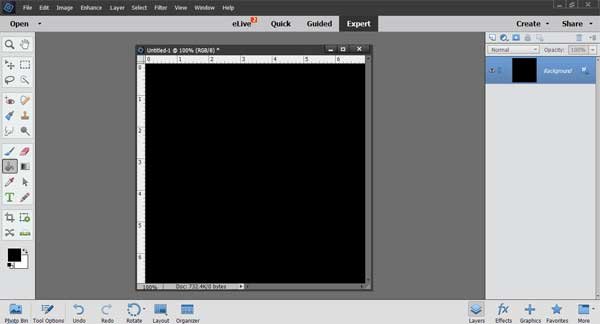
Select the cookie cutter tool, and choose crop shape #22 from the default set of crop shapes.
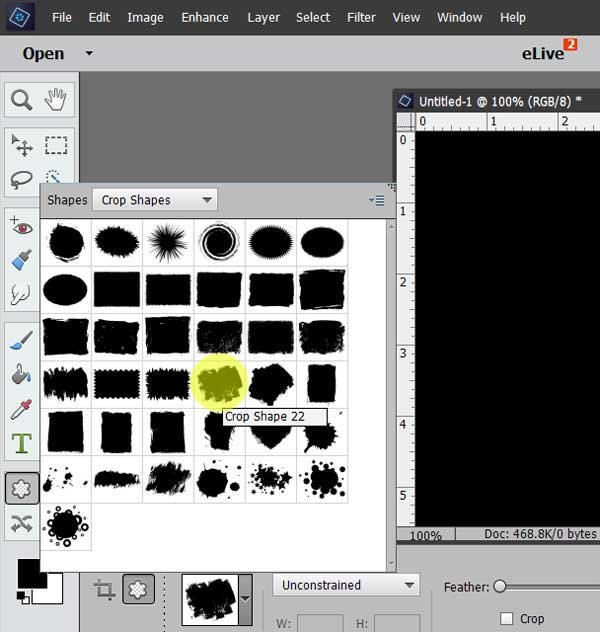
Click on the main file and drag the cookie cutter to create the shape. This shape can now be used as a clipping mask.
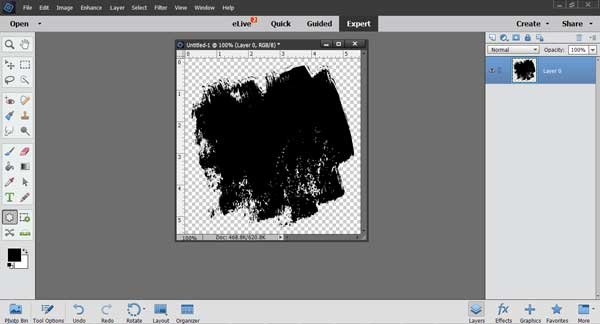
Open the background image and the flower image alongside the clipping mask.

Copy and paste, or drag the clipping mask onto the background image.
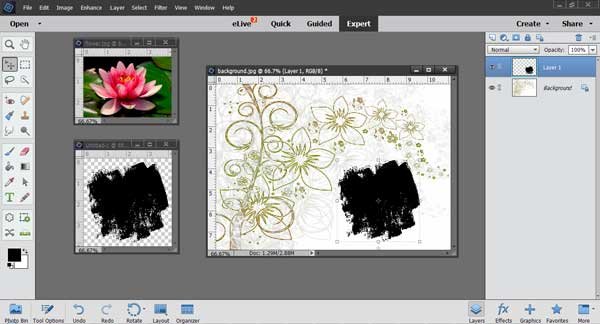
Copy and paste, or drag the flower image onto the background image so that it’s centered on top of the clipping mask.
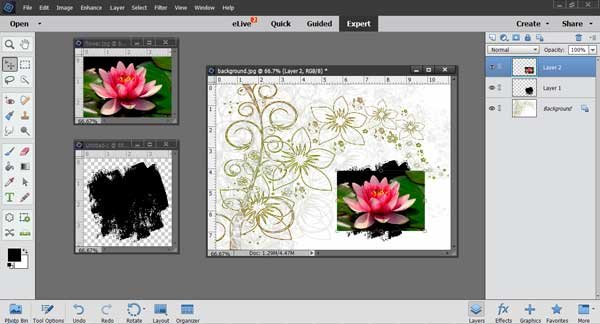
With all three images in place, click on the flower layer in the layers palette to highlight it, and from the main menu select: Layer > Create Clipping Mask, or use keyboard shortcut Ctrl G (Windows) Cmd G (Mac). On the layers palette you can now see that the flower layer has become indented and connected to the layer below creating the clipping mask.
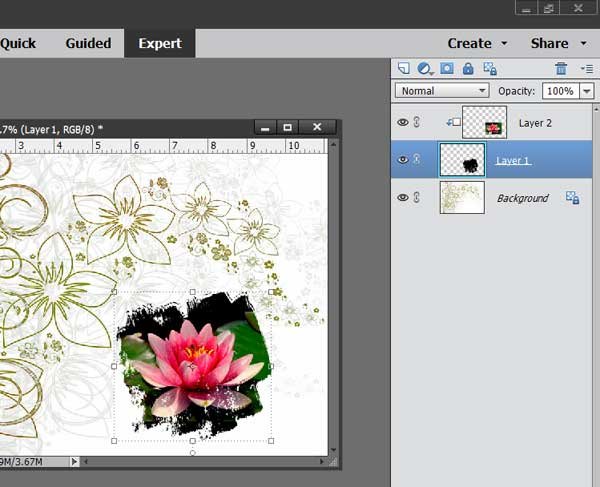
On the main image you can see that the edges of the flower image are removed, revealing the shape of the clipping mask. You can adjust the way the clipped image looks by moving the flower layer around or reshaping the clipping mask.
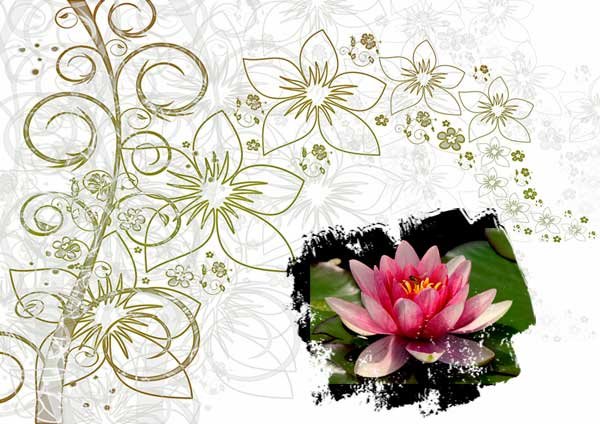
You can also use other shapes or Photoshop brushes to create the clipping mask so that your images are displayed in creative and interesting ways.
