I’ve mentioned previously about how to how to whiten backgrounds on product photos using the “screen” blending mode in Photoshop. While that technique is quick, unfortunately it doesn’t work with every photo. An alternative method is to use the “dodge” tool.
The “dodge” tool can be found lurking in the tool palette along with the “burn” and “sponge” tools.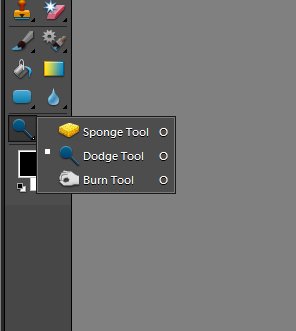
For example
The other day I was trying to take a photo of my latest fabric bowl and I found it nearly impossible to get a decent photo that didn’t have all sorts of shadows underneath the bowl. I have several portable lights, but whichever way I placed them, there always seemed to be lots of different shadows being cast underneath the bowl which was distracting and spoiled the photo. The only way to reduce the amount of shadow was to take the photo without a lot of lighting and then fix it in Photoshop.
This is the original photo which is quite dark.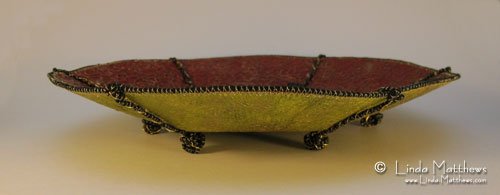
This is the photo lightened using basic lighting adjustments. And while it’s much better than the original, the background still looks a bit dark and dirty.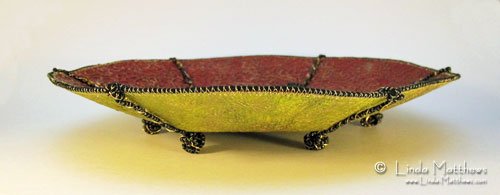
However after a quick touch up with the “dodge” tool, the dirty white background disappears leaving the bowl and the undershadow intact. The great thing about this technique is that you don’t have to be too precise when using the dodge tool and you can overlap the main object on the photo without affecting it too much.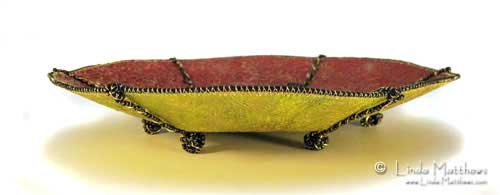
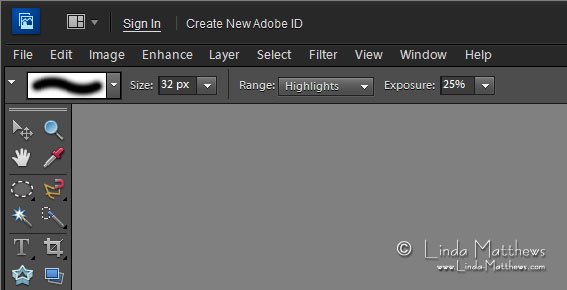
The only settings you need to adjust when using the dodge tool for this technique is to use a soft round brush at an appropriate size, set the “Range” to “highlights” and adjust the “Exposure”. I used 25% for this photo. Photoshop Magic!