Making Fabric Postcards – Finishing the Edges
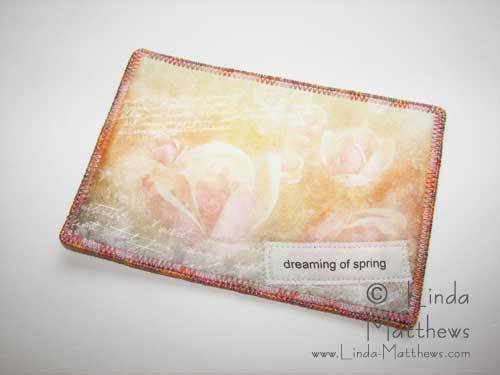
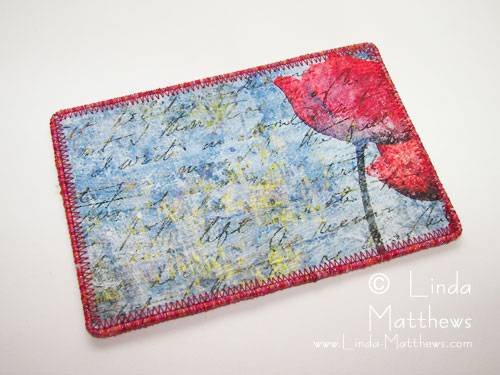
I love to make my own fabric postcards by creating photo art designs in Photoshop Elements, and then printing the designs onto fabric. Making fabric postcards this way is not only fun but it’s the perfect way to personalize your cards. My favorite technique for finishing the edges is to use machine wrapped cording which […]
Making Fabric Postcards – Finishing the Edges Read More »