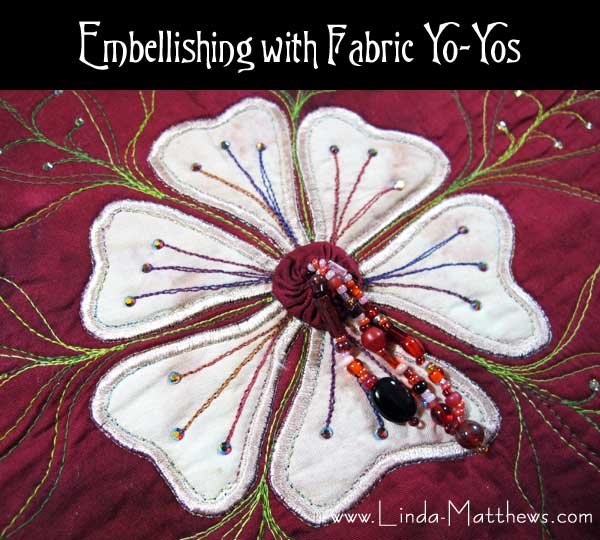
Fabric yo-yos are one of the most under-rated embellishments there is. They are really quite simple to make, but then they can be dressed up in all sorts of fabulous ways to create embellishments for all your sewing projects.
I remember when I was young that my grandmother used to have a beautiful bedspread made from fabric yo-yos. I remember her spending endless hours sitting in the evening making hundreds of them from various types and colors of fabric, and then painstakingly sewing them together. The finished bedspread was stunningly beautiful in color and texture.
I’ve never had the ambition to make anything so lovely with fabric yo-yos, but I do love embellishing with them, and here’s a few ideas …
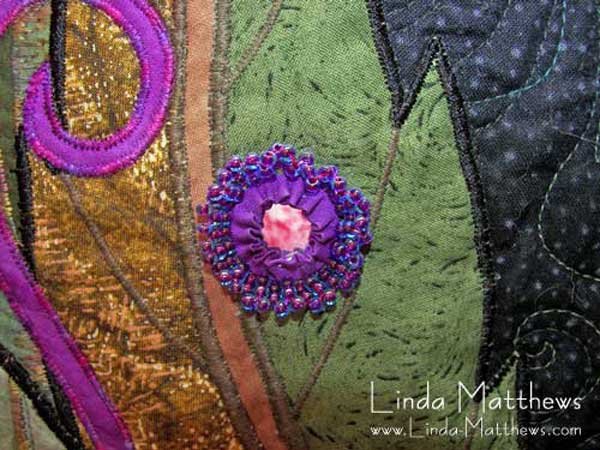
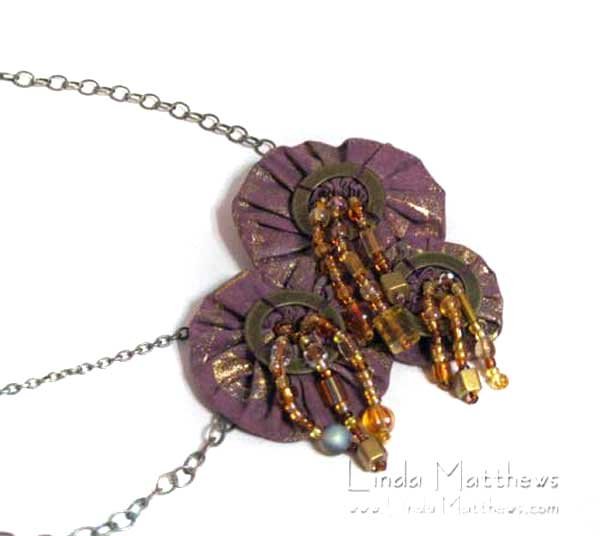
Fabric yo-yos are a fun way to display shisha mirrors or paillettes. Use some fabric glue to glue a shisha mirror or paillette to the center of the fabric before making the yo-yo.

Sew some beads around the fabric yo-yo for additional embellishment.
You could add some bead dangles to the center of the yo-yo for a creative flower embellishment.
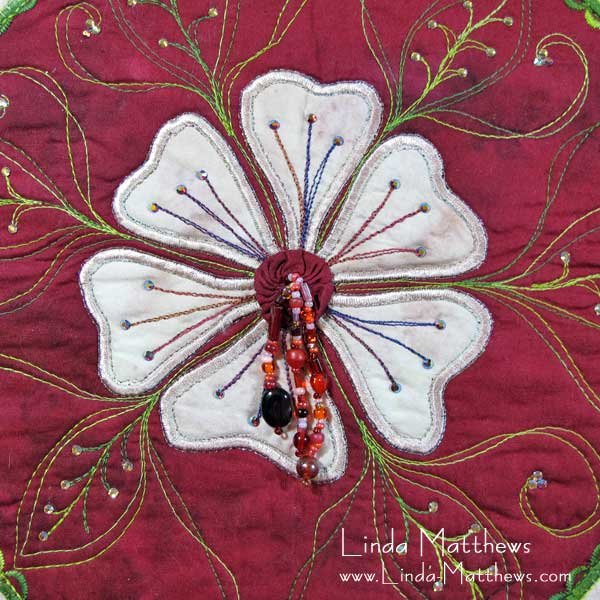
Or simply sew a single large bead to the center for a simple embellishment.
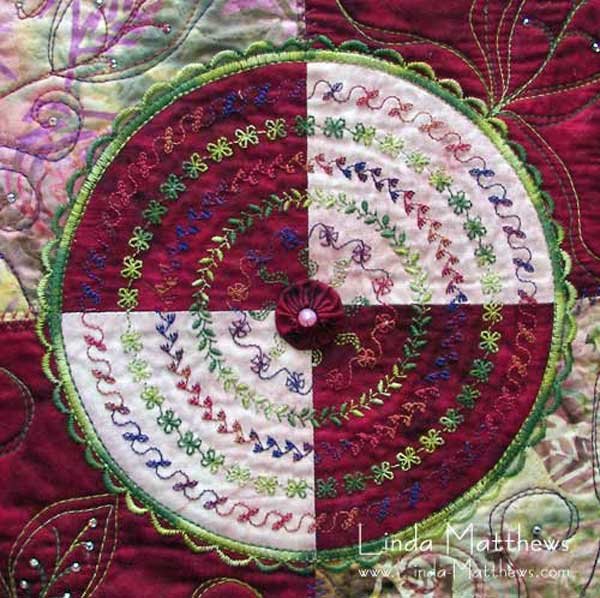
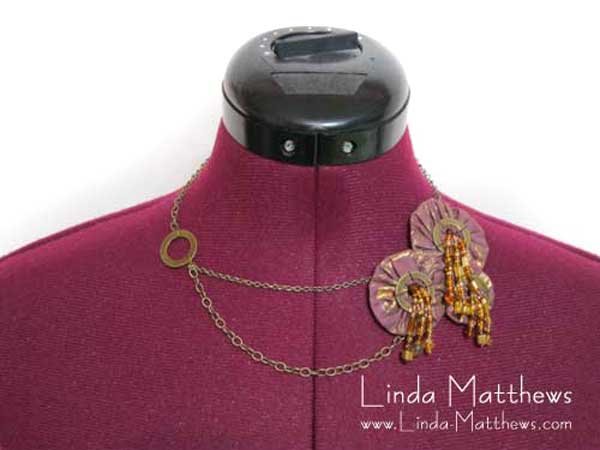
You can even make yo-yo jewelry. Simply handstitch the yo-yos together at the back and then handstitch some jewelry chain to the edge of the yo-yos.
How to Make a Fabric Yo-Yo
Fabric yo-yos are easy to make.
What You Need
- Fabric
- Circle template
- Fabric marking pen or pencil
- Sharp Scissors
- Strong thread
- Hand sewing needle
Instructions
To make a fabric yo-yo, you need to cut out a perfect circle of fabric, so first make sure that your fabric is pressed flat and wrinkle free. To size your yo-yo, the fabric circle should be cut approximately twice the size of the finished yo-yo; so for instance, if you wanted a 2″ fabric yo-yo, you would cut a 4″ diameter fabric circle.
For a perfect circle use a template to mark your fabric. A template could be the rim of a glass or mug, something that is perfectly round. Or you could simply print out a circle using a drawing program on your computer. MS Word and most word processing programs have simple shapes that you can design and print. It’s best to print out onto a piece of cardstock, or print on paper and transfer the design to a piece of cardboard. Carefully cut out.
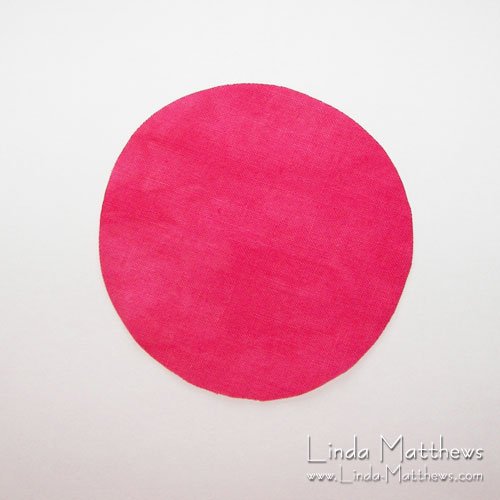
Once you have your template, using a fabric marking pen or pencil, or even an ordinary pencil, trace the outline of the circle onto your fabric.

Once you’ve transferred the circle design to the fabric, carefully cut it out.
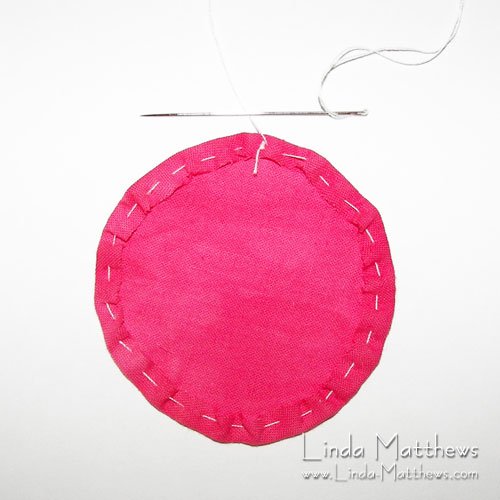
With the wrong side of the fabric facing up, fold over the edge of the circle about 1/8″ and using a small hand sewn running stitch, begin sewing folding the edge over as you go. Make sure you use strong thread, or you could double your thread to give it extra strength.
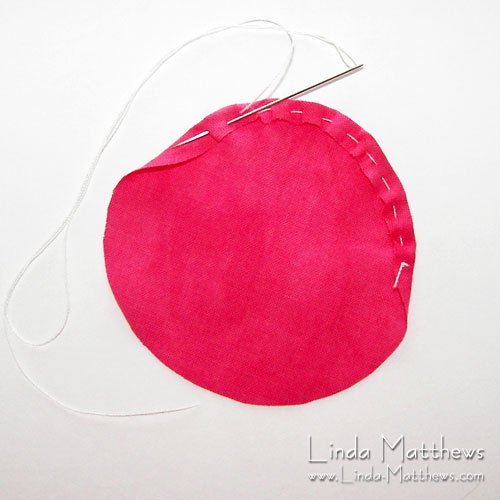
Continue sewing all the way round the circle.
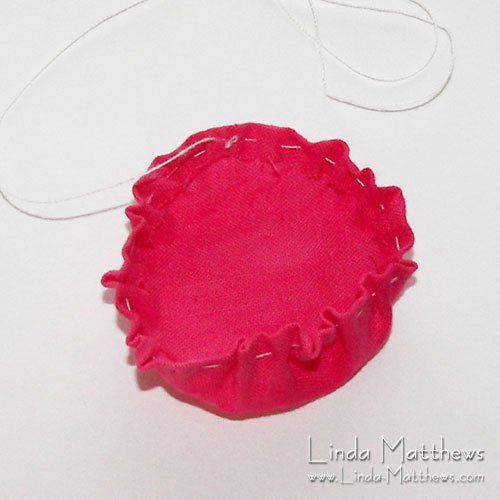
Gently pull the thread so that the fabric starts to bunch up.
Continue pulling the thread gently until the edges are fully gathered, then make a small knot to secure the thread. Arrange the center hole so that the gathers are evenly distributed and laying flat.
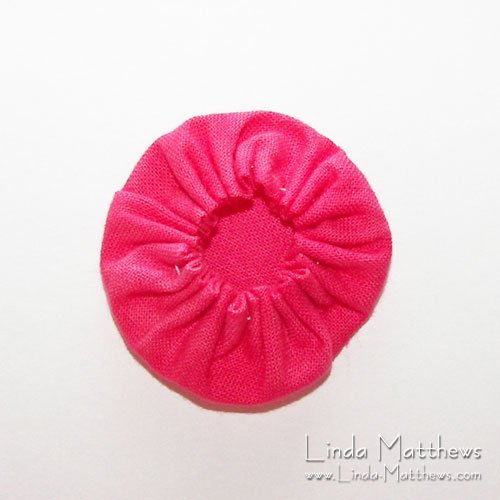
Then embellish as desired!
z
z


