Tutorial: Creating texture on fabric using crinkled ribbon
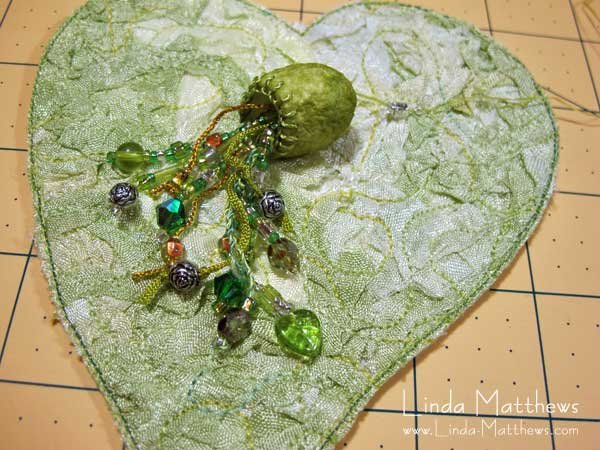
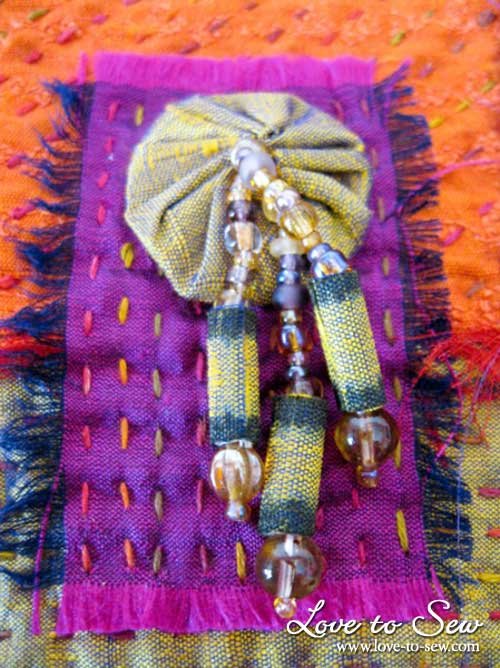
I work a lot with textured fabric surfaces mostly because I think they look a lot more interesting than flat surfaces. Sometimes I create surface texture using machine stitching. And I also use a lot of fabric paper texture. I also sometimes like to use unusual materials such as tyvek to create texture. And of […]
Tutorial: Creating texture on fabric using crinkled ribbon Read More »