Ways to use your Digital Photo Art: How to Make a Wrapped Canvas
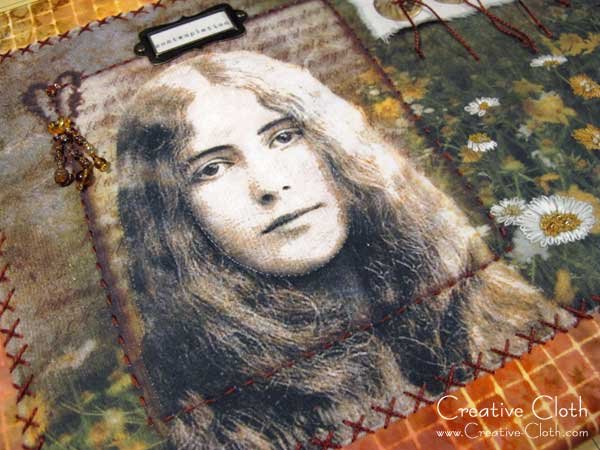
One of my favorite ways to use my digital photo art is to print it onto fabric and make wall art by wrapping it onto a stretched canvas. Wrapping a canvas is really easy to do, and you can use cheap wrapped canvases found in the craft store, so it’s also quite inexpensive. This was […]
Ways to use your Digital Photo Art: How to Make a Wrapped Canvas Read More »