Fabric dyeing using Jacquard Color Magnet
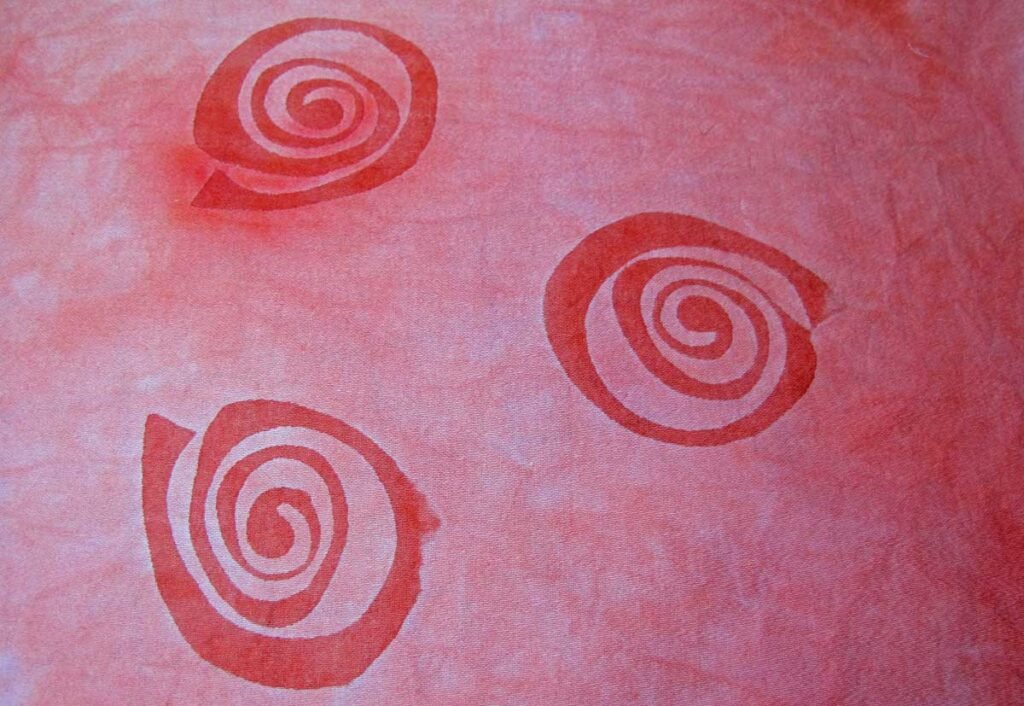
I currently teach several hand-dyeing workshops using techniques that I’ve developed over many years, but I’m always looking for new and fun ways to work with fabric and dyes. Jacquard’s Color Magnet is definitely one of those fun products. Color Magnet is a paste that you use to transfer a design to a piece of […]
Fabric dyeing using Jacquard Color Magnet Read More »