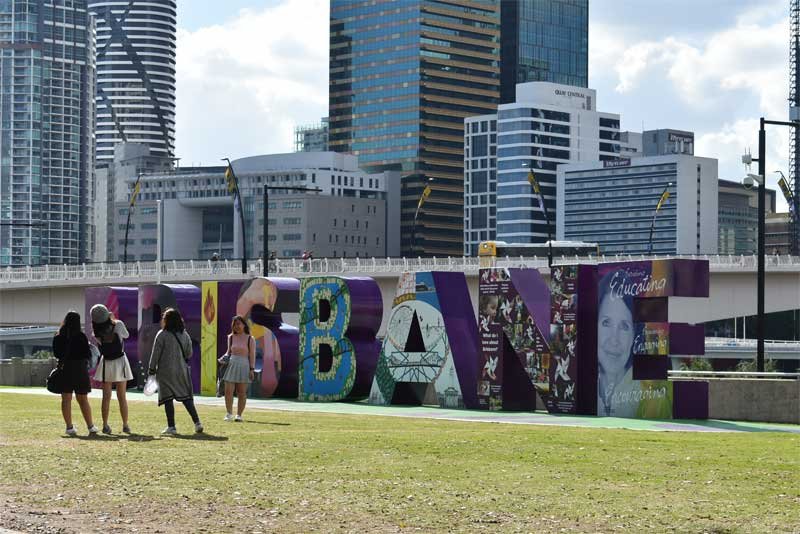
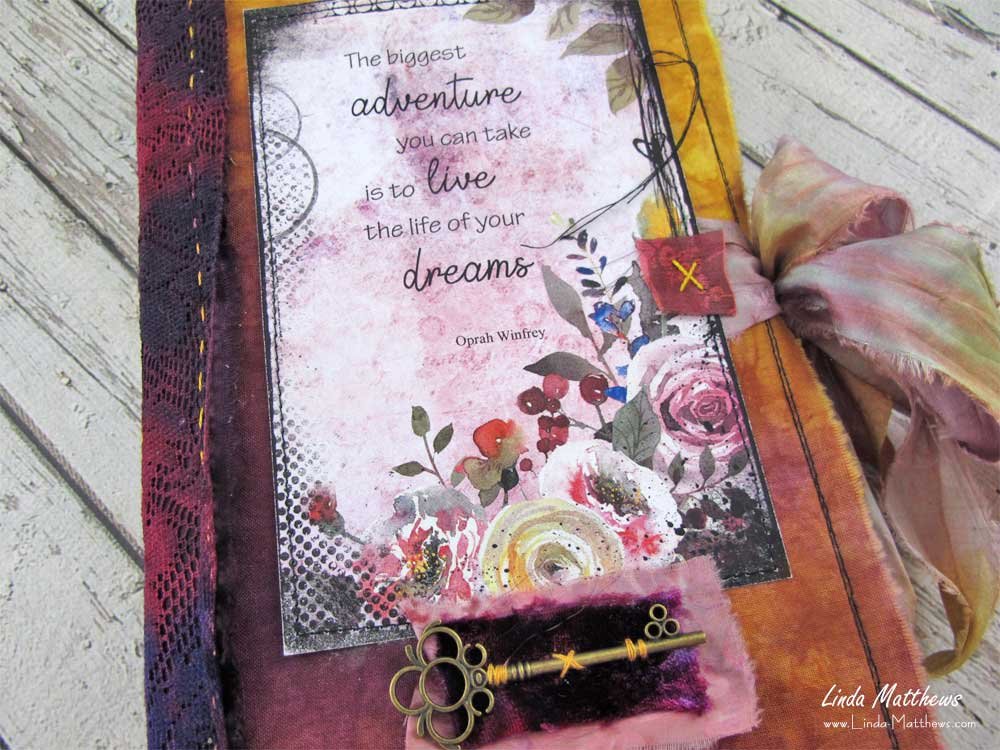
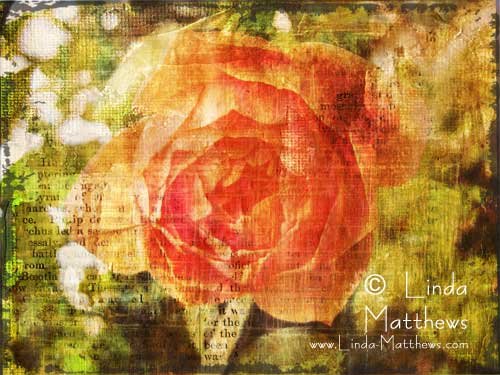
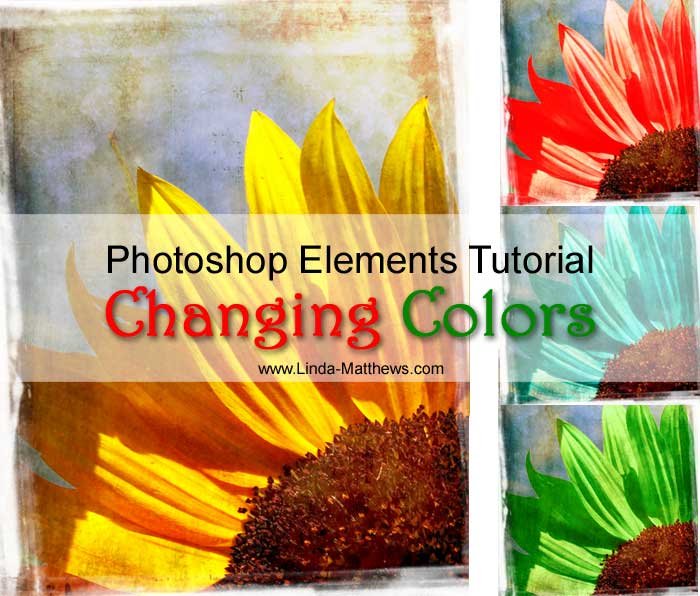
Mixed media and quick photoshop elements color tutorial

This weekend I found an extra hour to play around with some more mixed media. Now that I seem to have got the hang of it, I can’t seem to stop myself!

Like the previous pieces that you can see here and here, this piece was also made using a combination of different pastes and gels, paints and inks, and stamps and stencils. The colors and textures turned out amazing.

Mixed Media Texture

After I scanned and saved the original, I painted on some more red to tone down the green.

Mixed Media Texture

Which then made it an ideal background for overlaying images using photoshop elements.

Mixed Media Texture

And because several of you have asked about the way I change the background color, here’s a very quick tutorial.

There are several ways in photoshop elements to change the background color, but the quickest way is to use the hue slider.

From the photoshop elements main menu, select
Enhance
Adjust Color
Adjust Hue Saturation

Note: This might be different depending on your version of photoshop elements.

Or just use the keyboard shortcut “ctrl U”

Changing Color Photoshop Elements

Then simply adjust the hue slider and you can see the background changing color.

Changing Color Photoshop Elements

And you get all these amazing colors.

Changing Color Photoshop Elements

Changing Color Photoshop Elements

Changing Color Photoshop Elements

Don’t you just love photoshop elements?

… Continue reading

More mixed media and photoshop

This is another of the mixed media pieces that I’ve been working with this week.

This one has a different texture to the previous mixed media piece I showed you which you can see here, and I used only one color to paint it. Again I’ve highlighted the texture so that it really stands out.

Mixed Media Texture

As with the previous piece, I scanned it into photoshop elements and played around with a range of different colorways.

Mixed Media Texture

Mixed Media Texture

Mixed Media Texture

Mixed Media Texture

I think I’m hooked!

… Continue reading

Making custom fabric

After experimenting with some textural mixed media designs the other day – you can see my results here – I began to think that the designs would look particularly good printed onto fabric.

And they did!

When testing whether new designs will look good on fabric I always start small, so I whipped up a few small coin purses to test things out and I *love* the way the fabric turned out. I used the same design in different colorways and with different size perspectives and decided I like the close up textures best. I think I’ll be trying some more of these.

You can find the coin purses in various colorways for a short while here in my Design Store . Or if you prefer, you can also find them here in my Etsy store.

Coin Purse

Coin Purse

Coin Purse

Coin Purse

Coin Purse

… Continue reading

Fun with mixed media and photoshop

Welcome to another week! I hope your weekend was as much fun as mine!

This is how mine started – a table-top full of fun stuff just waiting to be played with.

Have a Great Weekend

And this is one of the pieces that emerged – a beautiful textural mixed media collage background made using paper, gesso, molding paste, stamps, paint, ink, glazes, stencils, tissue paper, cheesecloth, text. I just *love* the way it turned out.

Mixed Media Texture

If you remember, some time ago I began playing around with paper and paint with – well – not much success. You can see where I began here. I don’t get much time to play around with this kind of stuff, a few minutes here, a few minutes there, but I really think my technique has improved a little since then.

I scanned the collage and combined it with a photo to make this piece of digital art.

Photoshop Texture

But then I decided that I wanted the color to be a little stronger, so I added some more paint, and this was the result which I love even more!

Mixed Media Texture

Then I highlighted it with some gold paint. I must admit it looks better in real life but the highlighting really made the texture stand out which was what I wanted.

Mixed Media Texture

I rescanned it and played around a little in photoshop. I was surprised by the range of colors I was able to achieve.

Photoshop Texture

Photoshop Texture

Photoshop Texture

Photoshop Texture

So what happens now? Check back in a few days.

… Continue reading

Ten creative ways to use the decorative stitches on your sewing machine

I simply *love* using the programmed decorative stitches on my sewing machine, but I know that some of you struggle to come up with ideas on how to use them.

Struggle no more! These creative ideas are sure to inspire.

1. Stitch in the ditch
Instead of a straight stitch, use a decorative stitch instead when stitching “in-the-ditch” on your quilts.
Decorative Stitches

Decorative Stitches

2. Bindings
Instead of hand sewing the bindings on your quilts, a decorative stitch can be a super quick and interesting way to sew down your bindings.

Decorative Stitches

Decorative Stitches

3. Couching
Instead of a standard zig-zag or straight stitch when couching decorative fibers or ribbon, add additional embellishment by using a decorative stitch.

Decorative Stitches

Decorative Stitches

4. Machine lace fabric
Make beautiful machine lace fabric. (Free project tutorial here)

Decorative Stitches

Decorative Stitches

5. Surface texture and decoration
Use decorative stitches to add surface texture and decoration to your fabric. For example, I often use them when making fabric beads. (Free tutorial here)

Decorative Stitches

Decorative Stitches

6. Faux ribbon effect
By adding a couple of narrow rows of straight stitch on either side of a decorative stitch, you can quickly make a faux ribbon effect.

Decorative Stitches

Decorative Stitches

7. Raw edge applique
Use your decorative stitches to finish off the edges of raw edge appliques.

Decorative Stitches

Decorative Stitches

8. Decorative top-stitching
Use decorative stitches to embellish or top-stitch. For example, I’ve used them to top-stitch the pleats on this pleated insert used on art quilt.

Decorative Stitches

Decorative Stitches

9. Focus fabric from ribbon or fabric strips
Make focus fabric by placing strips of ribbon or fabric side by side (I love hand dyed ribbon for this technique) and use a decorative stitch to sew the strips together.

Decorative Stitches

Decorative Stitches

10. Machine lace edging
Use your decorative stitches to make delicate and contemporary machine lace edging. (Free tutorial here)

Decorative Stitches

Decorative Stitches

Did I mention once or ten times that I *love* to use the decorative stitches on my sewing machine?

I could add more, but I’ve run out of time. However I’m sure this is more than enough to get you started using your decorative stitches and once you start using them, you’ll probably come up with dozens more ideas.

… Continue reading