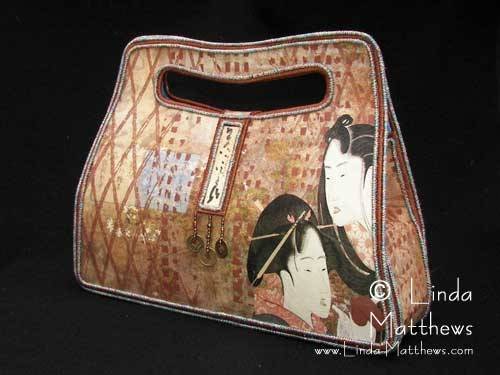
It’s been a while since I posted any photos of my art bags but I’ve been quietly working away on a few new designs – this is one is called “Geisha” and I just love the way it turned out. As with all my art bags, this design is prepared using Photoshop Elements, than printed on fabric using inkaid and then assembled by hand. It takes quite a few days to put each of these bags together.
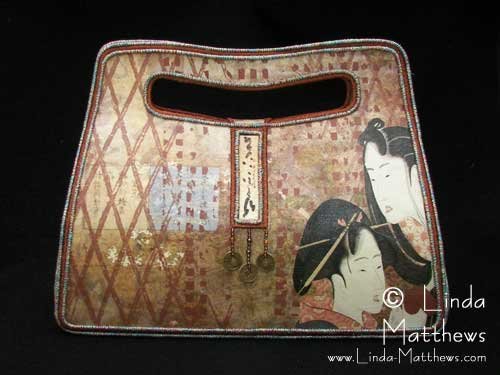
I’ve used this particular design on other items such as my journals which you’ll find those items in the store, but I really like the way this design turned out on my art bag and I particularly like the touch of blue; it’s quite unexpected and adds subtle visual interest. I also finished the edges with machine wrapped cording using a blue metallic thread to bring focus the the blue color.
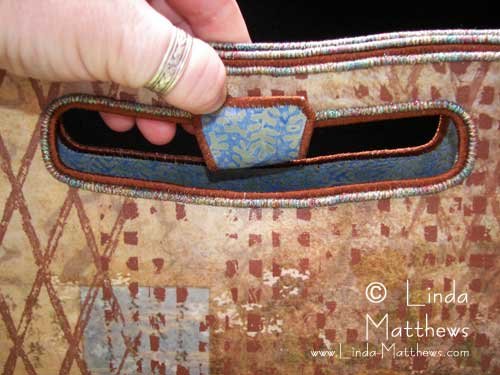
As with my other art bags I put the closure on the back so it doesn’t interfere with the beaded embellishments I add to the front. These bags are functional as well as art and I often take them out shopping with me so having the closure on the bag makes it easy to open and close without anything getting caught up in any dangly beads on the front.
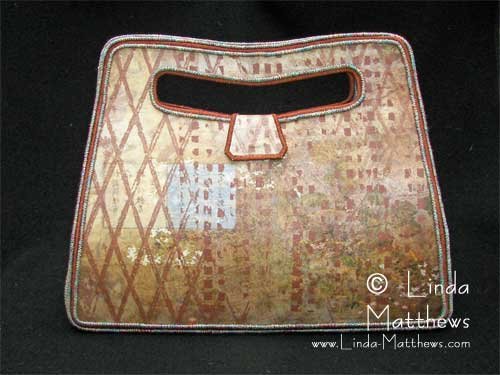
And of course I use those wonderful invisible magnetic snaps so the closure doesn’t damage the surface of the bag.
I haven’t found anything else that produces such intense and vibrant color when printing on fabric. If you haven’t yet tried inkaid, give it a try! It’s loads of fun.


